
Destiny 2 Error Code Bat: What it is & How to Fix it
Are you experiencing server issues when trying to access Destiny 2? Read on for quick troubleshooting tips 🎯

Destiny 2 is an ever-evolving first-person shooter game with many active players. However, you may have found yourself asking: Error Code Bat, what does it mean?
This error can be frustrating, especially if you’re trying to play the game. Keep reading to find out what exactly the error code bat Destiny 2 is, and how to fix it.
What is Error Code Bat Destiny 2?
Error Code Bat is more common than you think.
This error code typically occurs when the game encounters a serious network error, preventing players from accessing the game’s servers.
While there could be various reasons behind this error, it is generally a result of a poor internet connection or server maintenance.
While this can be a frustrating experience, there are ways to resolve this issue with ease.
How to Fix Error Code Bat Destiny 2?
Before getting into any solutions, you should check to see if there are known service outages that may be impacting their ability to connect to Destiny 2.
Also, ensure:
- Your device is connected to the wifi network
- Your router is connected to the internet.
- Restart the device you use to play Destiny 2
- Contact your ISP if, for some reason, you are unable to access the internet
- Check the official Bungie Help Forums or the official Bungie Twitter feed for help or updates.
Table of contents:
1. Use a VPN
Using a VPN can potentially fix Error Code Bat in Destiny 2 or potentially avoid it in the first place by providing a new network route that bypasses any issues with your ISP. The VPN will help connect to the server of the game and to a stable connection. We recommend using ExpressVPN, a reliable and secure VPN service that effectively secures your network and hides your private information from hackers. You can also enjoy superior speeds from anywhere, making it easier to access Destiny 2 servers, all while protecting your data.
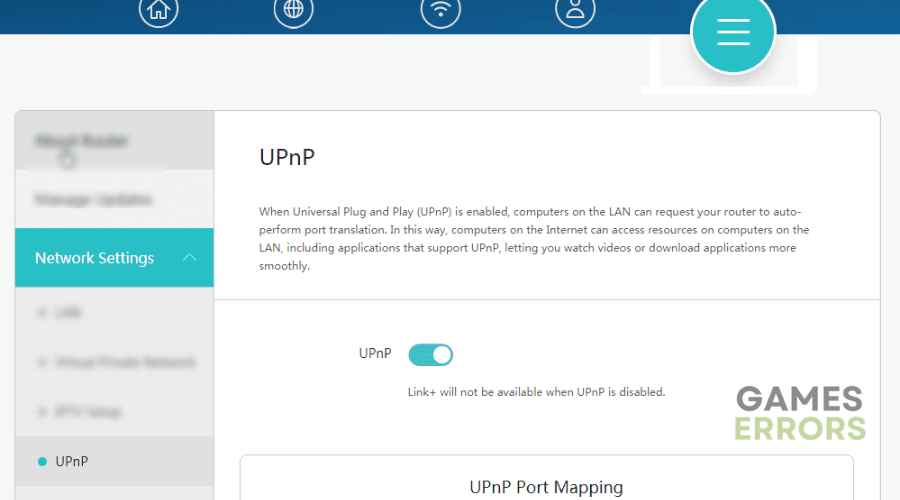
2. Set up UPnP
When UPnP (Universal Plug and Play) is enabled, it automatically configures network devices to allow communication between them. To set it up:
- Open your internet browser on your computer.
- Navigate to the router/modem’s Control Panel by entering its internal IP address e.g., 192.168.1.1 in the address bar.
- Refer to the router/modem’s user manual if you need help accessing the Control Panel.
- Look for the “UPnP” setting, which is usually found under the “LAN” or “Firewall” category.
- Consult the router/modem’s user manual if you’re having trouble finding the UPnP setting.
- Enable UPnP and save the changes.

- Disconnect all devices on the network and then reconnect them.
3. Update network adapters
Time needed: 4 minutes
To update your network adapter:
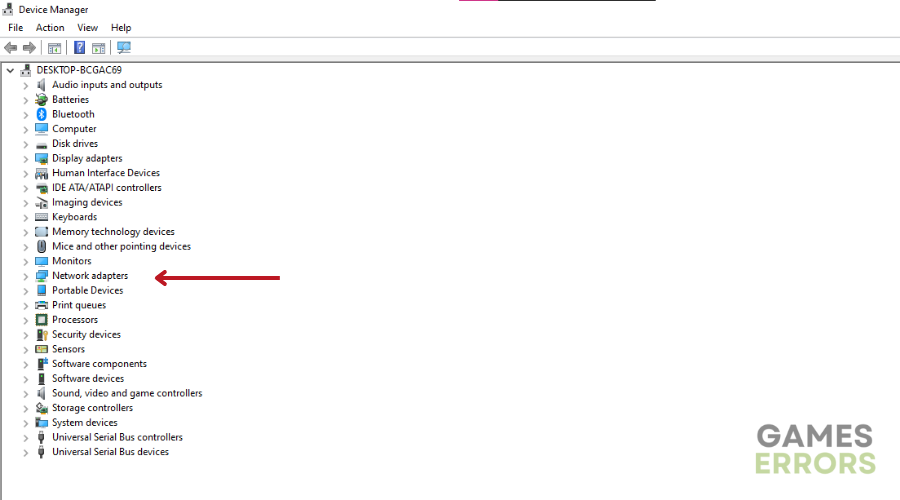
- Open the Start menu and type ‘Device Manager’ in the search bar.
- Find the ‘Network Adapters’ option in the drop-down menu
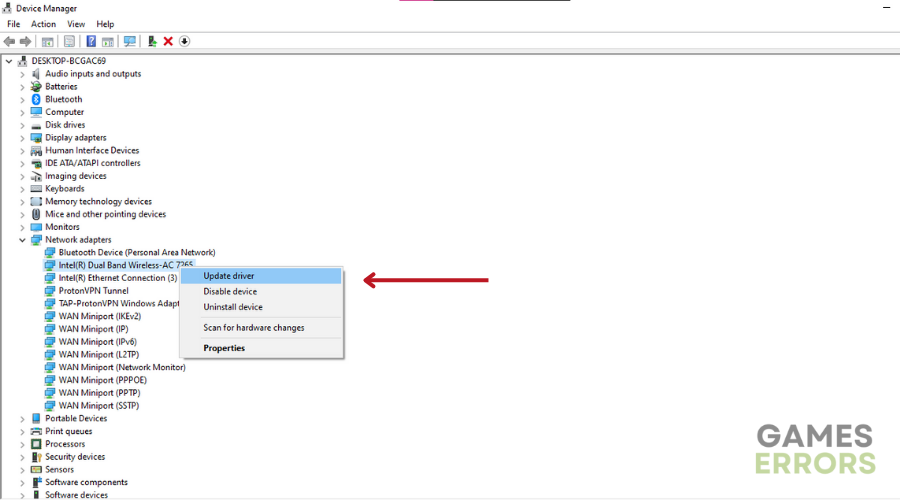
- Expand the ‘Network Adapters’ menu and select the specific adapter you want to update.
- Right-click on the adapter and select ‘Update Driver’ from the drop-down menu.
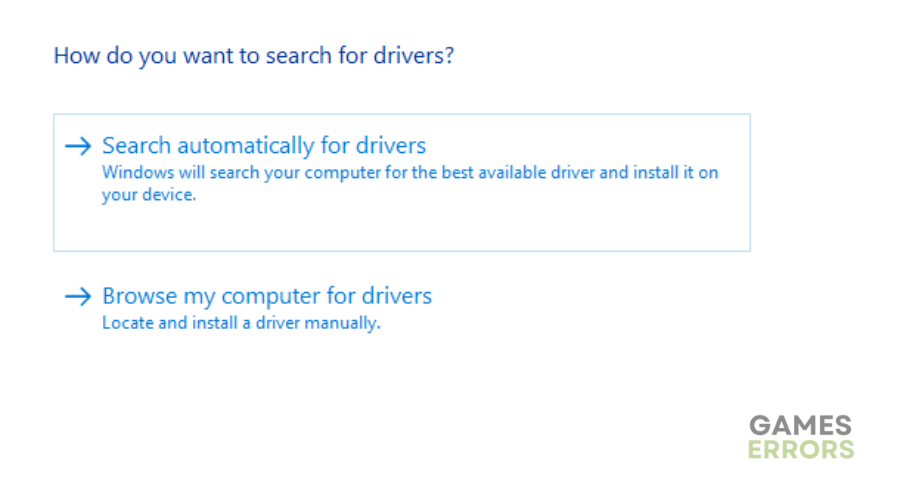
- A dialogue box will appear. Click the ‘Search for updated driver software automatically’ option.
- Follow the on-screen instructions in the Driver Update Wizard to complete the installation of the updated driver.
- When the driver update is complete, restart your PC for the changes to take effect.
If you prefer automating this process instead of going through the device manager route, we recommend using Drivefix. This third-party tool essentially finds, downloads, and installs the best driver for your PC.
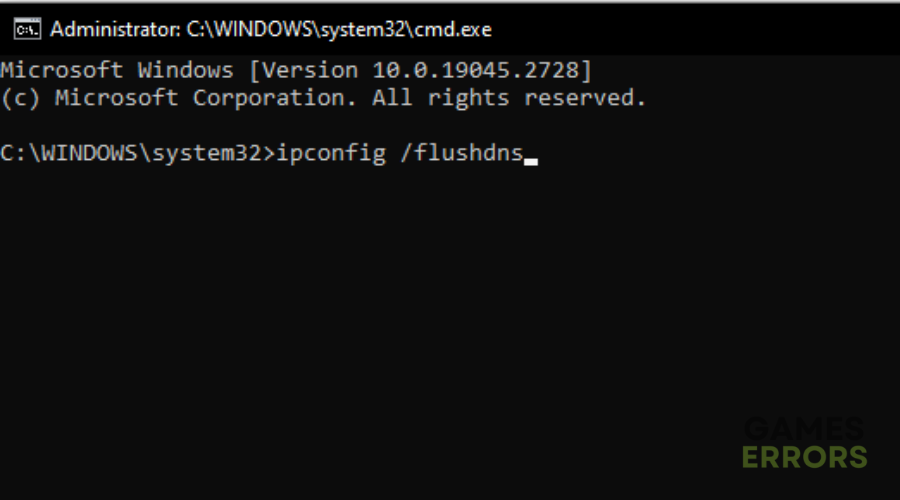
4. Flush DNS
- Press the Windows logo key and R simultaneously to open the Run dialog box on your PC.
- In the Run dialog box, type “cmd,” and then press Ctrl+ Shift+Enter to open the Command Prompt as an administrator.
- You may be asked for permission to run the command prompt. If so, click ‘Yes’.
- At the command prompt, type “ipconfig /flushdns” and press Enter on your keyboard.
- Then type “ipconfig /release” and press Enter on your keyboard.
- Next, type “ipconfig /renew” and press Enter on your keyboard.
- Finally, try playing Destiny 2 again to see if the server problem has been resolved.
Related articles:
- Destiny 2 Error Code Baboon: Tips and Tricks to Fix It Fast
- Destiny 2 Error Code Buffalo: Most Successful Methods to Fix It
- Destiny 2 Error Code BEET: Fixed [PC, Xbox, PS4/PS5]
- Destiny 2 Error Code Coconut: Fix It Quickly
Conclusion
We hope one of the solutions listed above has helped you fix the error code bat Destiny 2. As always, leave any question or comment in the comment section below.

Improve this guide
User forum
0 messages