
Valorant Dependency Error: How to Fix It Quickly
Don’t let the Valorant dependency error keep you from enjoying the game. Try out one or more of these fixes to get back into the game
When you face the Valorant dependency error you might stop and scratch your head in puzzlement. Isn’t the game supposed to have all the necessary libraries in the downloaded file? And why does this often happen right after you install a new game patch? So many questions to answer. This post will not just answer all your questions but help you fix this stubborn error once and for all.
What is Valorant Dependency Error?
If you have installed a new Valorant patch lately, chances are you’ll see an error like “We couldn’t install a required dependency” or missing required dependency. Whatever the error you get, it usually means that you can’t log into the game until you have tried out some fixes first. So what causes this error?
- The recent game patch didn’t install properly.
- Graphic drivers are not up to date.
- Vanguard files are corrupted.
- Your internet connection is not stable or the speed is too low.
- You didn’t restart your PC after installing the latest patch.
How to Fix Valorant Dependency Error
1. Update your Graphics Driver
Admittedly, “We couldn’t install a required dependency” doesn’t tell you much about what kind of dependency the patch had failed to install or why it couldn’t finish the installation successfully. That’s something common about these errors: they’re just too vague and unhelpful. Luckily, the solution can be as simple as updating your graphics driver. Here’s how to do it in simple steps.
- Open your favorite browser and click one of these links NVIDIA, AMD, or Intel to download the latest graphics driver for your GPU.
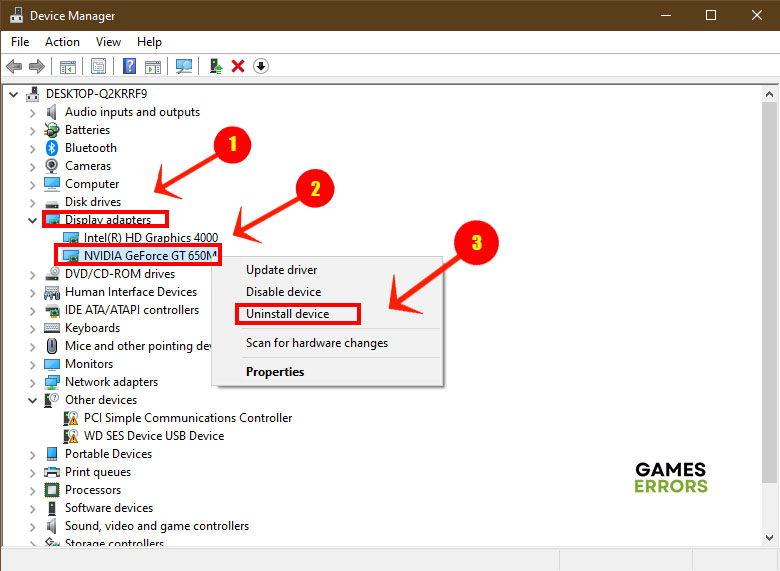
- Right-click the Start menu and select Device Manager.
- Find Display Adapters, click to expand it and right-click your primary graphics driver.
- Select Uninstall and follow the instructions on the screen.

- Restart your PC, then double-click the graphics driver file you downloaded in Step 1 to install it.
If you want to keep your graphics driver up to date without having to do it manually, then install PC HelpSoft. It will update all your system drivers and prevent errors like the Valorant dependency error.
2. Check your Internet Speed
Time needed: 2 minutes
Like many other online games, having a stable and fast internet connection is crucial for a smooth gaming experience. If your internet speed drops at any time while you’re updating the game, or installing the latest patch, you might trigger the Valorant dependency error. On a related tone, you might have a fast internet connection, but too many apps running in the background might be hogging the connection. Here’s how to check for your internet speed.
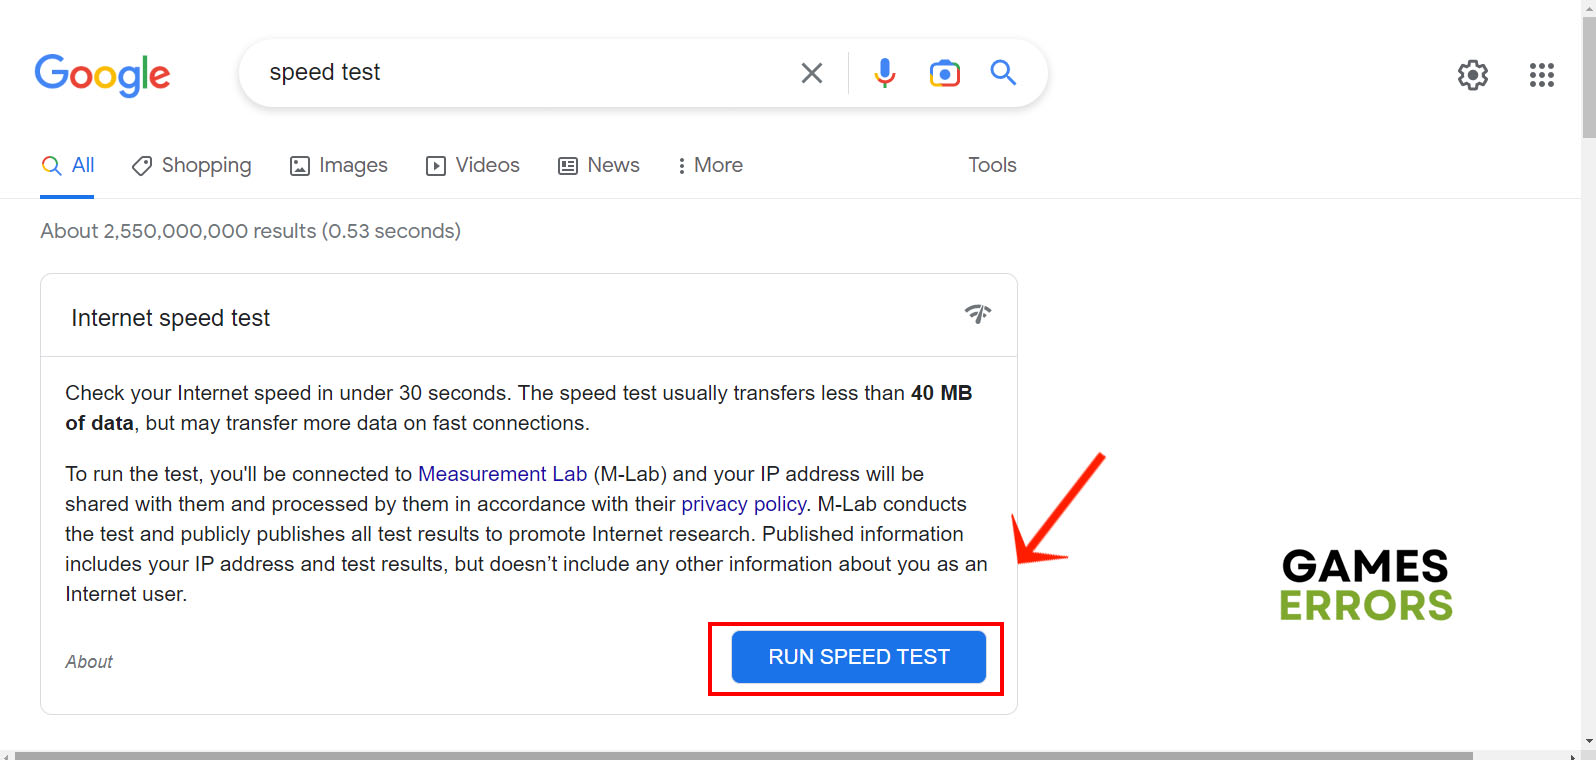
- Open your favorite browser and go to Google.com.
- Type “internet speed test” in the search bar and hit Enter.
- Google offers a free speed tool. Click the Start Speed Test button.

- Check the results of the test and make sure that your download speed is over 3 Mpbs and your download speed is above 1 Mpbs.
- Close any background apps such as online radio, Spotify, and Youtube before launching Valorant.
3. Restart your PC
This might sound counterintuitive, but after updating the game and installing new patches, you usually need to restart your PC for the new updates to take effect. If you try to play the game right after the latest patch has been installed, you would usually get the Valorant dependency error. Before you restart the system, close any open apps and save your work then restart the machine from the Start menu.
Once restarted, launch Valorant and check that the required dependency error is fixed. If the error is still there even after restarting the device, then try the following fix.
4. Reinstall Vanguard Client
New Valorant patches often overlap with the Vanguard client you have installed on your system. If you haven’t updated the client for a while, then the new features in the game could trigger a false positive when the Vanguard client scans those files. You can either try to update the Vanguard client to fix this issue or simply reinstall it. I prefer a clean installation of the client to ensure that you have the latest version. Here’s how to do it.
- Close Valorant and exit the Vanguard client from the taskbar.
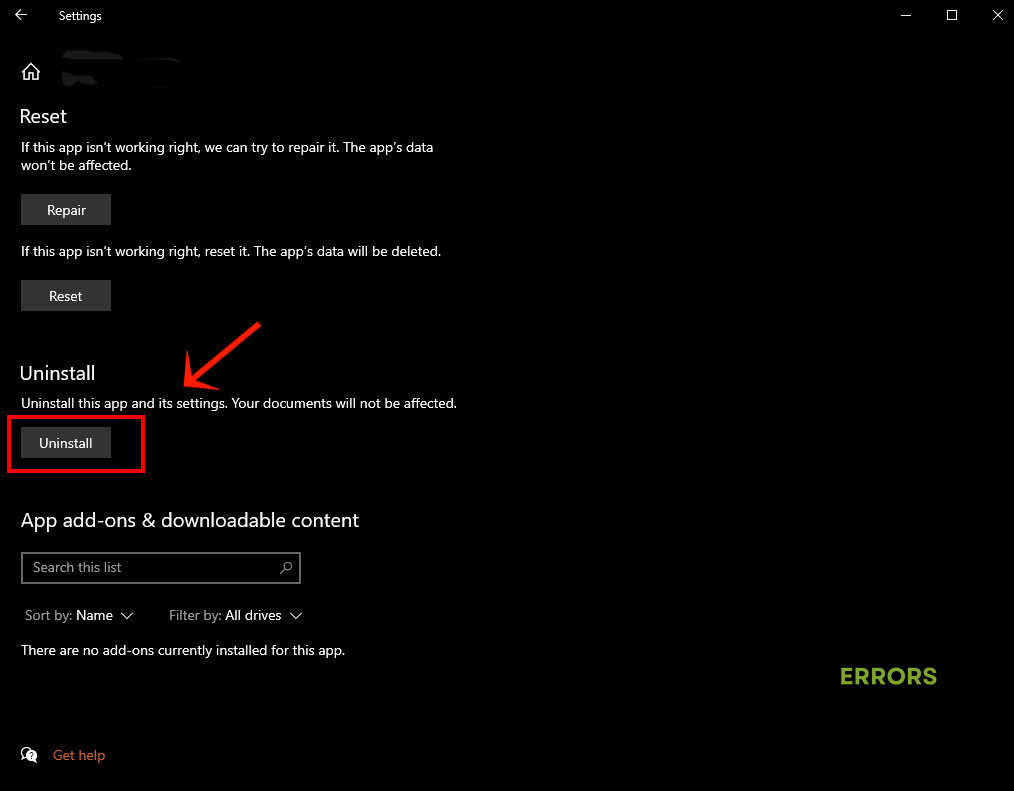
- Right-click the Start menu and select Apps and Features.
- Scroll down to Vanguard and click Uninstall button.

- Restart your PC and delete the Vanguard folder in C:/Program Files
- Now launch Valorant and follow the instructions on the screen to install the latest version of Vanguard.
Related Articles:
- Valorant A Critical Error Has Occurred: How To Fix
- Valorant Error Code VAN 81: How To Quickly Fix It
- Fix: Valorant Randomly Freezing & Crashing Without Any Error
Let us know in the comments section which fix worked for you.

Improve this guide
User forum
0 messages