
Valorant Packet Loss: How to Fix It Quickly
Here's everything you need to know about Valorant packet loss and how to fix it🎯

Valorant, Riot Games’ multiplayer tactical shooter, gives players the opportunity to select their preferred character and engage in 5v5 matches alongside and against other players.
However, like any online game, Valorant is no stranger to various connectivity issues, with packet loss being a common and annoying problem.
Although you are a skilled player with extensive practice, a poor internet connection can slow down or even stop your progress in the game. Packet loss, in particular, disrupts matches, often causing frustration among players.
If you are currently experiencing this problem, read on to find out how to fix it.
❓What is packet loss in Valo?
Valorant Packet Loss is basically related to how internet traffic travels between your device, your ISP’s network, and the game’s data center.
Issues with packet loss can occur due to outages or network problems within your ISP’s network or the connection between your ISP’s network and the Datacenter network. Also, issues between networks can contribute to packet loss.
Packet loss generally leads to lags, delays, and game crashes in Valorant.
How much packet loss is normal in Valorant?
Packet loss in Valorant should ideally be minimal or nonexistent for optimal gameplay.
It is generally advised to aim for packet loss below 1% even though there is no set “normal” or acceptable amount of packet loss in Valorant. Anything more than that can have a detrimental effect on gameplay and result in a less-than-ideal experience.
How to fix packet loss in Valorant?
Before jumping into the solutions, you can use the game’s built-in option for your packet loss to be displayed while you’re in the game. First, open Valorant client > log into your Riot account >click on the gear-shaped button > go to the Stats category. Here, you can choose the display format for packet loss, whether it’s text, graph, or both.
Also, try restarting your router or contacting your internet service provider and seek assistance.
Without wasting any time, let’s get into the solutions:
Table of contents:
1. Use a VPN
In some cases, the Valorant Packet loss is linked to the user’s geographic location. Using ExpressVPN significantly causes your ping to drop and reduces packet loss.
Time needed: 3 minutes
Other than circumventing geo-blocking, improving in-game ping, and stopping ISP throttling, you can safely use ExpressVPN to reduce packet loss in Valorant. To do this:
-
Install the app on your PC and open the application.
-
Log into your ExpressVPN account.
-
Select a server that is closer to your physical location, as closer servers generally provide faster connections.
-
Launch Valorant again.
-
Check if you are still experiencing packet loss.
2. Flush your DNS
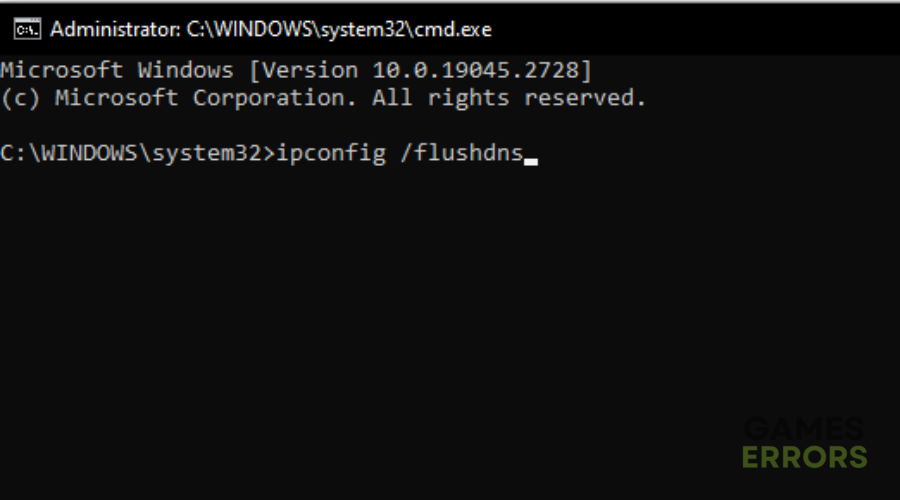
Flushing your DNS can help fix packet loss in Valorant by clearing outdated or corrupted DNS cache and refreshing DNS settings. This way, you can start with a clean DNS slate and improve network performance while playing Valorant. To flush your DNS:
- Press Windows key + R to open the Run dialog box.
- Type “cmd” and press Ctrl + Shift + Enter to run it as an administrator.

- In the Command Prompt window, type the following commands one by one, pressing Enter after each command:
- ipconfig /flushdns
- ipconfig /registerdns
- ipconfig /release
- ipconfig /renew
- netsh winsock reset
3. Close any bandwidth-heavy apps
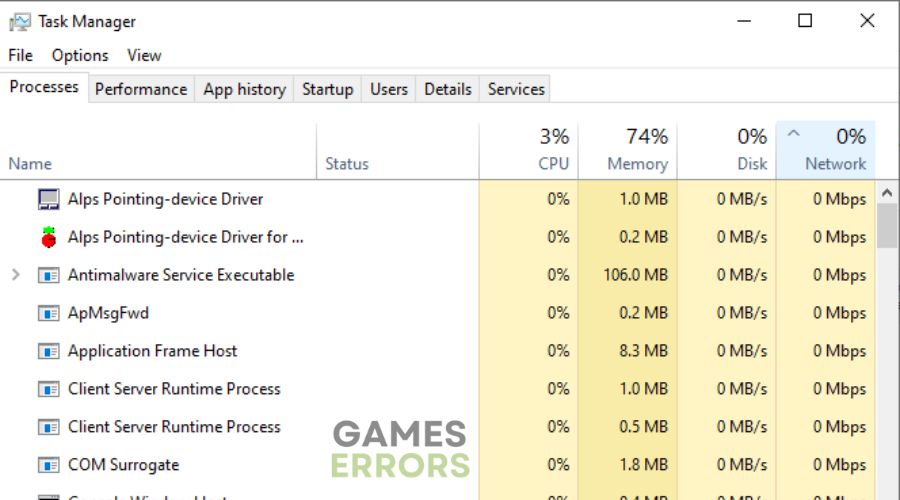
Background running programs can consume a significant amount of network resources, leading to congestion and limited bandwidth for Valorant. By closing them, you can free up bandwidth, prioritize Valorant’s network traffic, and create a more stable network environment. To do this:
- Press Ctrl + Alt + Delete on your keyboard simultaneously.
- From the options, select Task Manager.
- In Task Manager, click on the arrow next to “Network” to filter the results.
- Identify the draining apps that are consuming network resources.
- Right-click on the identified apps and select “End Task” to close them.
4. Use third-party DNS servers
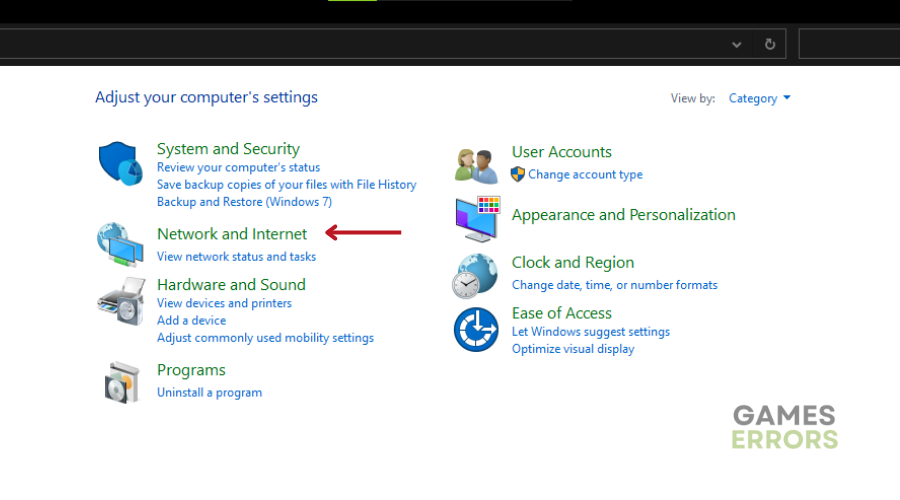
- Open the Windows Start Menu and click on Settings.
- Select Network & Internet.
- Click on Change adapter options under Advanced network settings.
- If the option is not visible, click on Status in the left sidebar or expand the Settings window.
- Right-click on the desired connection (WiFi or Ethernet) with green bars indicating an active connection.
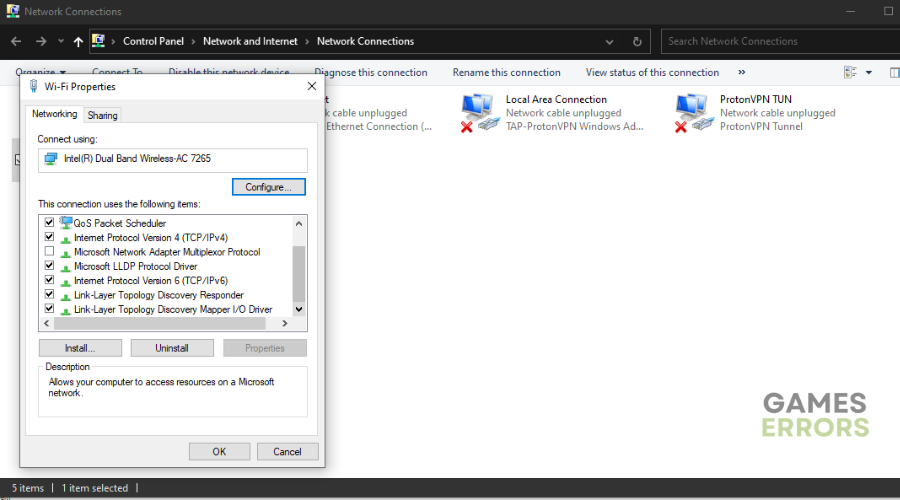
- Choose Properties from the pop-up menu.
- Select Internet Protocol Version 4 (TCP/IPv4) from the list.
- Click Properties.
- Select “Use the following DNS server addresses” and enter the new DNS address and secondary DNS address.
- Click OK to save the changes.
We hope one of the above solutions has helped you fix Valorant Packet Loss. Feel free to leave us a comment letting us know what is working for you.

Improve this guide
User forum
0 messages