
Destiny 2 Error Code Currant: Fix it in 5 Minutes
This error code means that there is a connection issue between your device and game server. 🤖
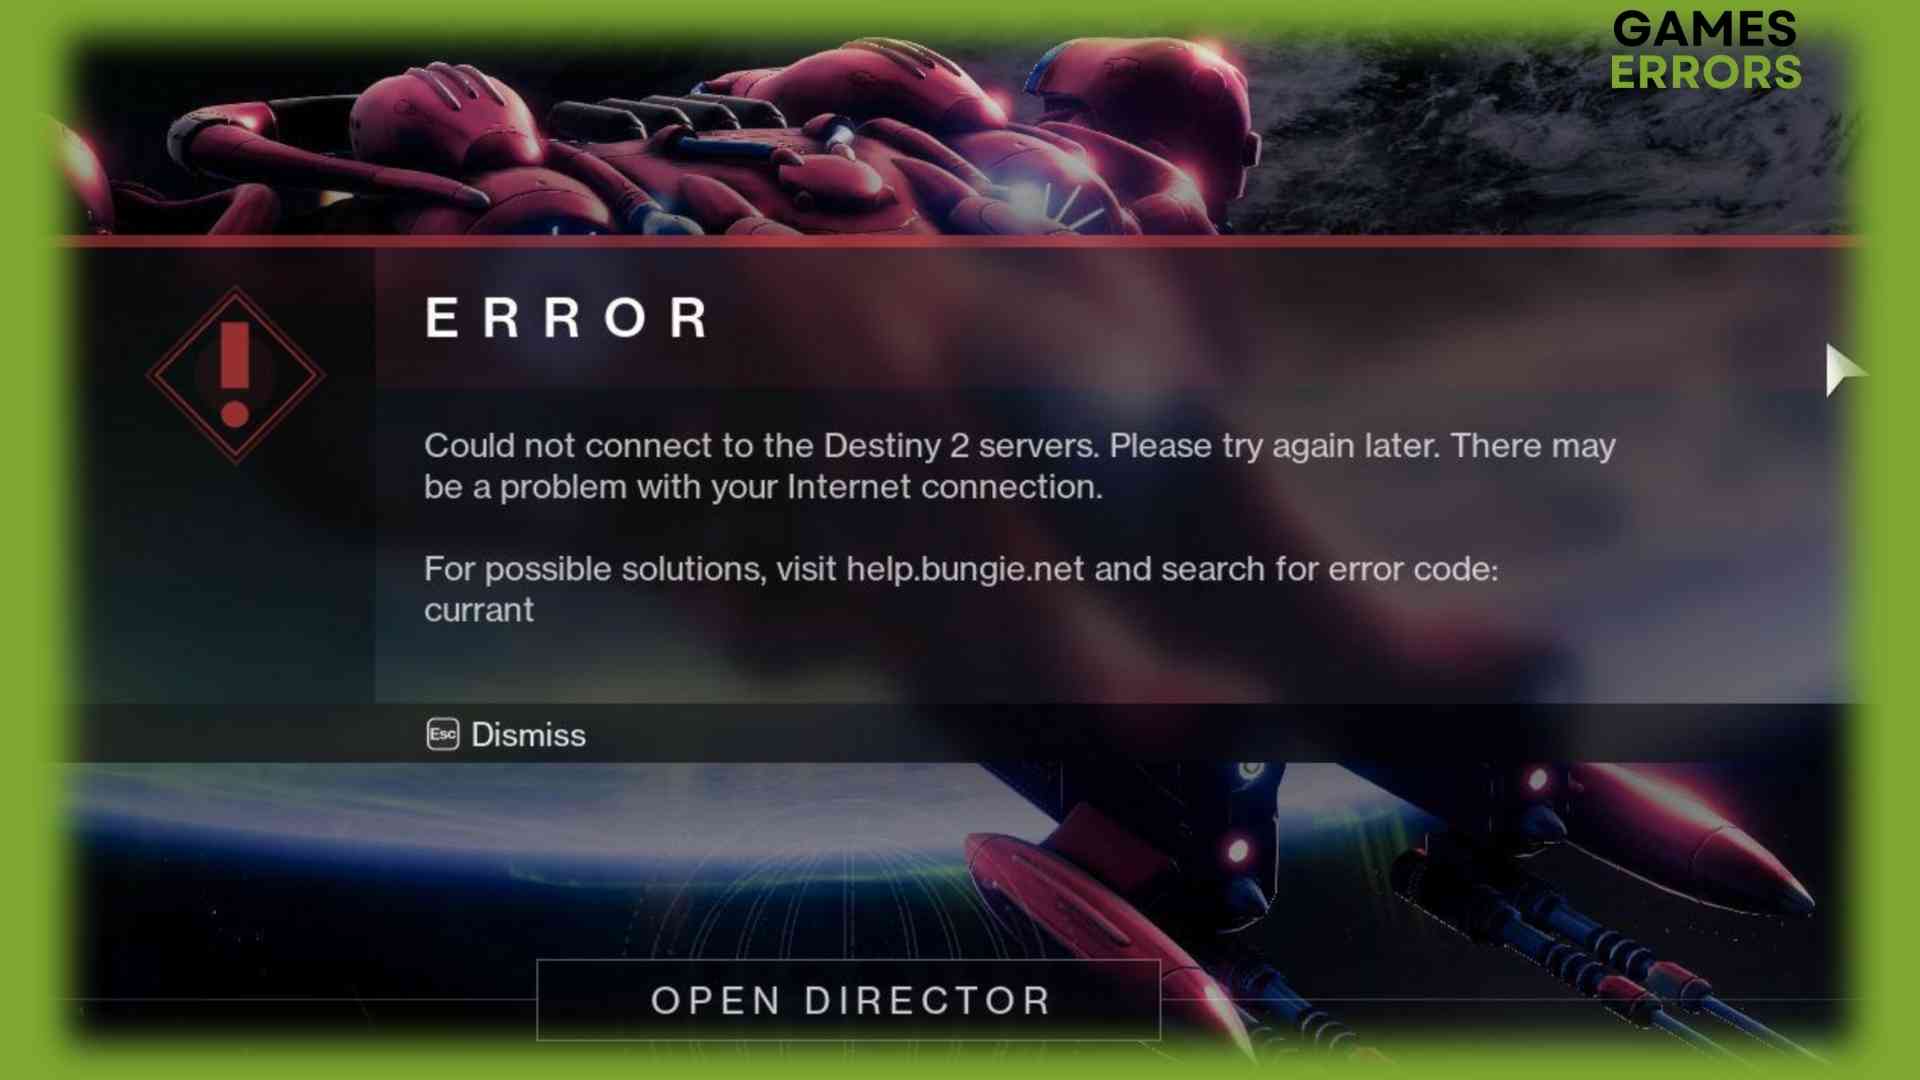
Destiny 2 error code Currant can be annoying since it is difficult to precisely point the finger at the problem causing it. This network-related error can be caused by different factors. Troubleshooting it, however, doesn’t need to be complicated as long as you follow our step-by-step solutions.
Why do I get Destiny 2 error code Currant?
Destiny 2 Error Code Currant happens when there is a general connection stability problem. This can occur due to a weak Wi-Fi signal, ISP-related issues, packet loss errors, slow internet connection, network-consuming apps running while you launch the game, outdated network drivers, and faulty game files preventing your device from connecting.
How do I fix Destiny 2 error code Currant?
Start troubleshooting with a few simple checks and fixes:
- Ensure you are using a wired internet connection.
- Ensure you have at least 3 Mbps download and a 1 Mbps upload speed.
- Check if there are any announcements from Bungie Help. If there is a maintenance of the game servers, you don’t have to take any actions until it is resolved.
- Check if your PC meets at least the minimum system requirements for Destiny 2.
Don’t worry if the error code Currant continues to occur, follow these step-by-step solutions.
- Modify the DNS server address
- Update the network driver
- Verify game files
- Close background apps
- Fix Packet Loss
1. Modify the DNS server address
Time needed: 3 minutes
Many connection-related errors are caused by misconfigured DNS server addresses. By default, they will be obtained automatically, and we will change them to ensure flawless connection.
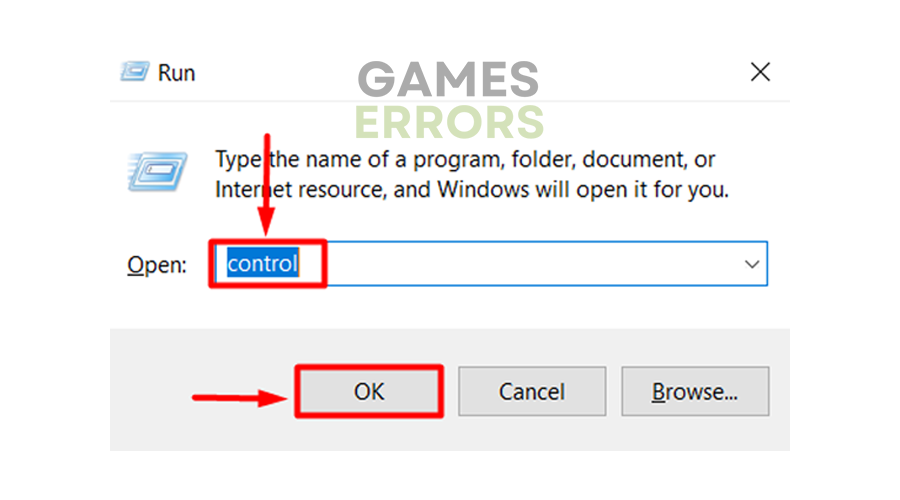
- Use Windows Key + R shortcut to open the Run dialog, type control, and hit the OK button.

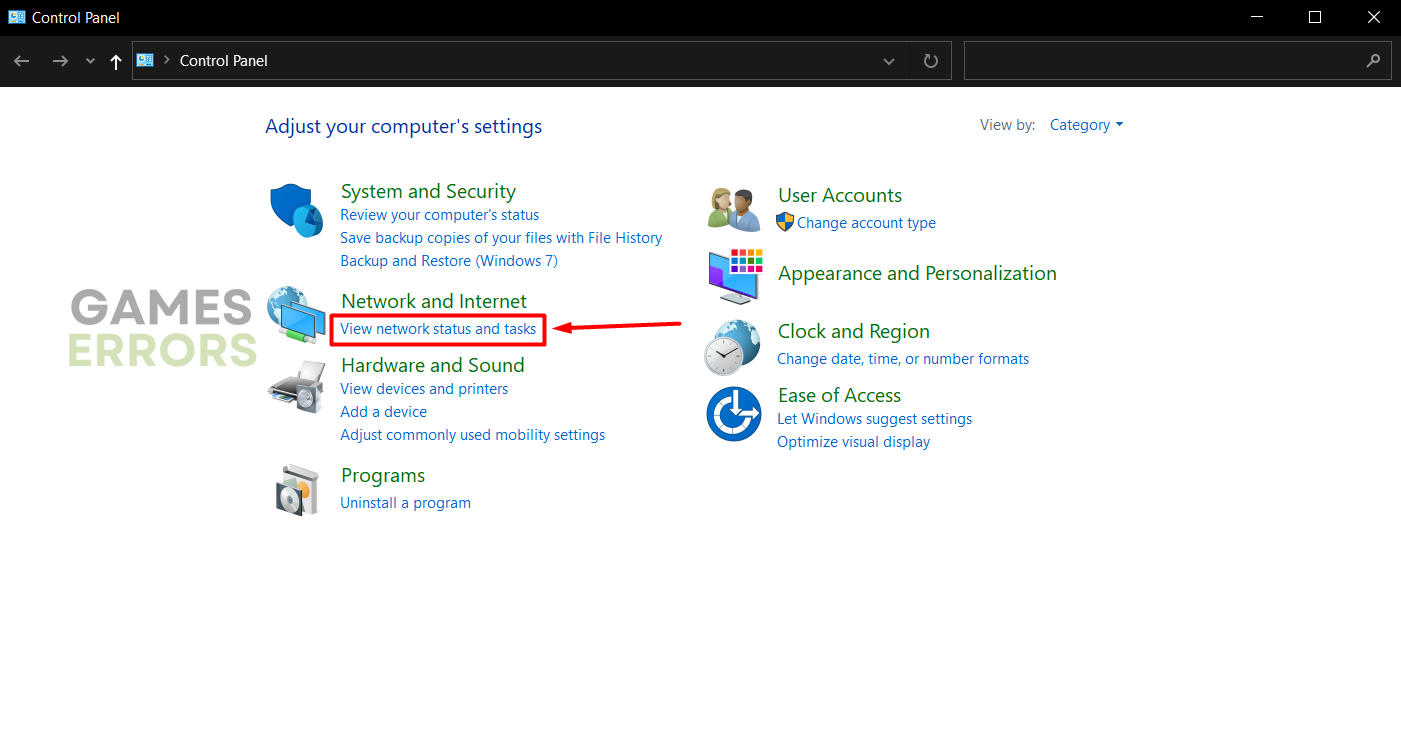
- Click on the View network status and tasks under the Network and internet section.
The easiest way to navigate is to choose Category in the View by.

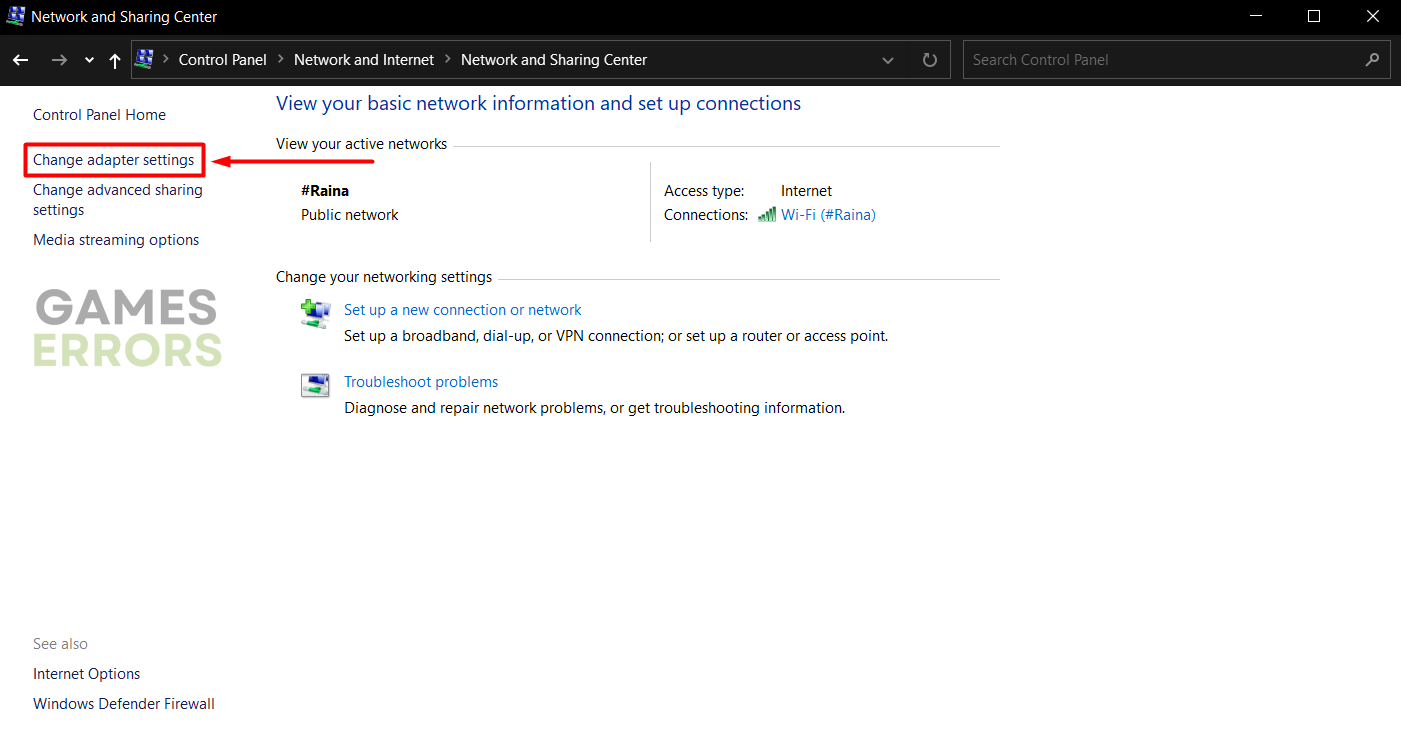
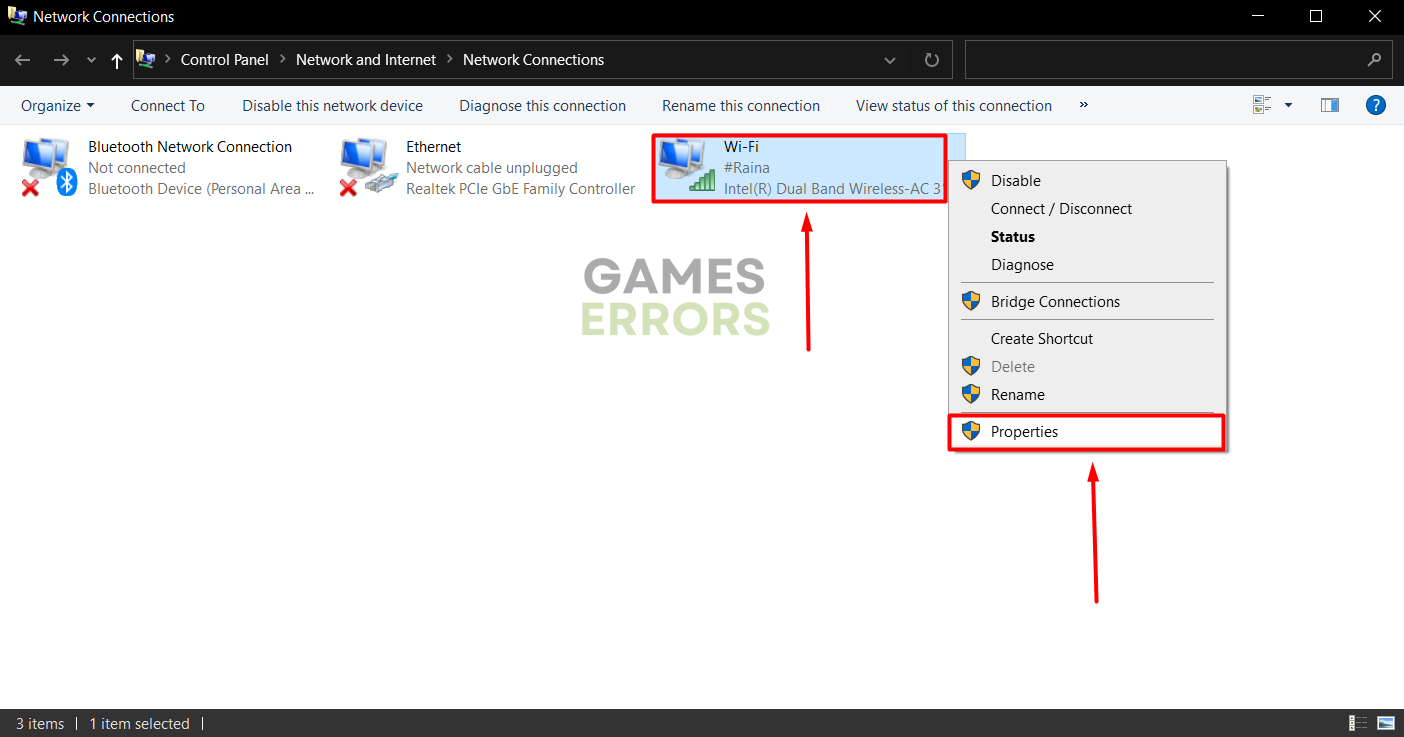
- Select Change adapter settings in the panel on the left.

- Right-click your internet network and select Properties.
If you are using a wired (ethernet connection), a cable icon will be next to it. If you use a wireless connection, there will be a green signal icon.

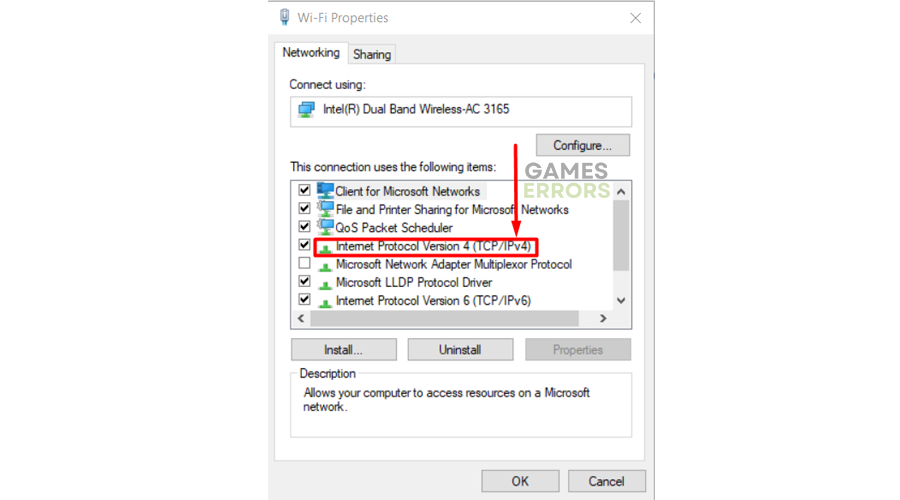
- Double-click Internet Protocol Version 4(TCP/IPv4)
Internet properties will open in a new window.
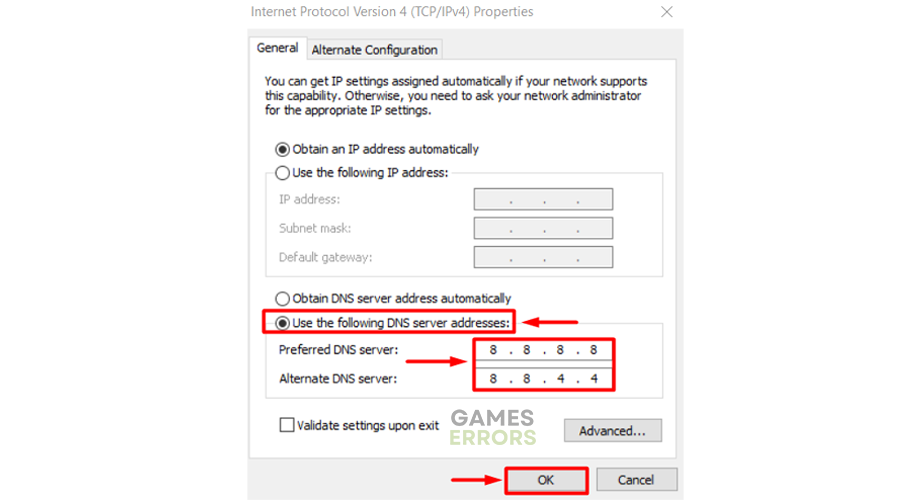
- Click on the circle next to Use the following DNS server addresses.
- Type 8.8.8.8 for the Preferred DNS server and 8.8.4.4 for the Alternate DNS server.
- Hit the OK button and restart your PC to apply the changes.
2. Update the network driver
Even if your network functions flawlessly on other devices, your PC needs the latest network drivers to have the best possible connection to the internet.
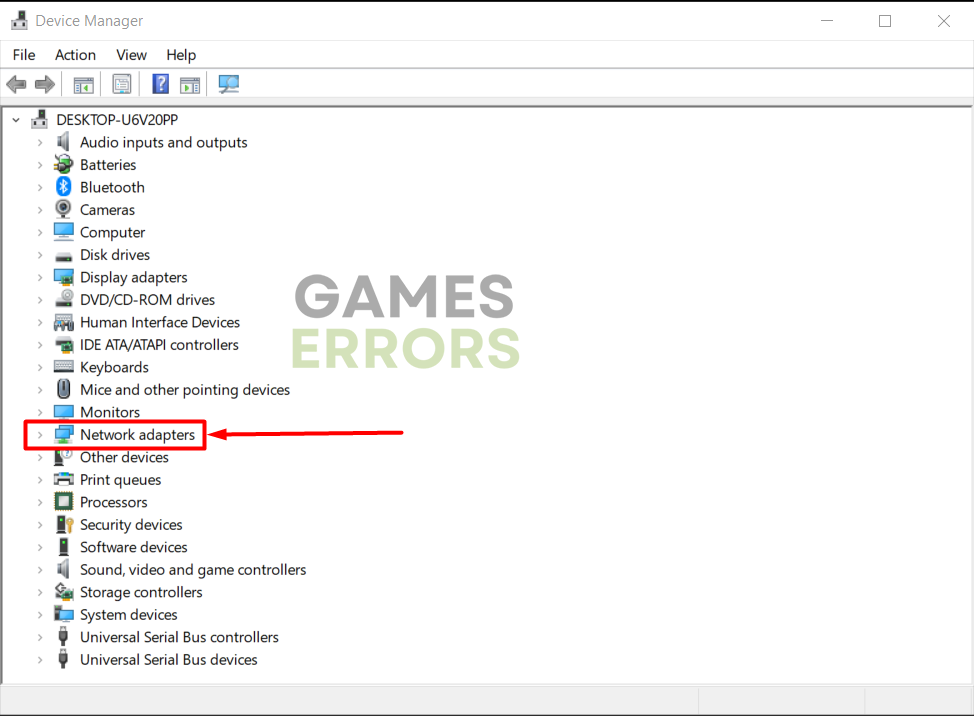
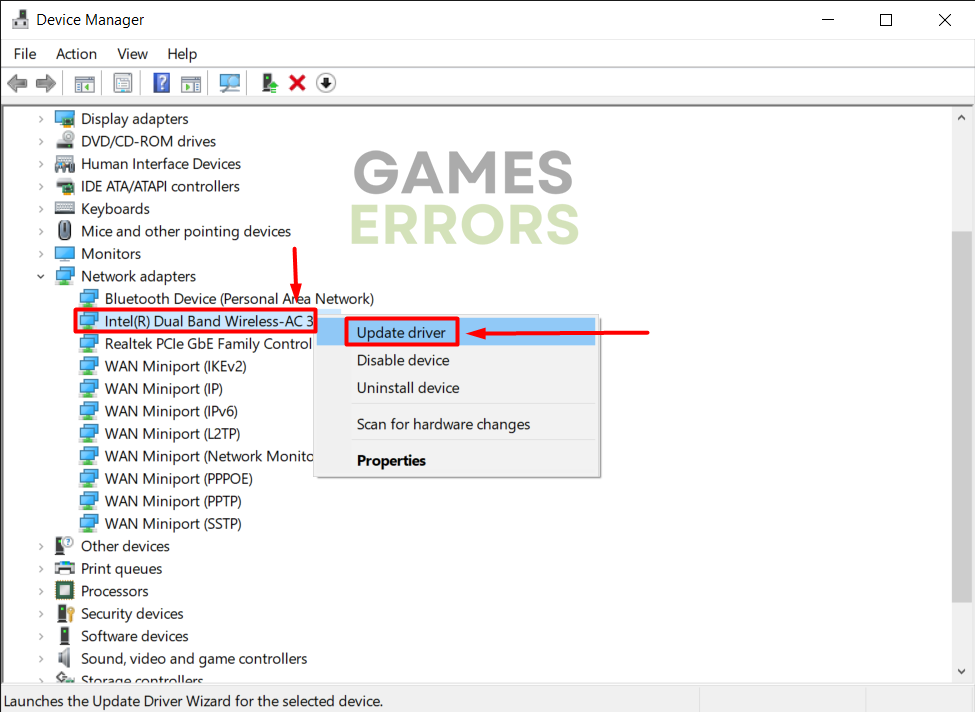
- Click on the Windows icon, type Device Manager, and open it from the search results.

- Double-click on the Network adapters section to expand it.

- Right-click on your network device and select Update driver.

- Select the Search automatically for drivers option. Update Driver Wizard will search for suitable driver updates.
- Windows will install the driver update if it is found. If not, you can use other methods to double-check if there are new drivers for your network device.
- Restart your PC.
You can use PC HelpSoft to scan, update and monitor network drivers on your PC. As a matter of fact, this tool does a great job of managing all drivers on your device in an effortless manner.
3. Verify game files
Corrupted game files can cause issues when trying to connect to the Destiny 2 game servers. Epic Games and Steam made an easy to use system for verifying these files.
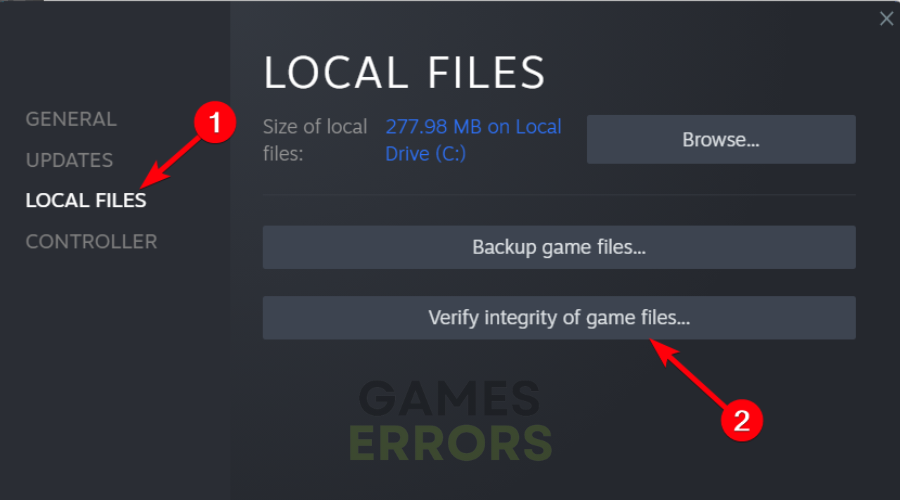
For Steam users:
- Open Steam and go to the Library.
- Find Destiny 2 in the Library, right-click on it, and select Properties.
- Select the Local Files section in the left-sided panel.
- Click on the Verify integrity of game files… button.
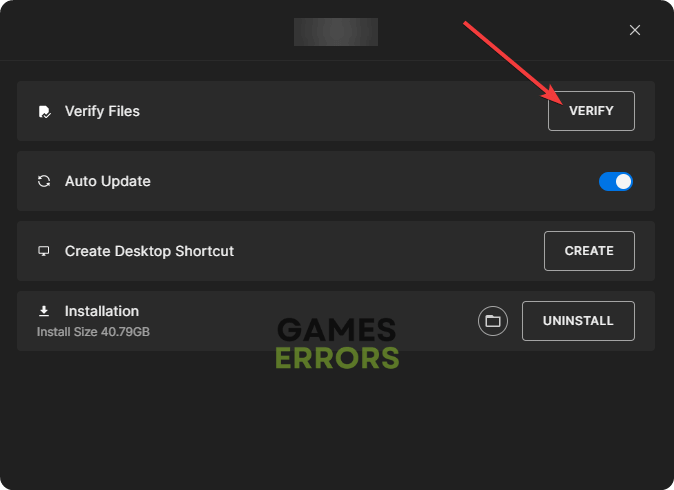
For Epic Games users:
- Open Epic Games Launcher and go to the Library.
- Find Destiny 2, click the three vertical dots next to it, and select Manage.
- Hit the Verify button.

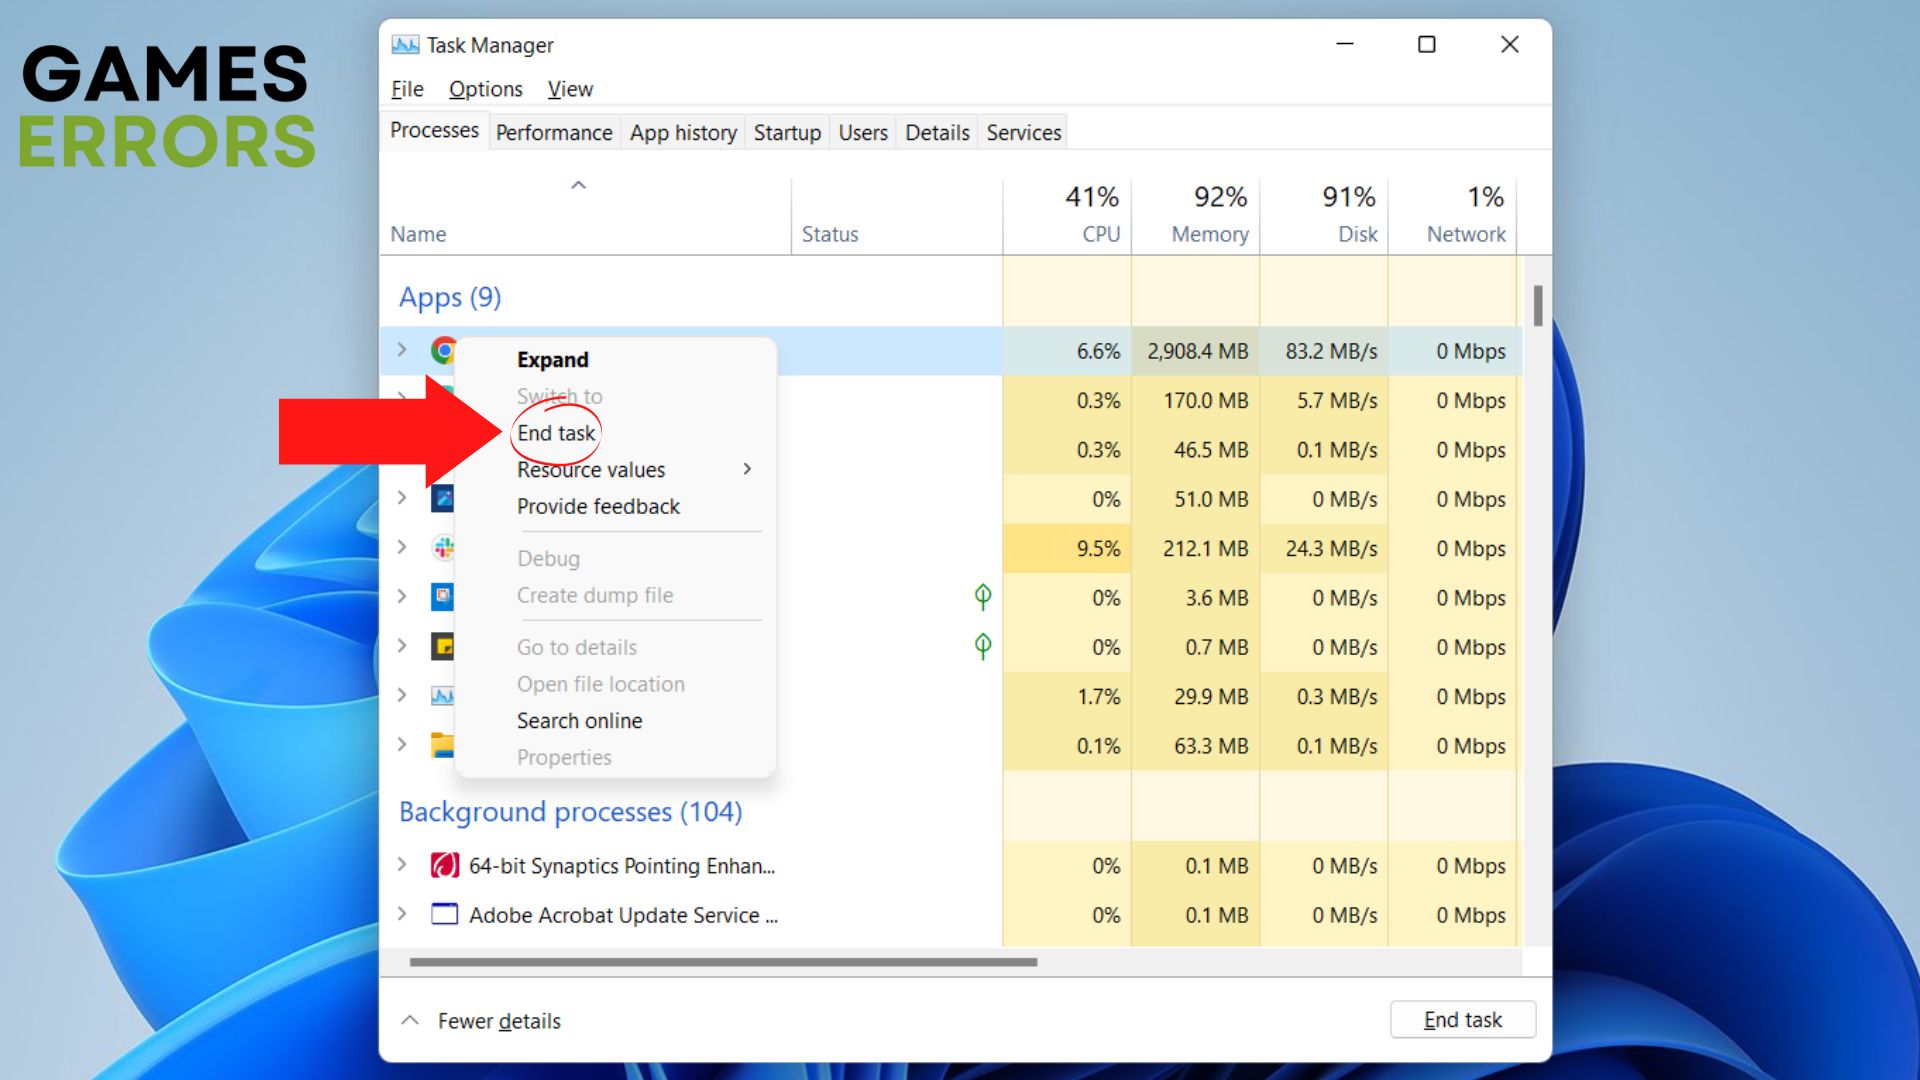
4. Close background apps
Apps running in the background will use your internet bandwith, which can cause Destiny 2 error code Currant.
- Open the Task Manager using the CTRL + Shift + ESC shortcut.
- Find apps using internet bandwidth (check the Network column).
- Right-click on apps and select End task.

5. Fix Packet Loss
Packet Loss happens when the data gets lost somewhere while it is transmitted between your server and the main server. To check the Packet Loss in Destiny 2 you can try the following method. However, there aren’t many fixes to the problem but you will find some of them below.
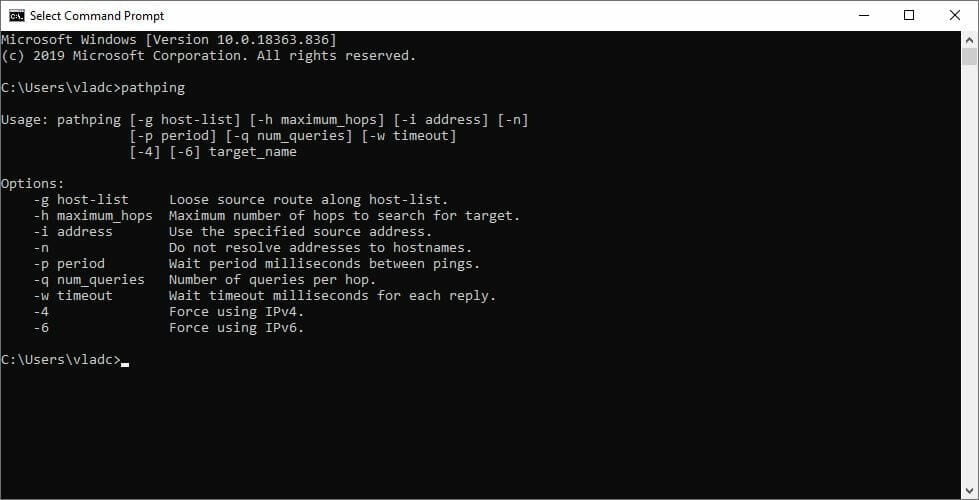
- Launch CMD.
- Use netstat to locate the Destiny 2 server IP address
- Run the pathping x.x.x.x command (replace x.x.x.x with the Destiny 2 server address)
- Wait until the process is complete
- Locate the node (hop) that’s leaking packets (high packet loss)
However, you can skip the steps above and just fixes with the ones below.
Solutions to fix Packet Loss:
- Use a VPN
- Restart your modem/router/internet device
- Try another Wi-Fi, or use a cable
- Call your Internet Service Provider to see if there are any problems.
Extra steps
If nothing up until now solved the error code Currant issue, you can try to:
- Restart your device and internet modem.
- Update your Windows.
- Disable VPN if you are using it.
- Try opening the game while connected to another network. If the game works on another network, contact your ISP and ask them to help you fix your network.
Related articles:
- Destiny 2 Error Code Anteater: How To Fix This Network Error
- Error Code Weasel In Destiny 2: What Is & How To Fix It Easily
- Destiny 2 Error Code Calabrese: How To Fix
- Destiny 2 Stuck On Loading Screen: How To Fix It Quickly
We hope you managed to debug the connection between your device and the game server and that the problem is no longer appearing. If you have any other issues with Destiny 2, let us know by leaving a comment, and we will do our best to assist you. Also, feel free to share any additional fixes for Destiny 2 error code Currant.

Improve this guide
User forum
0 messages