
Destiny 2 Error Code Seal: Fix it Quickly
Don't let the Destiny 2 error code seal get in your way of gaming with these easy fixes 😉.
The Destiny 2 error code Seal is a general networking error that many players face. Most players report experiencing issues, such as the page not working, denied access, or the page being down. These errors are pretty frustrating and get in the way of fun. Luckily, we have covered you with foolproof solutions that help fix the issue.
What causes the error code Seal in Destiny 2?
The error code Seal in Destiny 2 occurs when the connection between the game server and the game client is interrupted or lost for some reason. This results in a networking error that disrupts your gaming experience. Other underlying causes include:
- Network and internet connectivity problems
- Overloaded game servers
How to fix Destiny 2 error code Seal?
As a precheck, check Destiny 2 server status to ensure there are no scheduled maintenance, downtime, or outages. Server-related issues may cause the error code Seal.
If the servers are up and you’re still running into the error code Seal, try these fixes:
- Restart your PC
- Turn UPnP on and off
- Update your network drivers
- Check your internet connection
- Run a speed test
1. Restart your PC
Restarting your PC may help fix any network-related issues with your PC that may be causing the error code Seal. Here’s how to do this:
- Click the Windows start button.
- From the list of options, click Power.
- Select Restart.
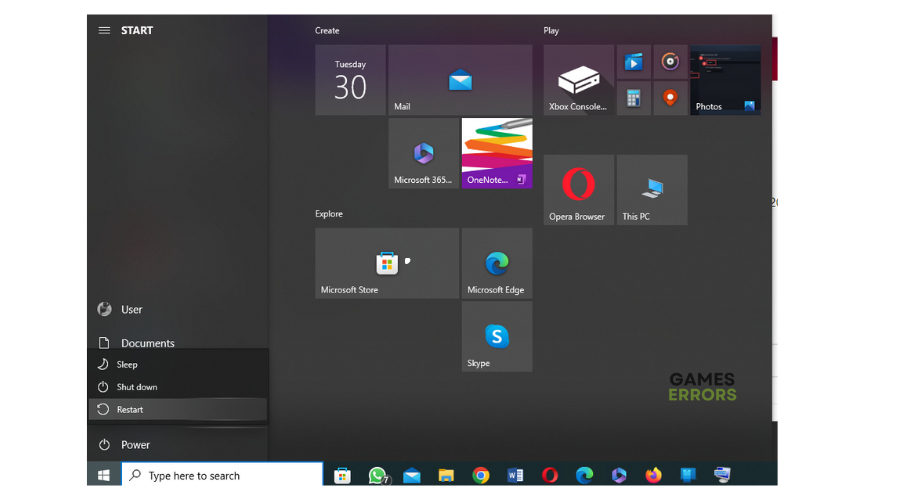
- Let Windows restart and try downloading the game again to see if the problem is fixed.
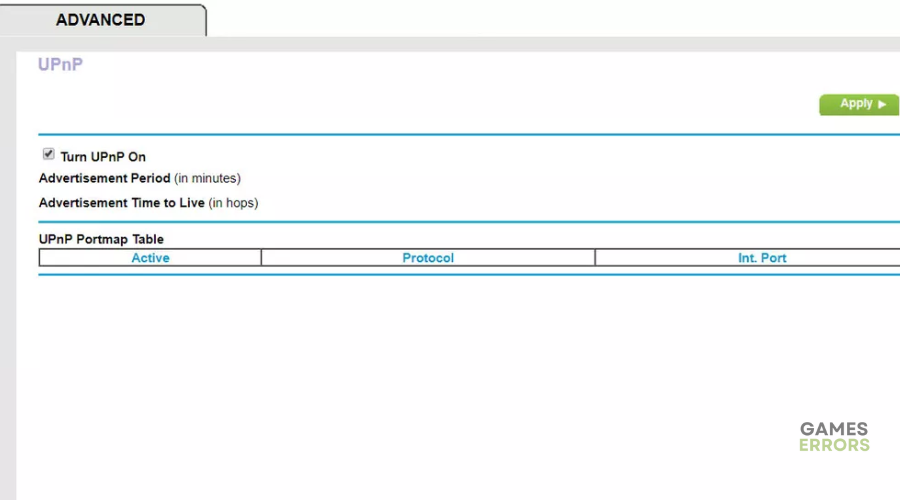
2. Turn UPnP on and off
Time needed: 3 minutes
UPnP (Universal Plug and Play) is a networking protocol that permits network devices like personal computers, Internet gateways, mobile phones, and Wi-Fi access points, which helps establish network services. Turning it on and off can help fix any networking errors and bugs that may cause the error code Seal in Destiny 2: Here’s how to turn UPnP on and off on your router:
- Connect
Ensure your PC is connected to the router’s network, and open a web browser.
- IP address
Input your router’s IP address into the address bar and press enter. It will open your router’s interface. Log in with your username and password.
- Settings
Navigate to router Settings.
- Advanced Network
Look for Advanced Network and click on it.
- Turn UPnP on and off
On the UPnP tab, check and uncheck the box next to it to turn it on and off.

- Advertisement period and time
Specify the two options you see:
Advertisement Period: The standard here is 30 minutes.
Advertisement Time to Live: The default value is four hops, but you can increase it if your UPnP doesn’t function efficiently. - Apply
Click Apply to complete the process.
- Relaunch
Relaunch the game to see if the issue is solved.
3. Update your network drivers
If your network drivers are outdated or corrupted, you may get the Destiny 2 servers not available error. Updating your drivers can help solve the issue. To do this:
- Right-click on the Start Menu and select Device Manager from the Quick Access Menu.
- Navigate to Network Adapters and double-click to expand the list.
- Right-click on the driver you’re using or the dedicated GPU card and select Update driver from the list of options.
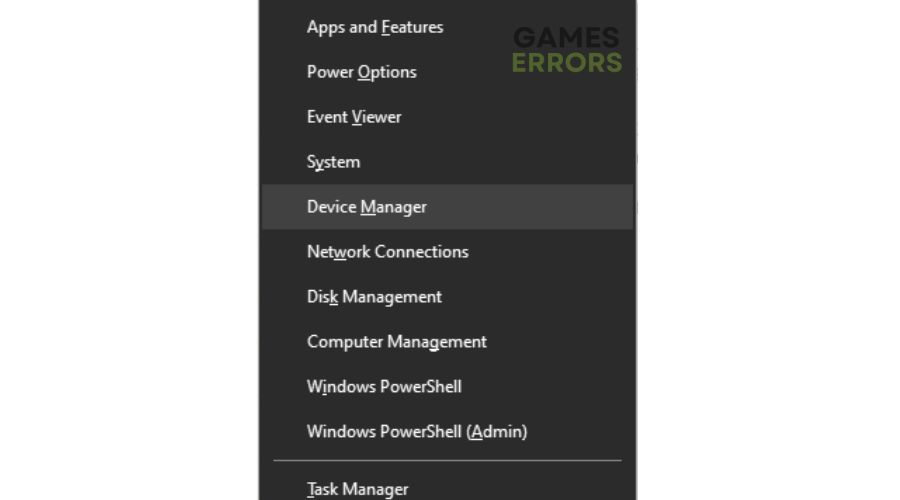
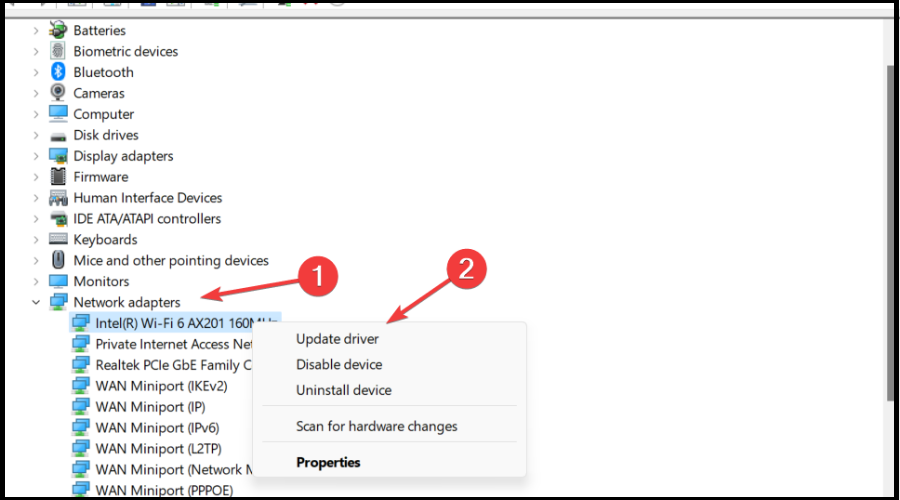
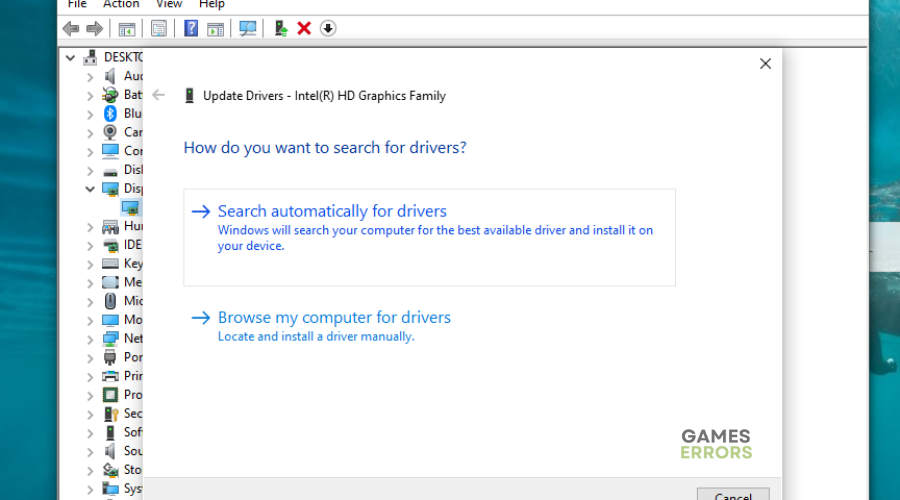
- Click on Search automatically for drivers and let Windows search and install them.
- Restart your PC and launch Destiny 2 to see whether the issue is fixed.
If you don't have the patience and time to manually update your graphic drivers, simply Download and install PC HelpSoft – a trusted third-party app that automatically updates and installs your GPU drivers hassle-free.
4. Check your internet connection
Since network issues cause the error code Seal in Destiny 2, check your PC’s internet connection status to ensure it’s stable. A poor internet connection affects how your PC connects with the game’s servers, resulting in the error code Seal. Here’s how to do this:
On PC:
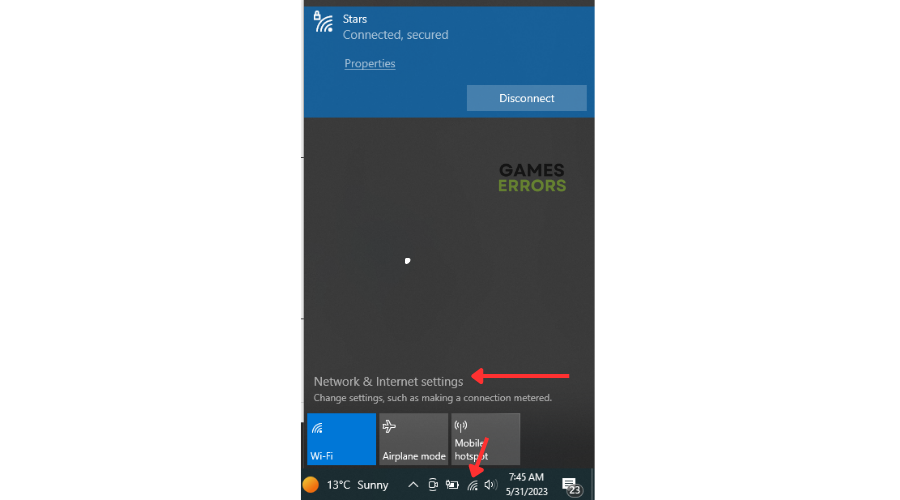
- Press the network icon.
- Click Network & Internet settings.
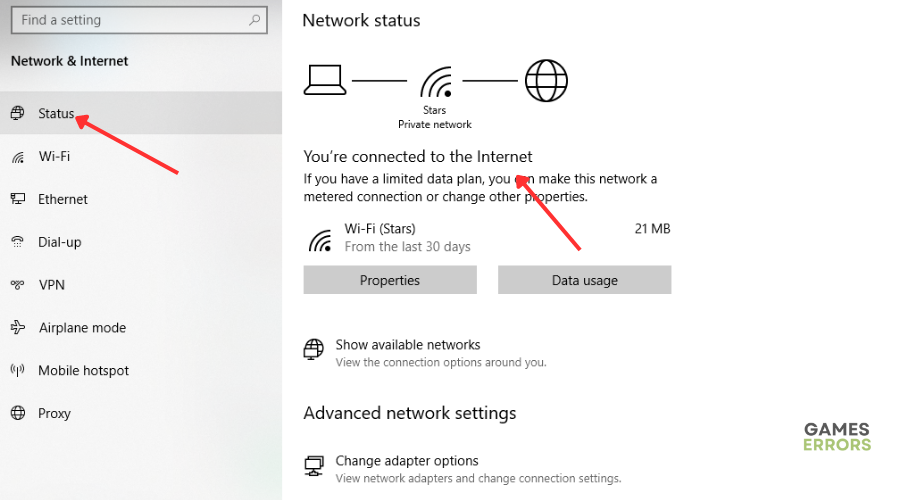
- Select Status.
- If it reads, “You’re connected to the internet,” the problem isn’t with your network.
On X-box
If you’re playing on X-box, here’s how to check the network status:
- Navigate to Settings.
- Click the Network menu.
- Check if it is the proper Wi-Fi that you’re on.
5. Run a speed test
If there’s nothing wrong with your internet connection, run a speed test to see whether the upload and download speed is stable. This will let you know whether your internet is stable enough to connect with Destiny 2’s servers correctly without errors or glitches.
Related articles
- Error Code Olive in Destiny 2: How To Get Rid of It Easily
- Destiny 2 Not Updating: Simple Ways to Fix This Issue
- Destiny 2 Servers Not Available: Fix it Easily
Conclusion
That’s it – five proven solutions to fix the error code Seal in Destiny 2. Work your way down the list to find one that works for you. Leave any additional comments, questions, or solutions below.

Improve this guide
User forum
0 messages