
Destiny 2 Servers Not Available: Easy Ways to Fix the Issue
The Destiny 2 Servers not available error may get in your way of your fun, but these fixes can help 😀.
If you’re getting a Destiny 2 servers not available error, don’t worry. This is a common Destiny 2 problem, and many players report experiencing the issue, making it impossible to start the game. While the Destiny 2 “servers not available” error is intermittent, it gets in the way of fun. Luckily, you can fix it with the foolproof solutions listed below. Check them out to find a fix that works for you.
Why does Destiny 2 have server issues?
The leading cause why Destiny 2 has server issues is server congestion. Often, too many players connect to the server at the same time, causing it to overload. When this happens, Destiny 2 puts new login attempts on hold. So, when you try to start the game, you get an error message. Other possible causes of the Destiny 2 servers are not available error include:
- Incorrect network configurations
- Network outages
Another reason why Destiny 2 is not online all the time is due to scheduled server maintenance which might occur when there are new updates for the game or quick fixes to errors and bugs.
How to fix Destiny 2 servers not available error?
To fix the Destiny 2 servers not available error, as a precheck, make sure that you verify Destiny 2 server status to ensure there are no scheduled maintenance, downtime, or outages. Since the error is an intermittent issue, you can also try waiting and rejoining the game server at a later time. However, if waiting isn’t an option, try any of the fixes listed below:
- Use a wired Ethernet connection
- Disable DHCP for your connection
- Use VPN
- Update your network driver
- Reset Network Setting
1. Use a wired Ethernet connection
Destiny 2 requires a more stable and faster internet connection to run smoothly. Switching to an Ethernet connection lets you get fast Internet that can help fix the Destiny 2 servers not available error. Plug in your Ethernet cable on the Ethernet port on both your router and PC and restart the game to see if the issue is solved. Ensure your WiFi connection is disabled.
2. Disable DHCP for your connection
Time needed: 4 minutes
Server-related errors can be caused by DHCP (Dynamic Host Configuration Protocol), which is enabled on the computer. Many players report fixing the error by disabling DHCP. Here’s how to do this:
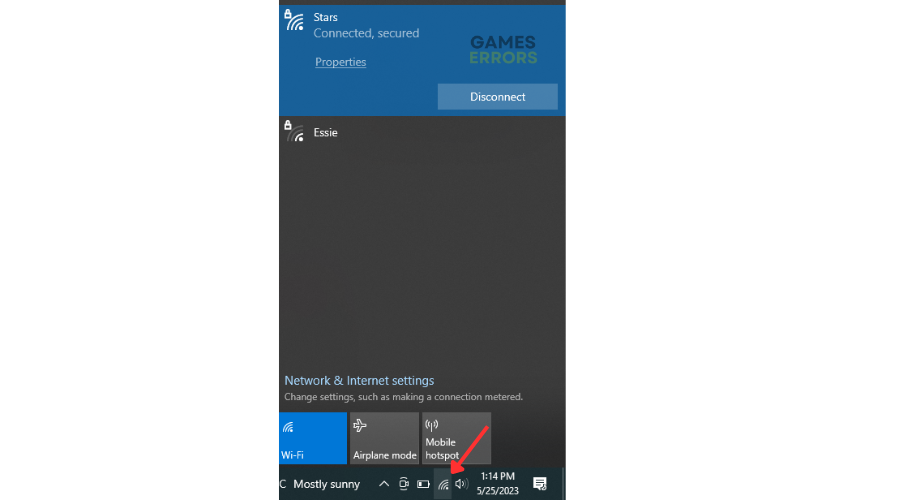
- Open Network & Internet settings
Click on the network icon on your PC and click Network & Internet settings

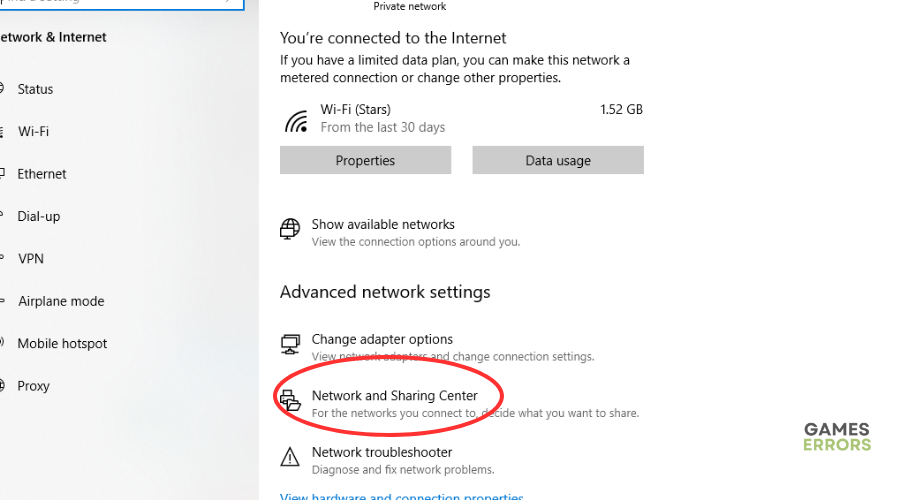
- Network and Sharing Center
Navigate to Network and Sharing Center and click to open.
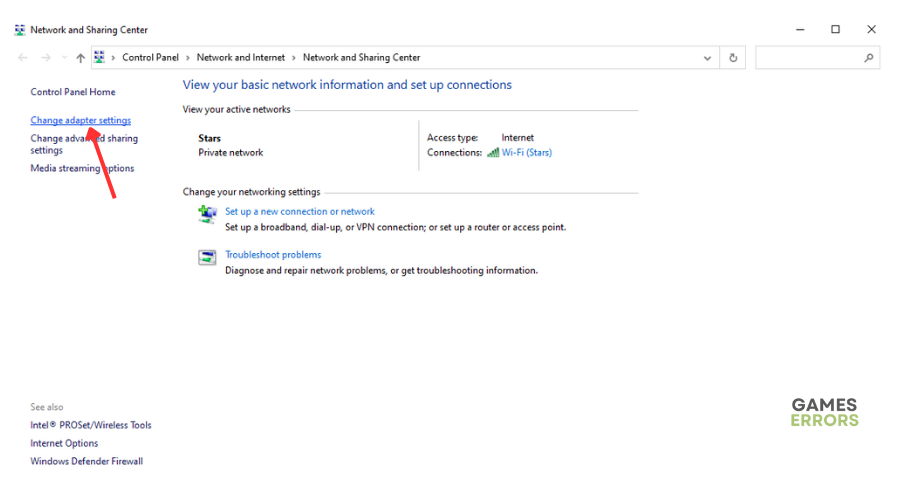
- Change adapter settings
Click on Change adapter settings.
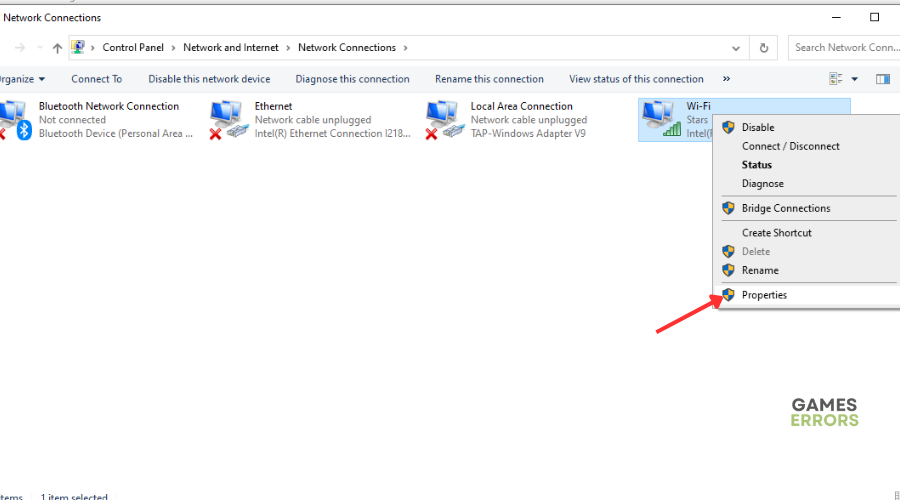
- Properties
Right-click on the connection you’re currently using, and click Properties.
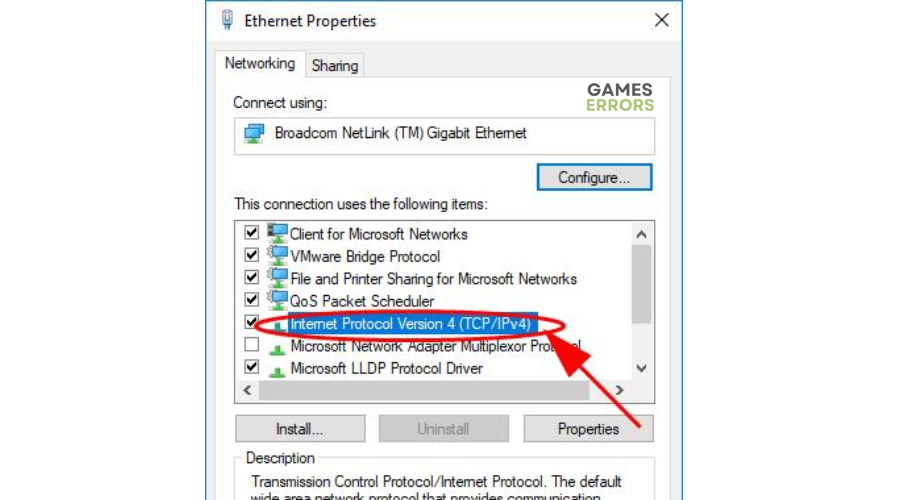
- Internet Protocol Version 4 (TCP/IPv4)
Double-click Internet Protocol Version 4 (TCP/IPv4)
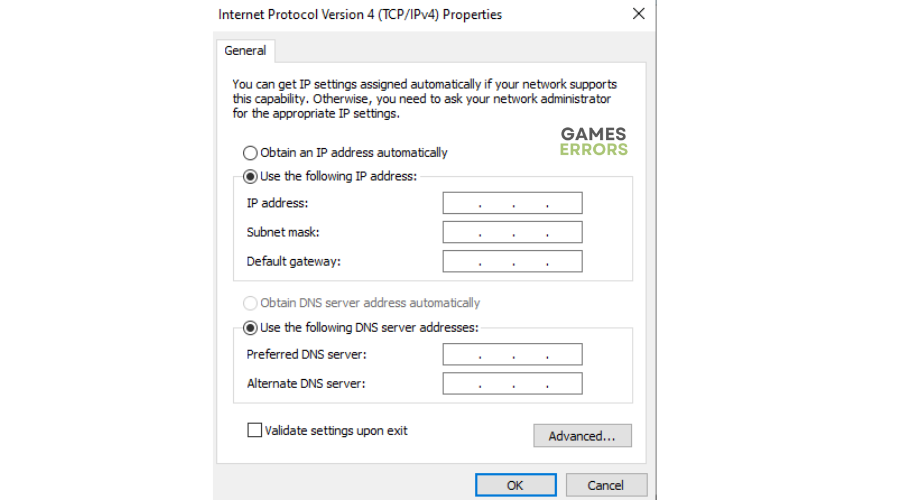
- IP address
On the pop-up, select Use the following IP address and Use the following DNS server addresses. Manually enter the IP address and DNS server addresses. Choose OK to save.
- Restart
Restart your PC and open Destiny 2 to see if the error message is fixed.
3. Use VPN
When a server is congested with too much traffic, it causes a delay between the gamer’s action and the server’s reaction. This lag makes it impossible to connect to the servers, resulting in an error message. A VPN helps solve this problem by creating a secure connection between your PC and the Internet. ISPs can’t throttle your connection since they don’t know what you’re doing.
To use a VPN on your PC, do the following:
- Download a VPN app.
- Set up the VPN service – follow the prompts of the VPN app to set it up.
- Connect to a VPN server and see whether the issue is solved.
The best VPN for gaming to connect to is Express VPN. It offers blazing-fast speeds, DDoS protection, and unrestricted access for the ultimate gaming experience.
4. Update your network driver
If your network drivers are outdated or corrupted, you may get the Destiny 2 servers not available error. Updating your drivers can help solve the issue. To do this:
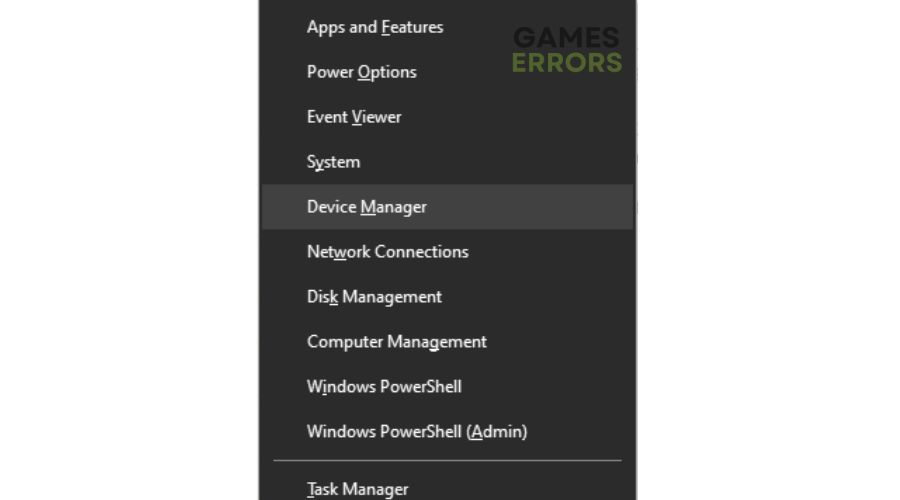
- Right-click on the Start Menu and select Device Manager from the Quick Access Menu.
- Navigate to Network Adapters and double-click to expand the list.
- Right-click on the driver you’re using or the dedicated GPU card and select Update driver from the list of options.
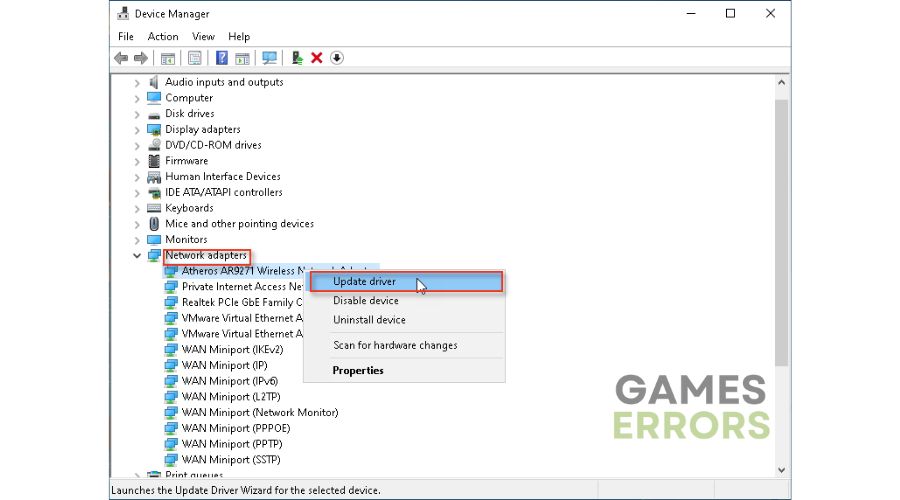
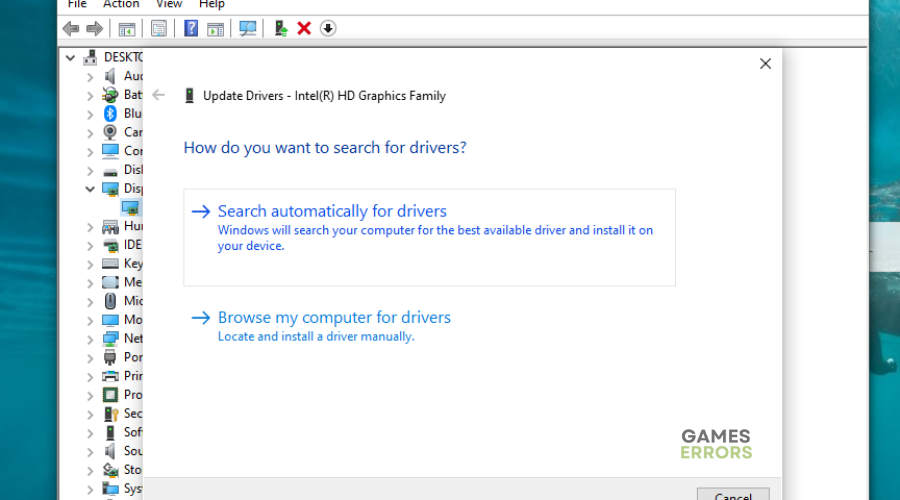
- Click on Search automatically for drivers and let Windows search and install them.
- Restart your PC and launch Destiny 2 to see whether the issue is fixed.
If you don't have the patience and time to manually update your graphic drivers, simply Download and install PC HelpSoft – a trusted third-party app that automatically updates and installs your GPU drivers hassle-free.
5. Reset Network Setting
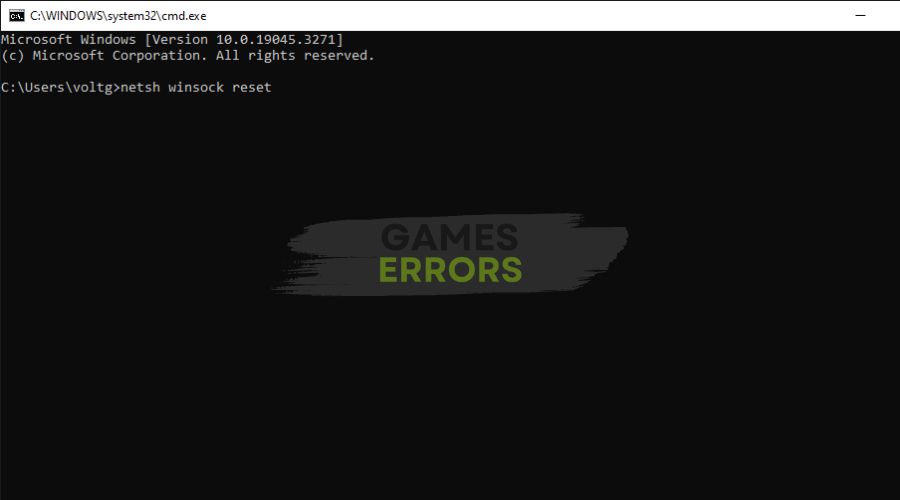
Netsh winstock reset is safe, in fact it does nothing harmful to your system, it just resets your network settings.
- Press Win + R, and type cmd.
- Instead of clicking OK, ❗ press ctrl + shift + enter to run cmd in administrator mode.
- In command prompt type netsh winsock reset.
- Press Enter and Restart your PC.
- Open Destiny 2 afterwards.
Hopefully, at least one of our solutions was useful to you. There aren’t many things that you can do if you encounter this problem, as most of the time it is likely to be something related to the main game server and not to your system.
Related articles:
- Destiny 2 Error Code Monkey [Quick Fix]
- Closing Ceremony Destiny 2 Not Working [Fixed]
- Destiny 2 App Not Working: 3 Quick Fixes in Just 3 Minutes
So there you go – four foolproof solutions to fix the Destiny 2 servers not available error. Try them to find one that works for you. Leave any additional comments, questions, and fixes below.

Improve this guide
User forum
0 messages