High CPU Usage When Playing Games? Fix It Easily
Experiencing high CPU usage when gaming can be really annoying and preventing you from enjoying games to the fullest. Fear not, I'll show you how to fix this quickly!
As a passionate gamer, I’ve personally faced the issue of high CPU usage when playing games. It’s a problem that can ruin the gaming experience, causing lag and even crashes. In this guide, I’ll share how I managed to fix this problem.
What Causes High CPU Usage When Playing Games?
From my own experience and research, several factors can lead to high CPU usage when playing games. Here’s an expanded look at what you need to know:
Hardware Limitations
- Outdated CPU: Older processors may struggle with modern games.
- Insufficient Cooling: Overheating can throttle the CPU.
- Inadequate RAM: Limited RAM can force the CPU to work harder, leading to games crashing after installing new RAM.
- Graphics Card Compatibility: A mismatch between the CPU and GPU can cause low GPU usage in games.
Software Conflicts
- Background Processes: Other running applications can consume CPU resources. Learn how to close unnecessary background processes.
- Improper Game Settings: Ultra-high settings can overburden the CPU.
- Outdated Drivers: Keeping drivers up to date is crucial. Here’s a guide on how to update graphics drivers for better gaming performance.
- Malware or Viruses: Unwanted software can consume resources.
How to Fix High CPU Usage When Playing Games?
I’ve personally tackled high CPU usage when playing games, and here’s a more detailed guide on how you can fix it:
Optimize Software and Settings
Optimizing software and settings can significantly reduce High CPU Usage When Playing Games. Before blaming a game, it’s essential to verify that the game is indeed the culprit. Sometimes, other programs running simultaneously with the game might consume more CPU resources than the game itself. By identifying and closing those resource-intensive tasks, you may free up sufficient resources and reduce CPU usage. Here’s how you can do it:
1. Close Unnecessary Programs
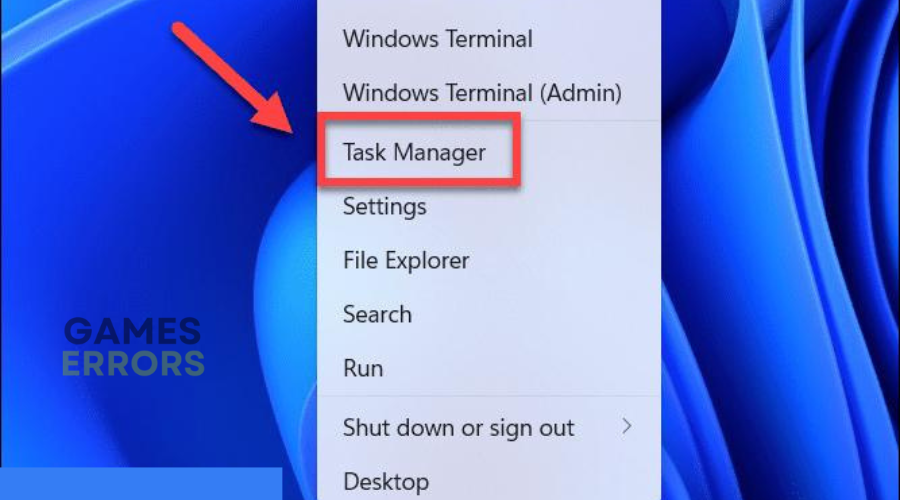
- Step 1: Open Task Manager (Ctrl+Shift+Esc).
- Step 2: Identify unnecessary background applications.
- Step 3: Right-click and choose “End Task.”
Learn more about closing the unnecessary processes.
2. Update Drivers Regularly
- Step 1: Visit the manufacturer’s website for your GPU and CPU.
- Step 2: Download the latest drivers.
- Step 3: Install the drivers and restart your computer. If you don’t know how to do it, you can use PC HelpSoft to do it for you.
Some of the most common errors are generated by outdated graphic drivers.
3. Adjust Game Settings
- Step 1: Open the game’s settings menu.
- Step 2: Lower settings such as resolution, shadows, or textures.
- Step 3: Apply the changes and restart the game.
4. Perform Regular System Scans
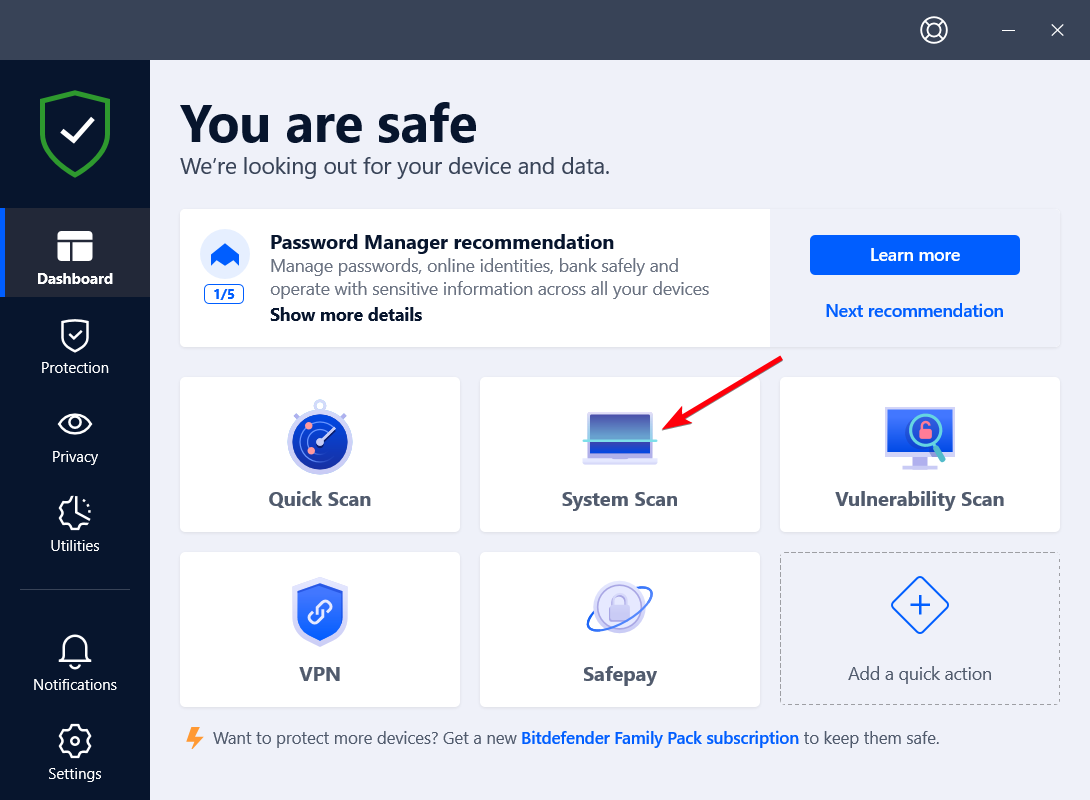
- Step 1: Install reputable antivirus software.
- Step 2: Run a full system scan.
- Step 3: Follow the software’s recommendations to remove threats.
5. Optimize Windows Settings
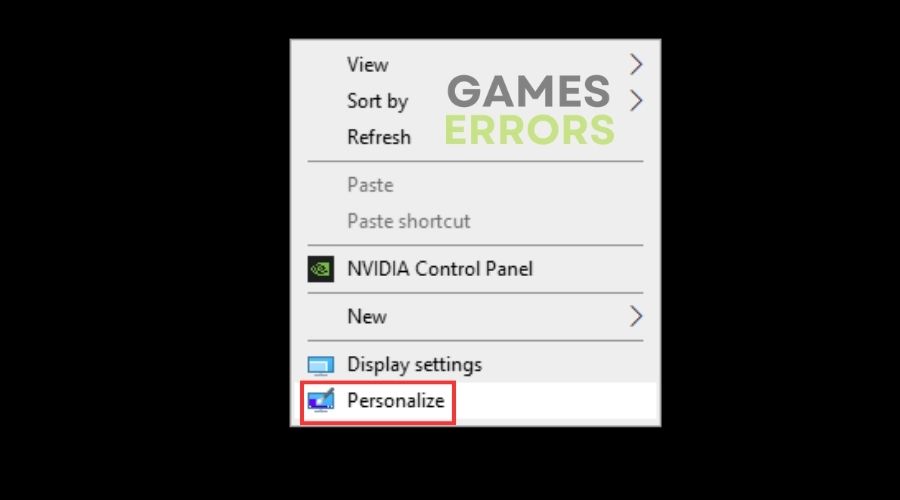
- Step 1: Right-click on the desktop and choose “Personalize.”
- Step 2: Select “Themes” and then “Desktop icon settings.”
- Step 3: Uncheck unnecessary visual effects.
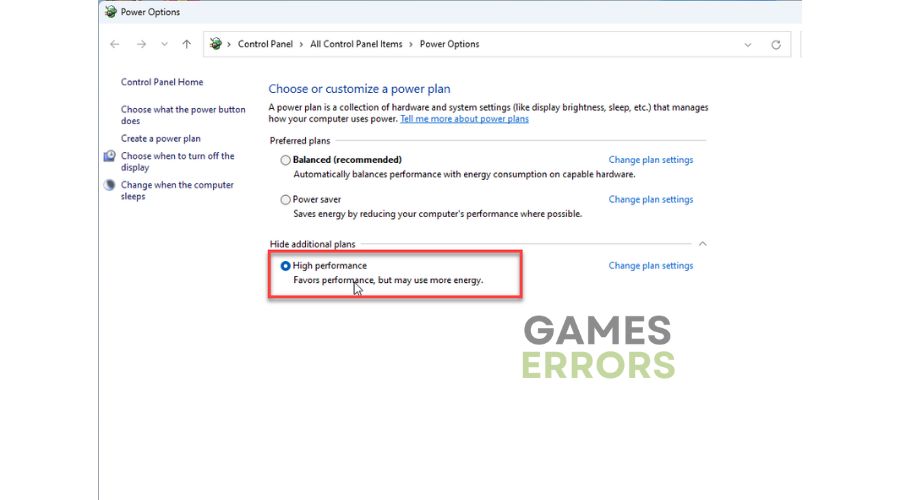
- Step 4: Go to Control Panel > Power Options and select a balanced power plan.
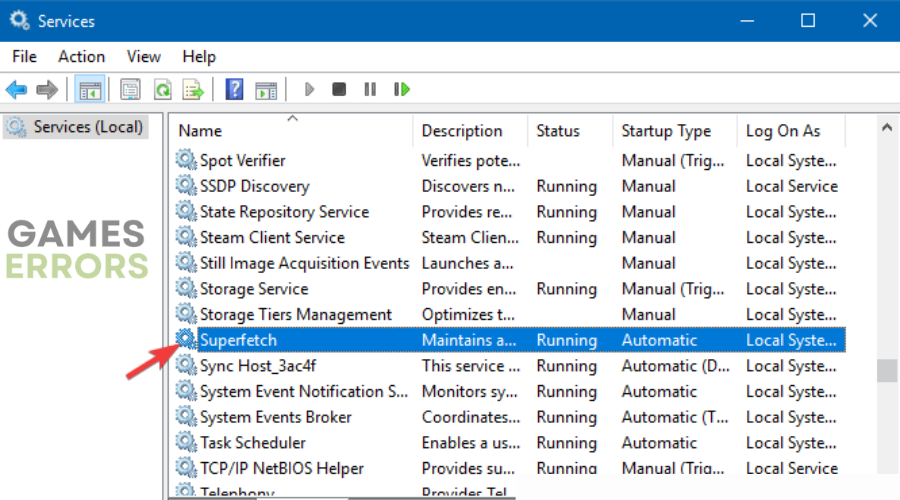
6. Disable Superfetch
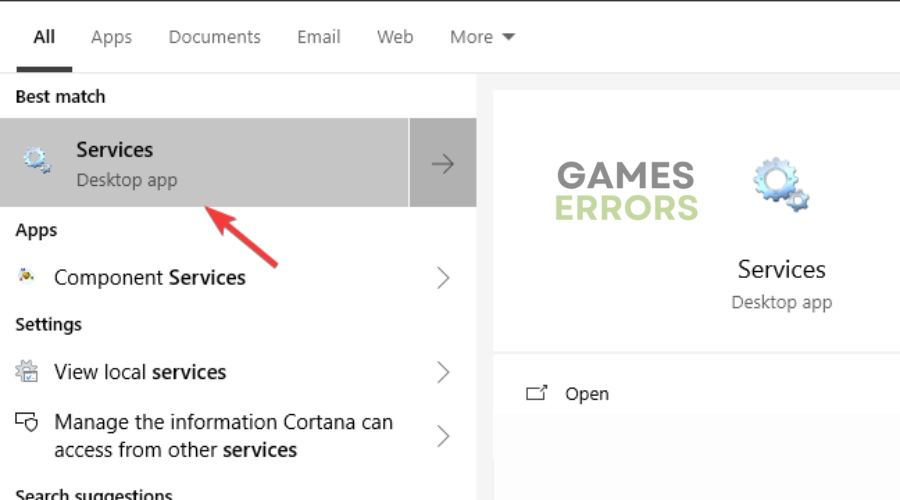
- Step 1: Press Windows Key + R and type “services.msc.”
- Step 2: Find “Superfetch” and right-click to select “Properties.“
- Step 3: Change the startup type to “Disabled” and click “OK.”
7. Check for Overclocking
- Step 1: Open BIOS/UEFI settings during boot (usually by pressing F2, F12, or Del).
- Step 2: Locate CPU settings and ensure that overclocking is disabled or set to a stable configuration.
- Step 3: Save changes and restart your computer.
8. Monitor CPU Temperature
- Step 1: Download and install a reputable temperature monitoring tool like HWMonitor.
- Step 2: Monitor CPU temperatures while gaming to ensure they are within safe limits.
- Step 3: If temperatures are too high, consider improving cooling solutions.
9. Verify Game Files
- Step 1: Go to the launcher you are using, be it Steam, Battle.Net, Epic or another
- Step 2: Click on the Game, go to Settings and look for the Repair Tool
- Step 3: Use the repair tool to verify the game files. Keep in mind that corrupted files can also lead to high CPU usage when playing games.
Conclusion
High CPU usage when playing games doesn’t have to ruin your gaming experience. By understanding the root causes and following the simple solutions I’ve shared, you can enjoy smooth gameplay. This guide is based on my personal journey in fixing this issue, and I believe it can help you too. Follow these steps, and you’ll be on your way to a frustration-free gaming experience. For more tips on how to make games run better on PC, explore our other guides. Happy gaming!




User forum
0 messages