
Minecraft Legends Connecting to Your Account Issue: How to Fix
If Minecraft Legends become stuck while connecting to your account, clear the cache and follow these tricks 🎯
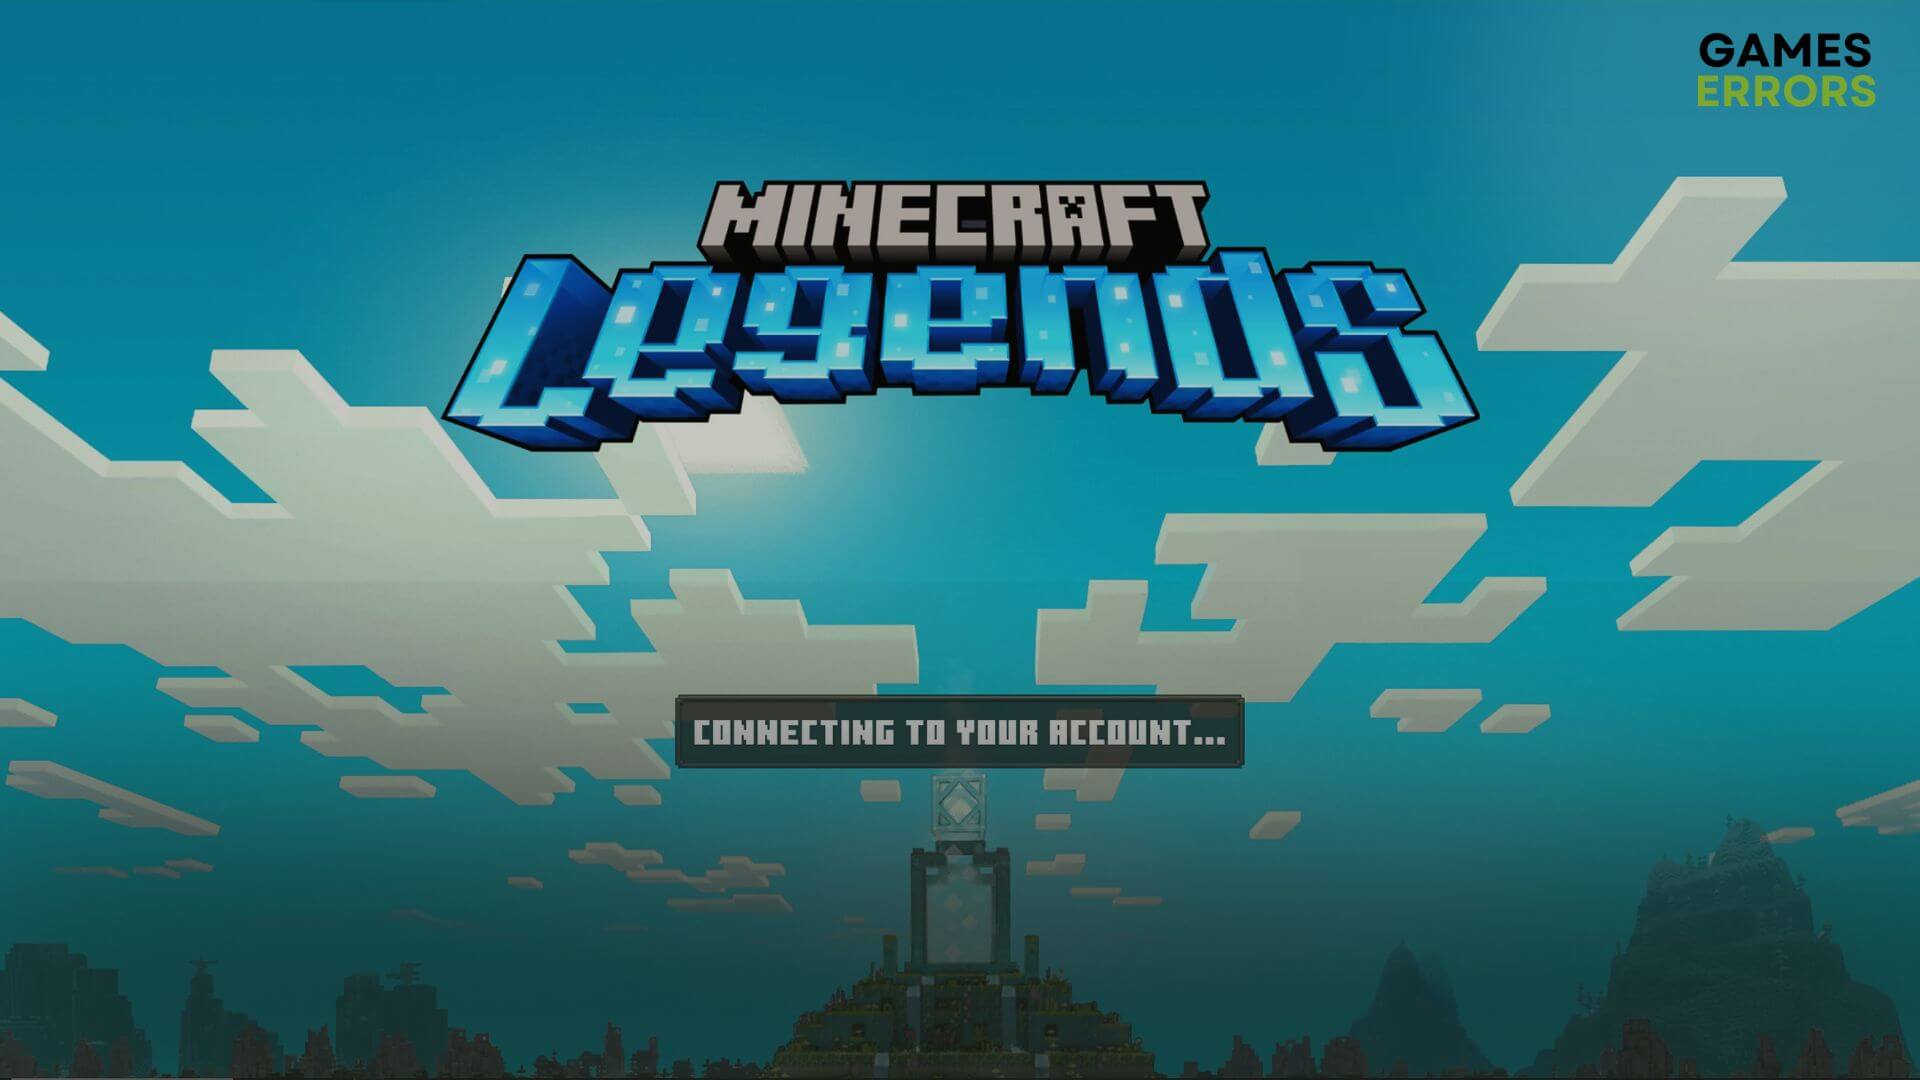
Don’t get panicked if you notice that Minecraft Legends is stuck on connecting to your account. You can solve this problem quickly.
This new Minecraft game is a center of excitement for many gamers. The new action strategy has brought many exciting gaming elements. But you will not be able to enjoy it if you cannot play it just because it is taking forever to connect to your account. Like other problems, it also has solutions.
If you are interested, learn how to solve low FPS issues on Minecraft Legends.
Why is Minecraft Legends stuck on connecting to your account?
In the Minecraft legends, if you cannot log in just because this title is stuck, you can try to find out the root of the problem. In most cases, you will get any of the following reasons:
- Antivirus or Firewall: Your antivirus and firewall may interfere and block the connection between your device and the remote login server. As a result, Minecraft Legends may show connecting to your account status and remain stuck there forever.
- Network problem: If the internet is not stable or there is a problem with the configuration, this issue may appear as well.
- Server Status: In case the remote servers are down or under sudden maintenance, you may get this problem as well.
- Corrupted components: Corrupted game files, cache, and components can be why Minecraft Legends is taking an infinite amount of time while connecting to your account.
Depending on the type of devices, you may find some other reasons behind this situation. But the good thing is, you can always solve it by tweaking the right things.
How can I fix Minecraft Legends connecting to your account?
Before trying the main methods, we suggest you take these primary steps:
- Visit the Xbox status page and the Minecraft Server Status page and verify if everything is OK.
- Power cycle your router, internet modem, and PC/Console.
- Disable your antivirus and firewall.
- Make sure that you are not using any proxy or VPN and also your internet connection is stable enough.
After ensuring the above things, go through the following methods to fix Minecraft Legends connecting to your account:
1. Clear cache
Time needed: 3 minutes
If Minecraft Legends is stuck connecting to your account, clearing the cache is the most successful method to fix this problem.
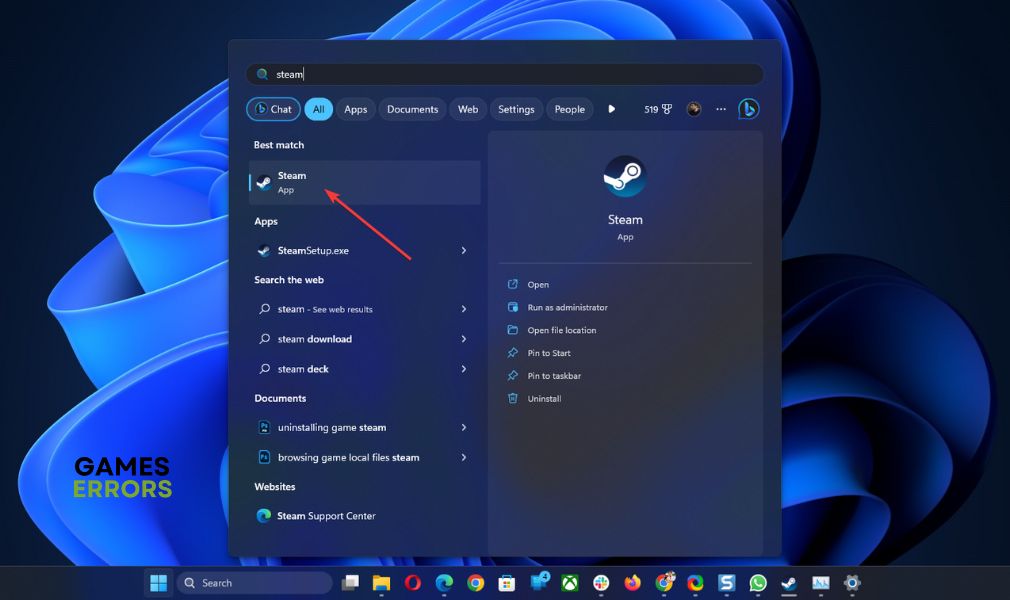
- Open Steam.

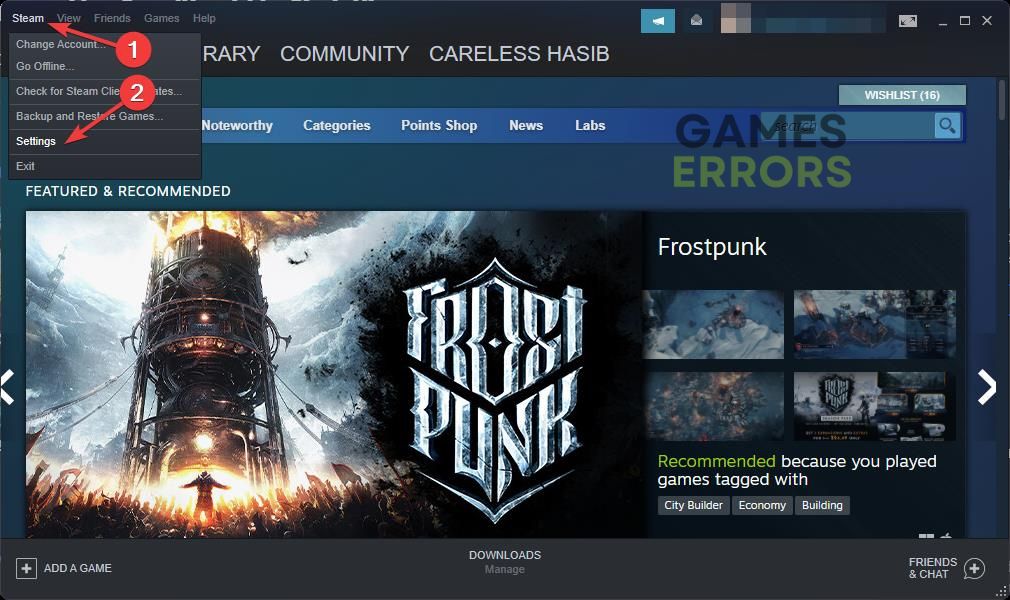
- Click on Steam on the menu and then click on Settings.
- Go to the Downloads tab and then click on Clear download cache.

- Click on OK.
- Relaunch Steam.

For the Xbox app, you can open Windows Settings. Then, go to Apps and then Installed apps. Find Xbox, click on three horizontal dots next to it, and then go to Advanced options. Scroll down and click on Reset.
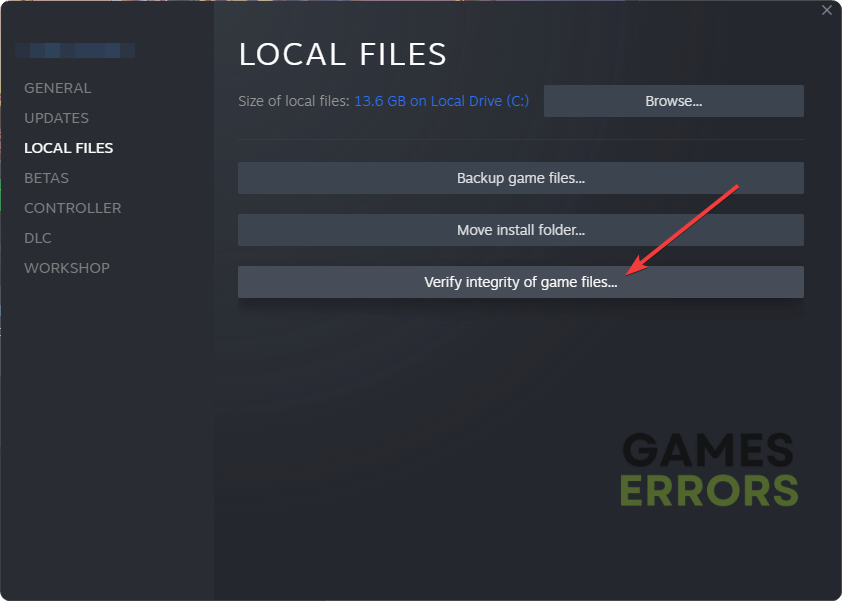
2. Repair Minecraft Legends
In case the previous method doesn’t help, repair Minecraft Legends if it is stuck on connecting to your account status. For this, follow these steps:
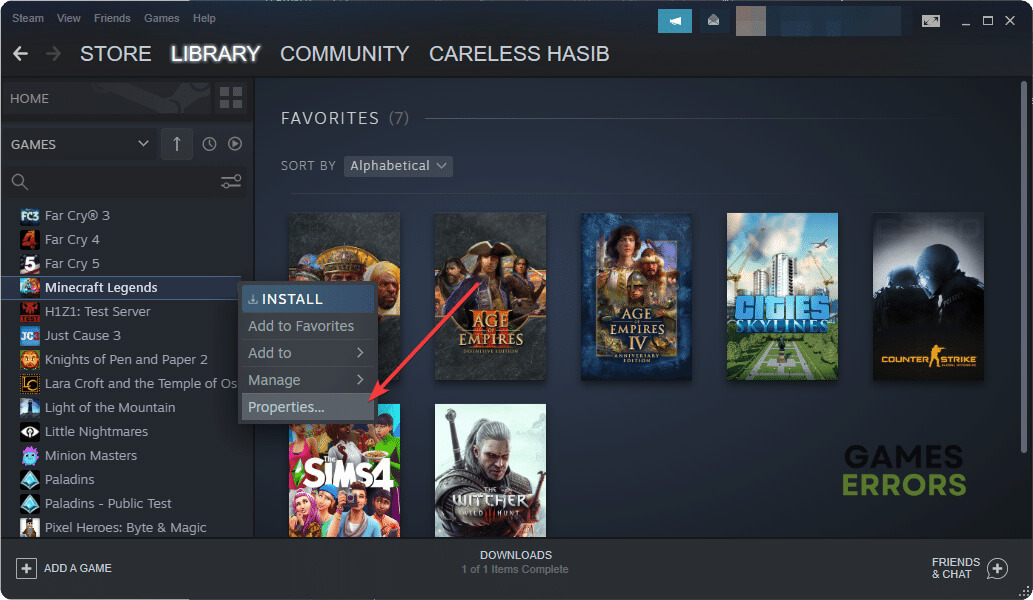
- Open Steam.
- Go to the game library.
- Right-click on Minecraft Legends and then click on Properties.

- Navigate to the Local files tab.
- Now, click on Verify integrity of game files.

- Wait for a while until it finishes the process.
For the Xbox app, go to Minecraft Legends. Click on three horizontal dots and then on Manage. Then, go to the Files tab and click on Verify and Repair.
This method will also help if you notice that Minecraft Legends won’t launch.
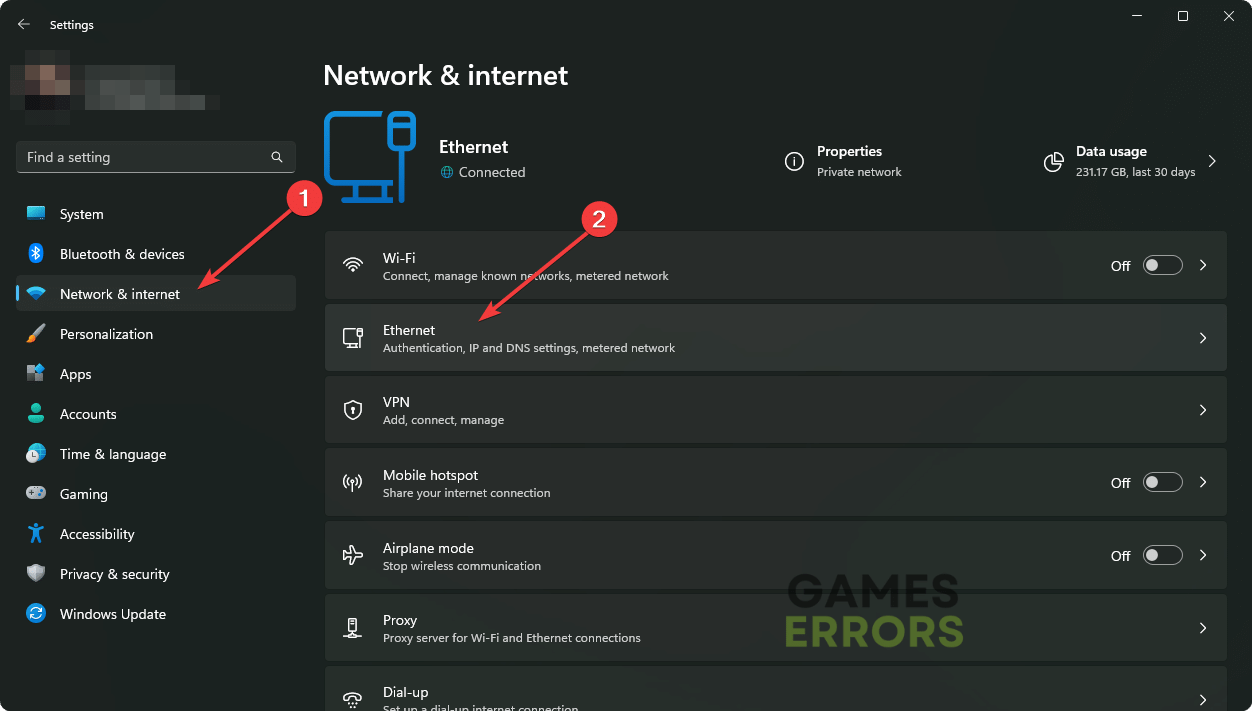
3. Use a better DNS
- Open Windows Settings by pressing Win + I on the keyboard.
- Go to Network & internet and then Ethernet or WiFi depending on which one you are using.

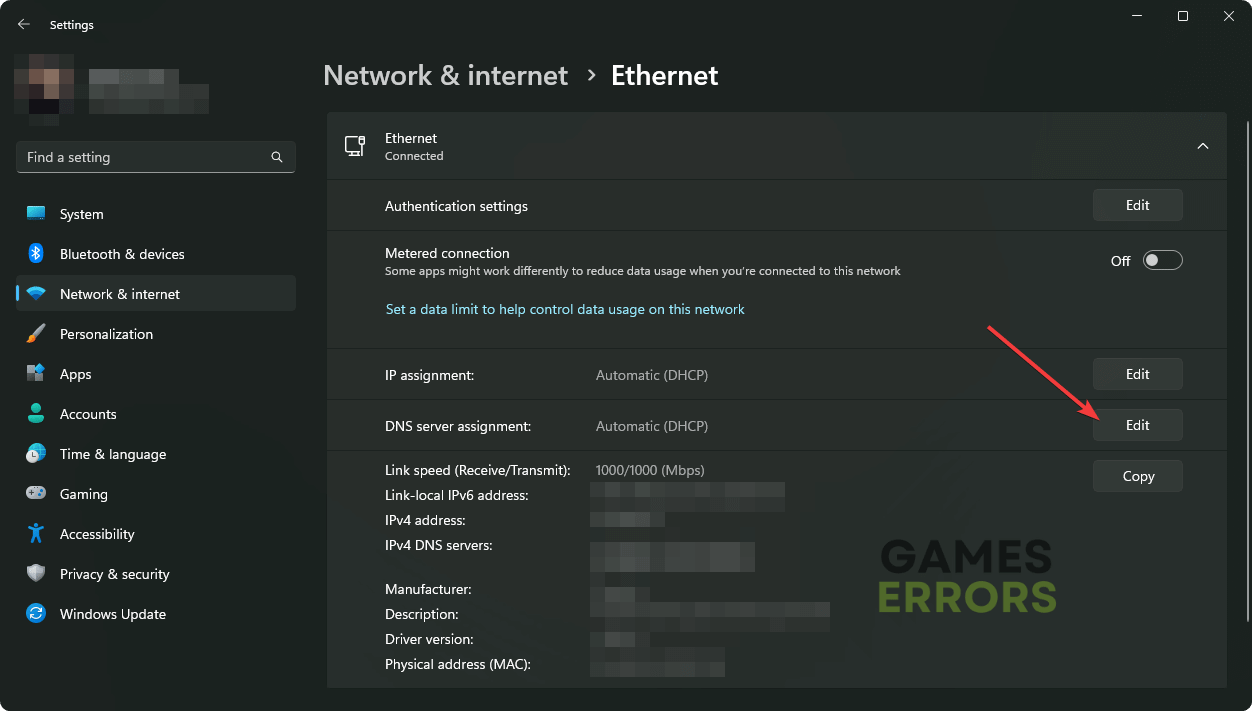
- Click on Edit next to the DNS server assignment.
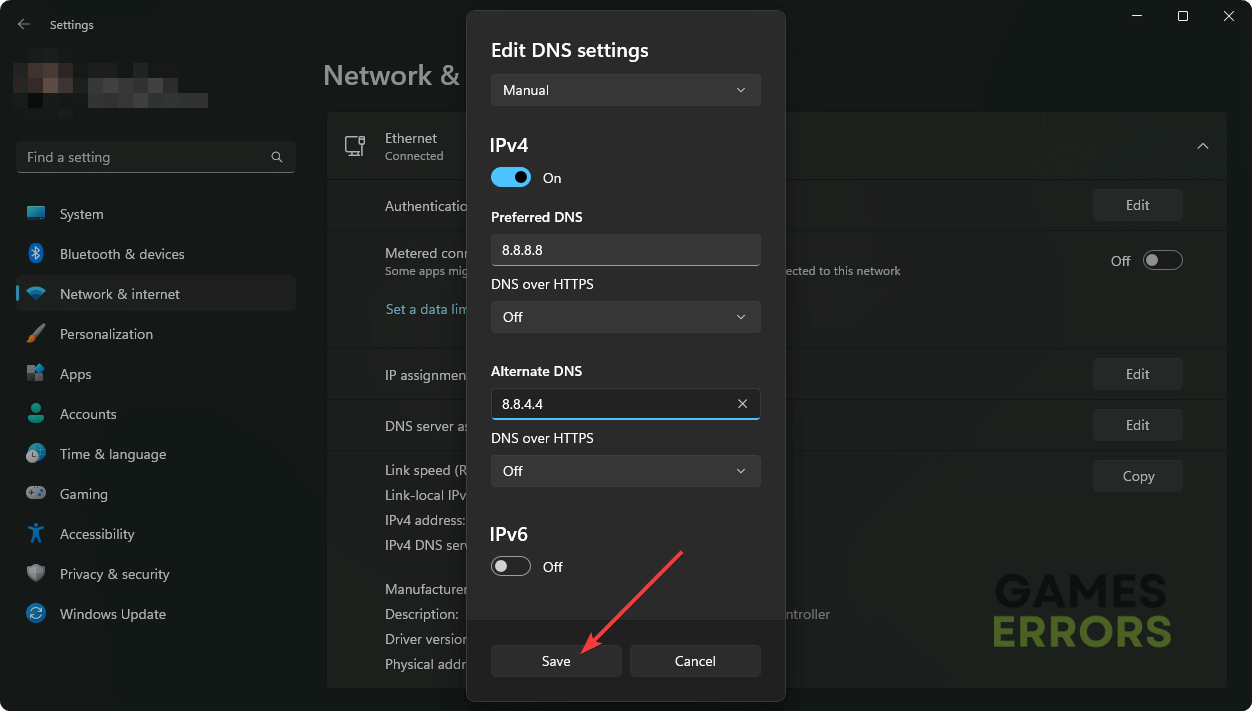
- Select Manual.
- Enable IPv4.
- Set the DNS as 8.8.8.8 and 8.8.4.4, and then click on Save.
- Restart your PC.
Changing DNS settings will indeed help to get rid of this problem. It will also work if Minecraft Legends won’t install on your PC.
4. Reset the network
Network problems can trigger this issue. So, it will be a wise idea if you reset the network configuration on your PC. It may fix connecting to your account problem on Minecraft Legends. Follow these steps to do it:
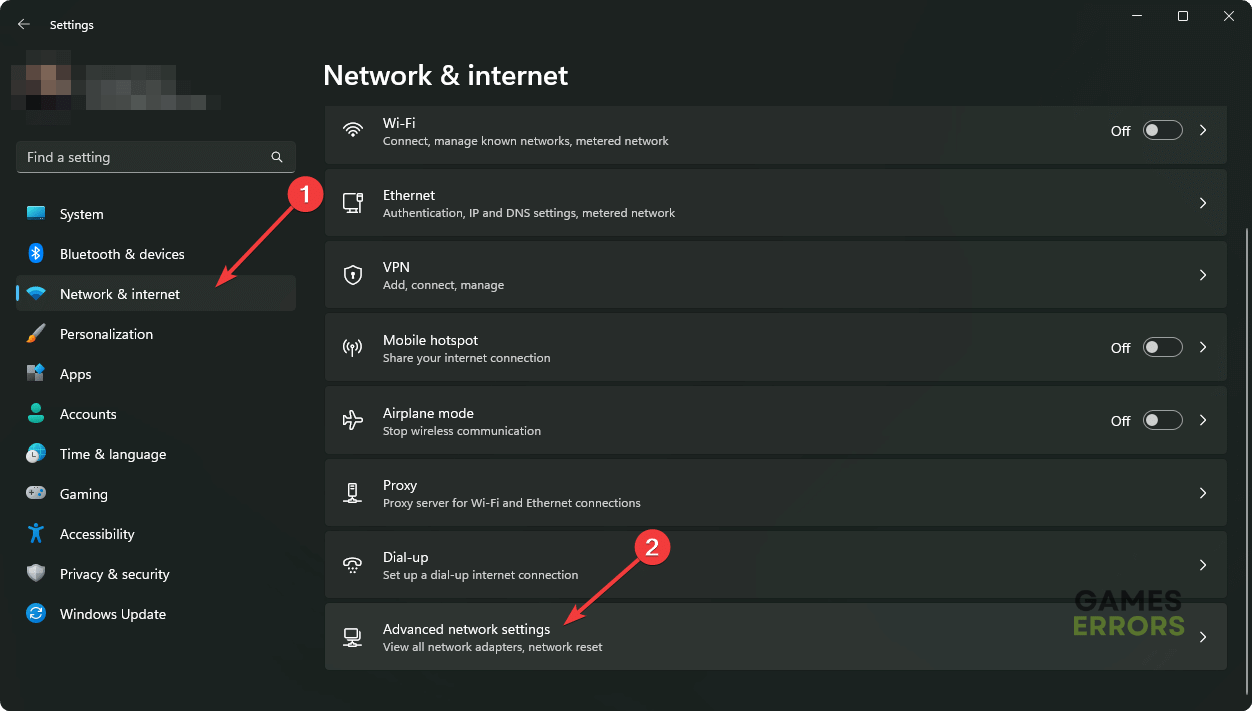
- In Windows Settings, navigate to Network & internet and then click on Advanced network settings.
- Go to Network reset.
- Click on Reset now.
- Restart your PC.

🎮 How to fix Minecraft Legends connecting to your account on Xbox?
- Press the Xbox button on the controller and go to Settings.
- Navigate to Devices and Connections and then tap on Blu-ray.
- Select persistent Storage and then clear the cache.
- Restart the Console.
You also can consider changing the DNS too.
🕹️ Fix connecting to your account in Minecraft Legends on PS5?
- Turn off the Console.
- Hold the power button until you hear the beep sound for the second time.
- Connect a USB controller rather than a Wireless one.
- Using D-pad, navigate to the Clear Cache and Rebuild Database and tap on it.
- Tap on Clear System Software Cache and on OK.
- Give it some time to finish the process.
In PS5, you also can use Google DNS and see if it helps.
Extra steps:
If the problem still exists, follow these things too:
- Update Windows or Xbox/PS5 firmware to the latest version.
- Re-install the game if necessary.
- Try a different Microsoft account.
- Reset Windows or your gaming consoles.
Learn how to fix Minecraft Legends crashing if necessary.
These are the most effective methods to fix Minecraft Legends connecting to your account. If you have any questions, let us know in the comment box.

Improve this guide
User forum
0 messages