
Minecraft Legends Won't Install: Easiest Ways to Solve It
Kill related processes and verify a few things if Minecraft Legends won't install on your PC 🎯
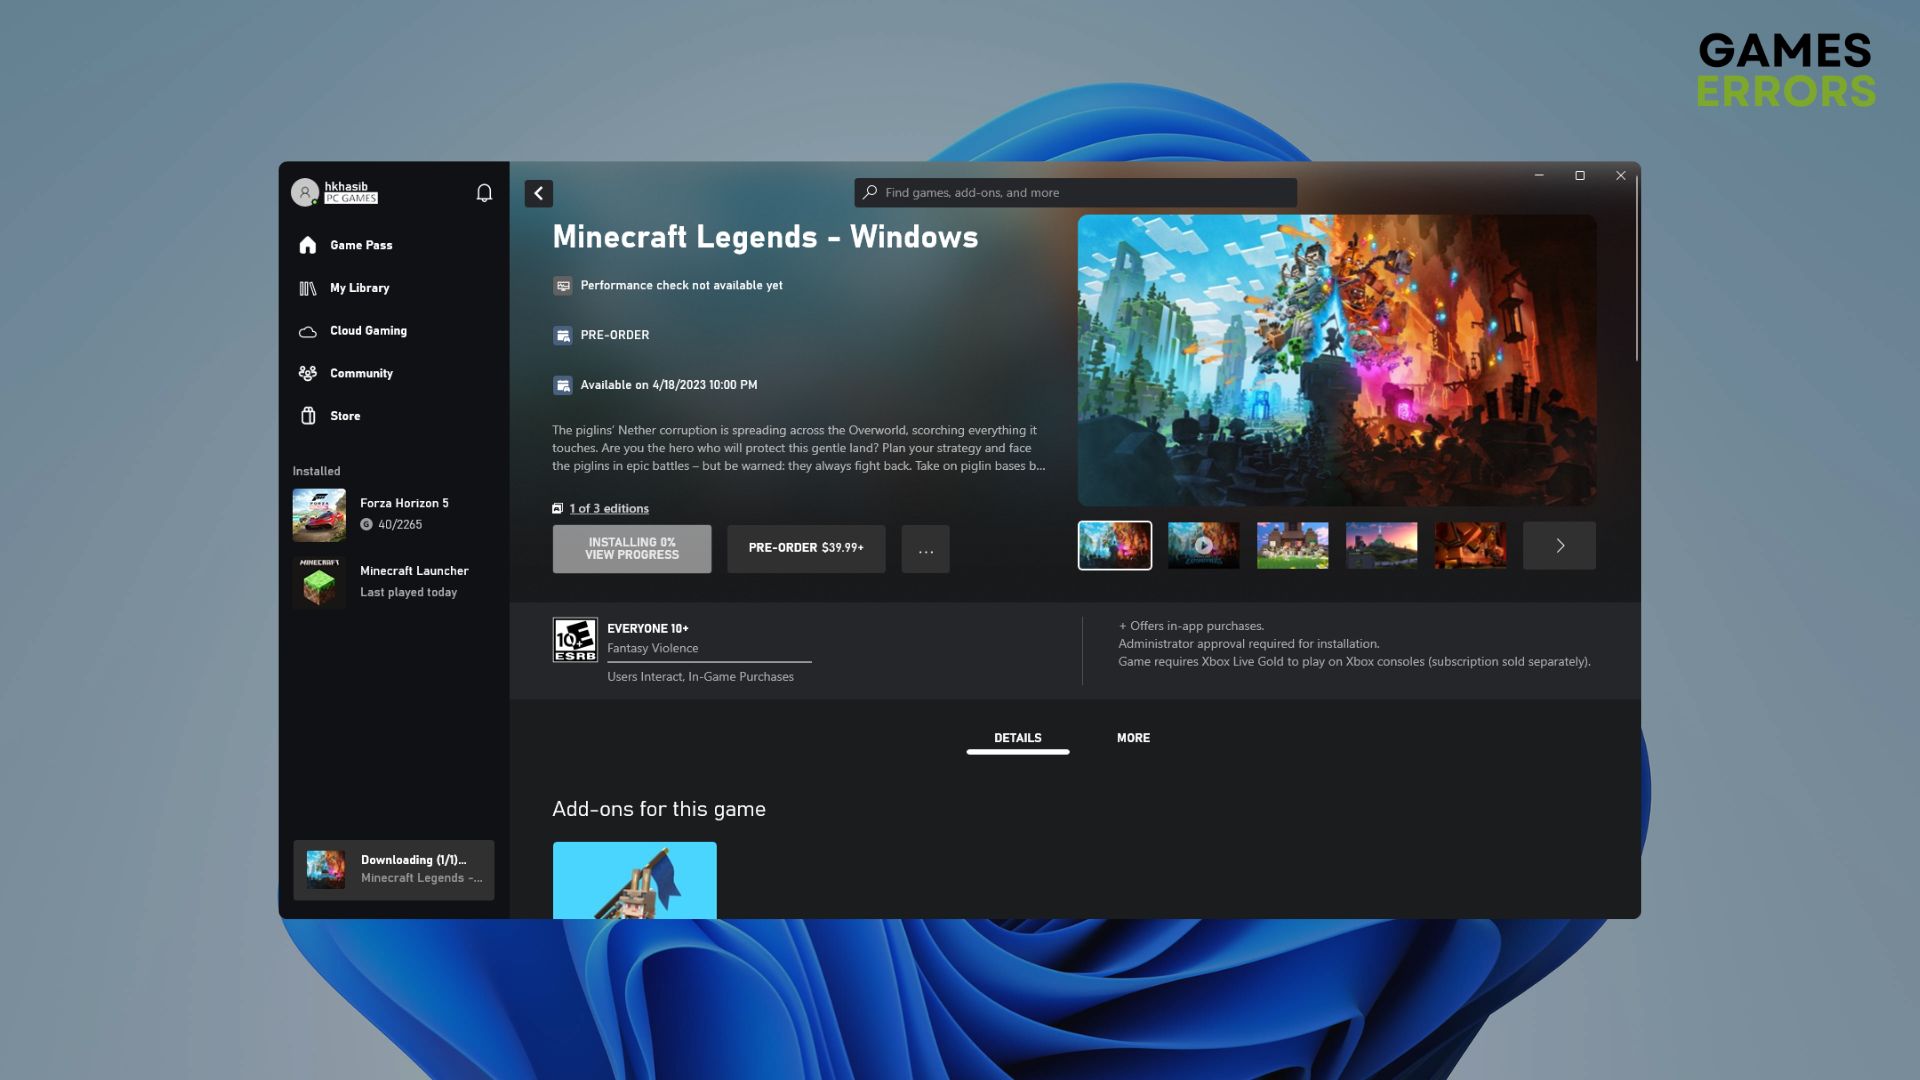
The new Minecraft Legends won’t install on your PC if there is something wrong with either the game or your system. But, this article will describe the methods that will help to get rid of this problem in both situations.
If Minecraft Legends doesn’t install after the release, frustration will have no limit, particularly if it was preordered and you were waiting for this new action strategy game. Nevertheless, if you follow this post, you will have no issue exploring this masterpiece on your PC.
Why won’t Minecraft Legends install on Windows 11 or 10?
Usually, the new Minecraft Legends may not install on your system due to the following reasons:
- Internal issues with the OS: The root of the problem can be an internal issue related to the Windows operating system.
- Problematic components: Outdated or corrupted components and drivers also can be why Minecraft Legends won’t install on your PC.
- Antivirus or Firewall block: In some cases, your antivirus or firewall may block the Minecraft Legends installation or download process.
- Network problem: The problem also can be related to network configuration issues on your PC or home network.
How do I fix Minecraft Legends won’t install problem?
Before going through the actual methods, we suggest you ensure the following things:
- Make sure you have a stable internet connection and you are not using any VPN or Proxy.
- Ensure that the game clients like Steam, and the Xbox app are up to date.
- Confirm that you are trying to install the game using an official channel.
- Depending on your installation method, check Xbox Service Status or Steam Status page, or Minecraft Server Status site to be sure everything is OK.
Now, follow these methods one by one to see which one fixes Minecraft Legends won’t install:
- Kill any Minecraft-related processes
- Disable your antivirus and firewall
- Update Windows
- Run the installer as an administrator
- Clear download cache
- Change DNS
- Reset network
- Verify if the Windows Installer service is active
- Try installing it in an alternative channel
1. Kill any Minecraft-related processes
Time needed: 2 minutes
To solve Minecraft Legends won’t install, kill any Minecraft-related processes and then try again.
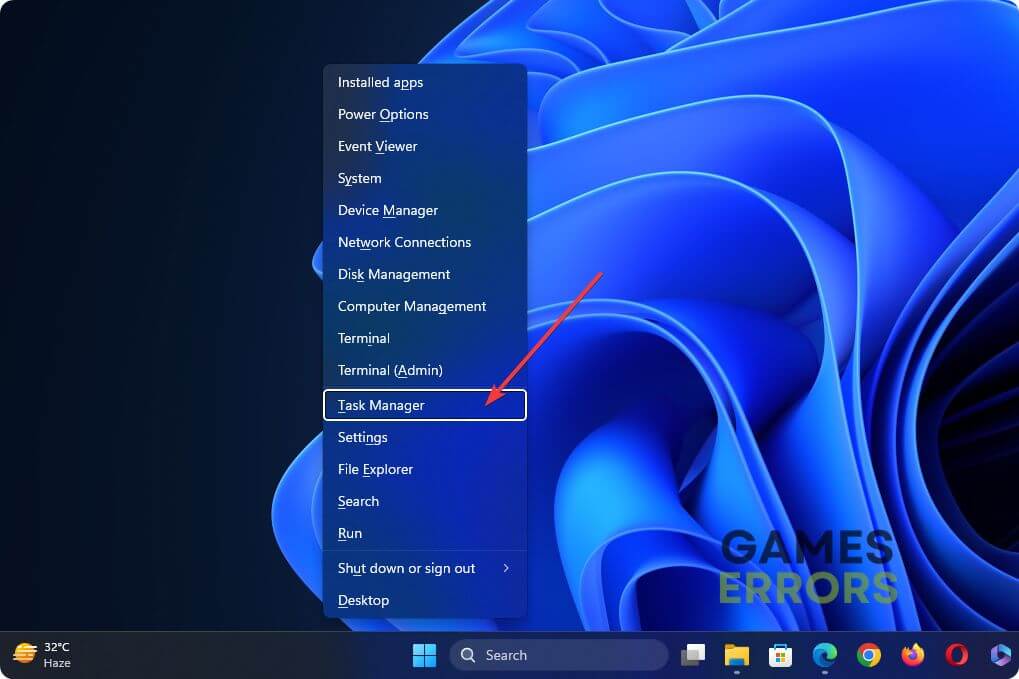
- Press Win + X on the keyboard and then go to Task Manager.

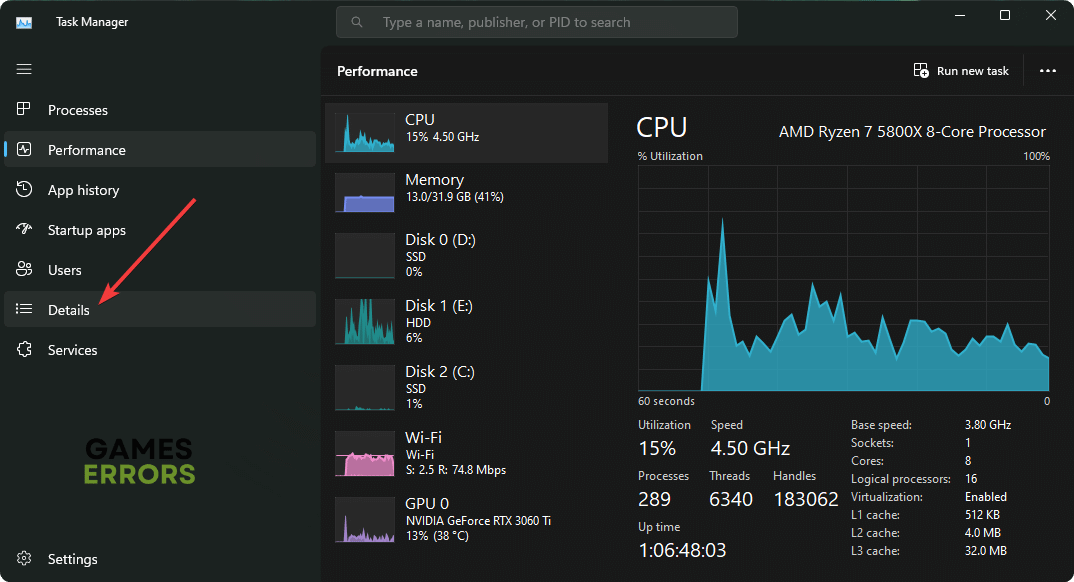
- Go to the Details tab.

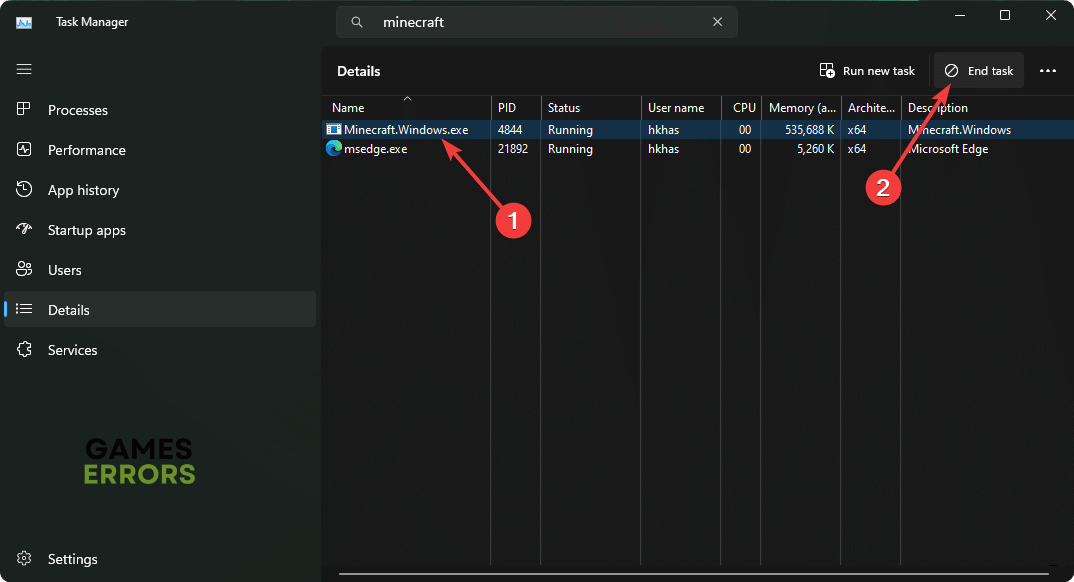
- Search and click on the Minecraft-related process, and then click on End Task.
- Also, go to the processes tab and then end similar tasks.
- Now, try to install Minecraft Legends again and see if it works.
2. Disable your antivirus and firewall
If Minecraft Legends is not installing on your Windows 11 or 10 PC, you must try again after disabling the antivirus and firewall. To do it, follow these steps:
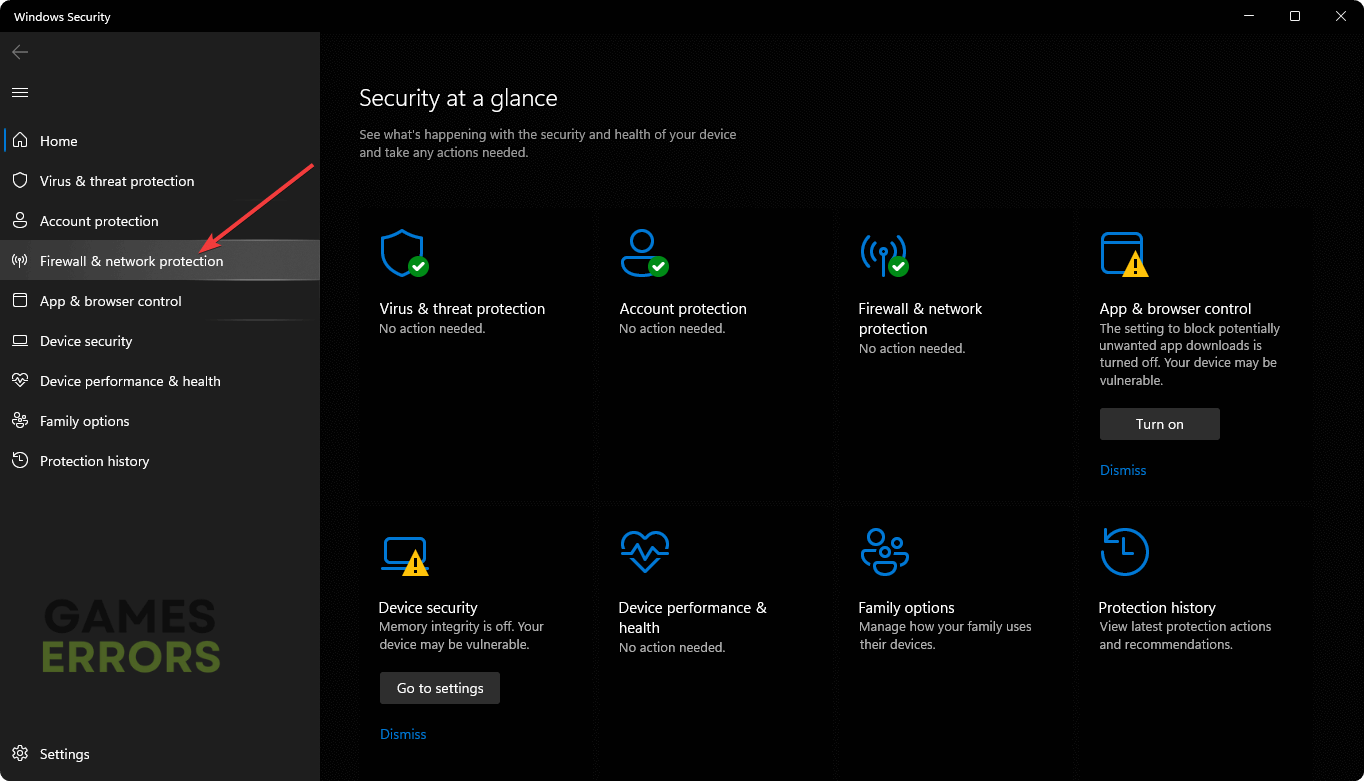
- Open the Windows Search Box, type Windows Security, and hit Enter.
- Navigate to Firewall & network protection.

- Go to Private Network, as shown in the screenshot.
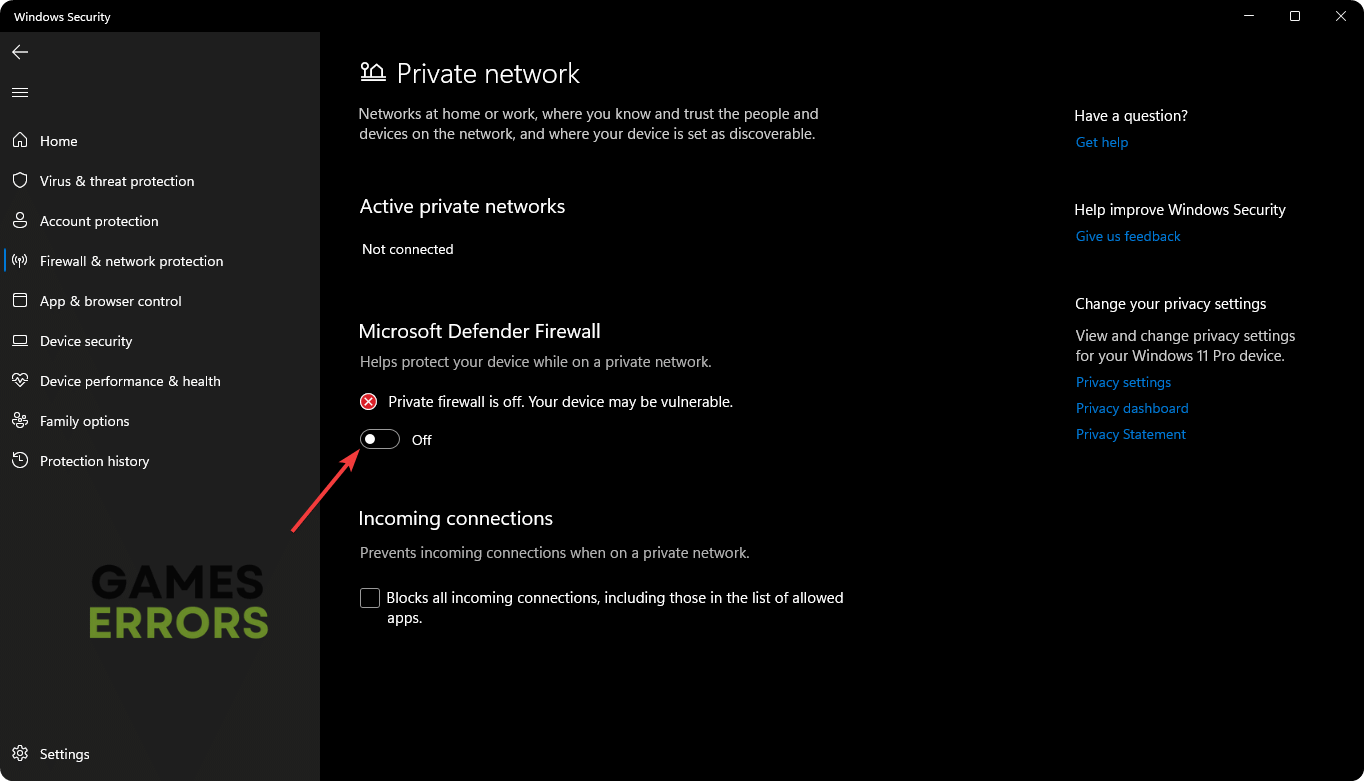
- Toggle the switch off under the Microsoft Defender Firewall section.
- Similarly, turn off the Firewall for Public Network too.
- Restart Windows.

The above steps are applicable to the built-in Windows Security Defender. If you have a third-party AV or Firewall, you should manually disable or uninstall it.
3. Update Windows
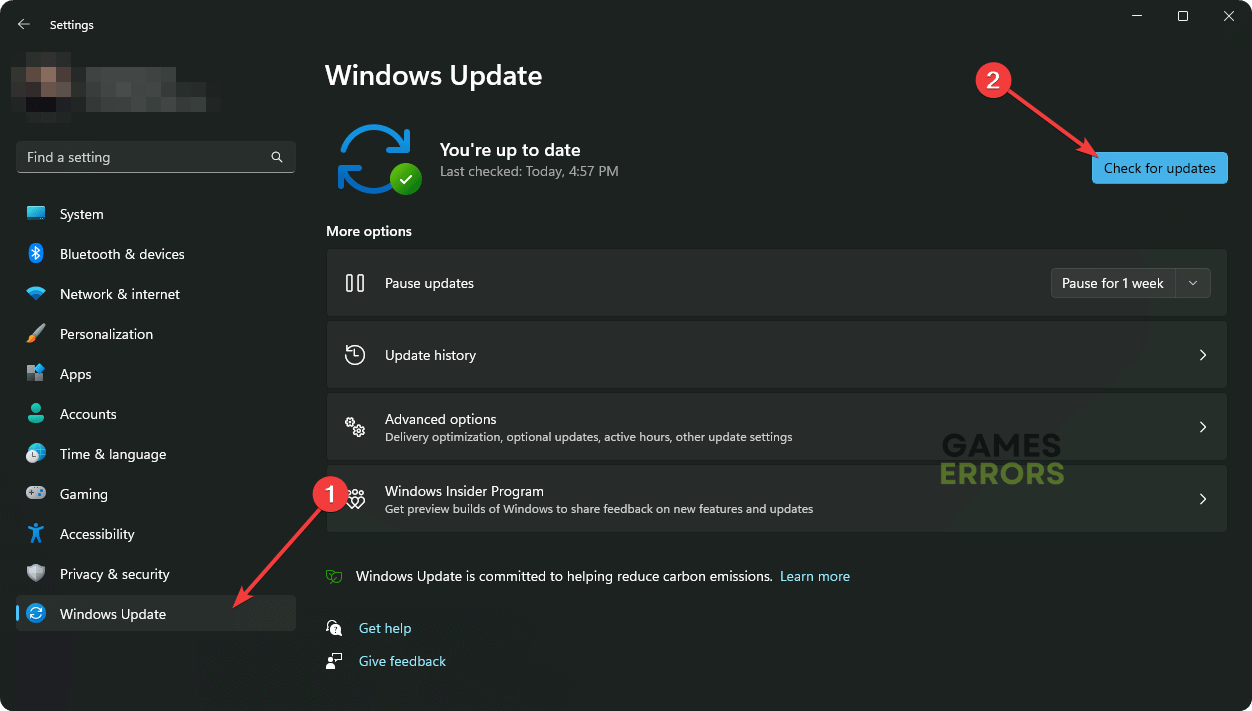
- Press Win + I on the keyboard to open Windows Settings.
- Go to Windows Update and then click on Check for updates.

- Go ahead and finish the process.
4. Run the installer as an administrator
- Open the Start Menu.
- Search for Steam, right-click on it, and choose Run as administrator.

- Then, install Minecraft Legends.

You may use the Xbox app to install Minecraft Legends as well. However, there is no option to open it as an admin. But, if you directly download the installer from Minecraft’s website, you can right-click on the installer and run it as an administrator.
Alternatively, run the Minecraft Launcher as an administrator and then try to install the game and see what happens.
If you are interested, learn how to fix you’re too early error in Minecraft Launcher.
5. Clear download cache
- Open Steam.
- Click on Steam from the menu and go to its Settings.
- Navigate to the Downloads tab and then click on Clear download cache.

- Relaunch it.

You also can open Run by pressing Win + R, then type wsreset, and hit Enter if you are using the Xbox app for this game. Also, reset the Xbox app to fix Minecraft Legends won’t install.
This method will also help if the new Minecraft Legends won’t launch on your PC.
6. Change DNS
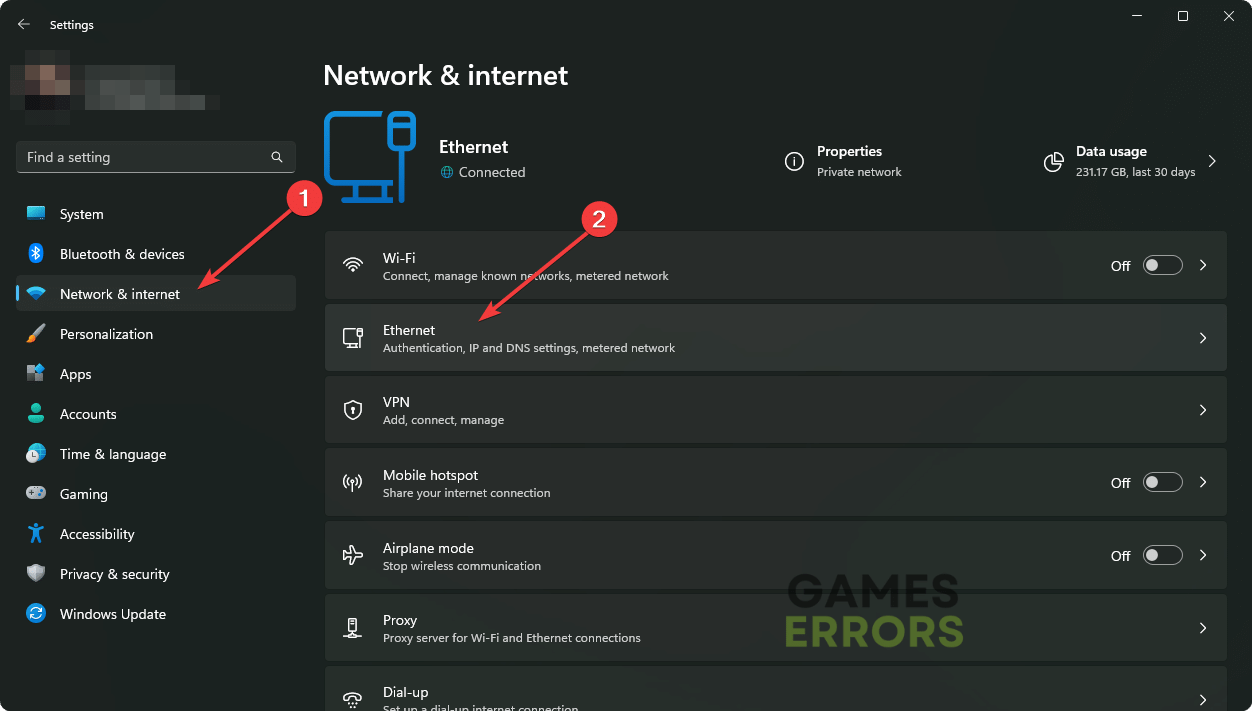
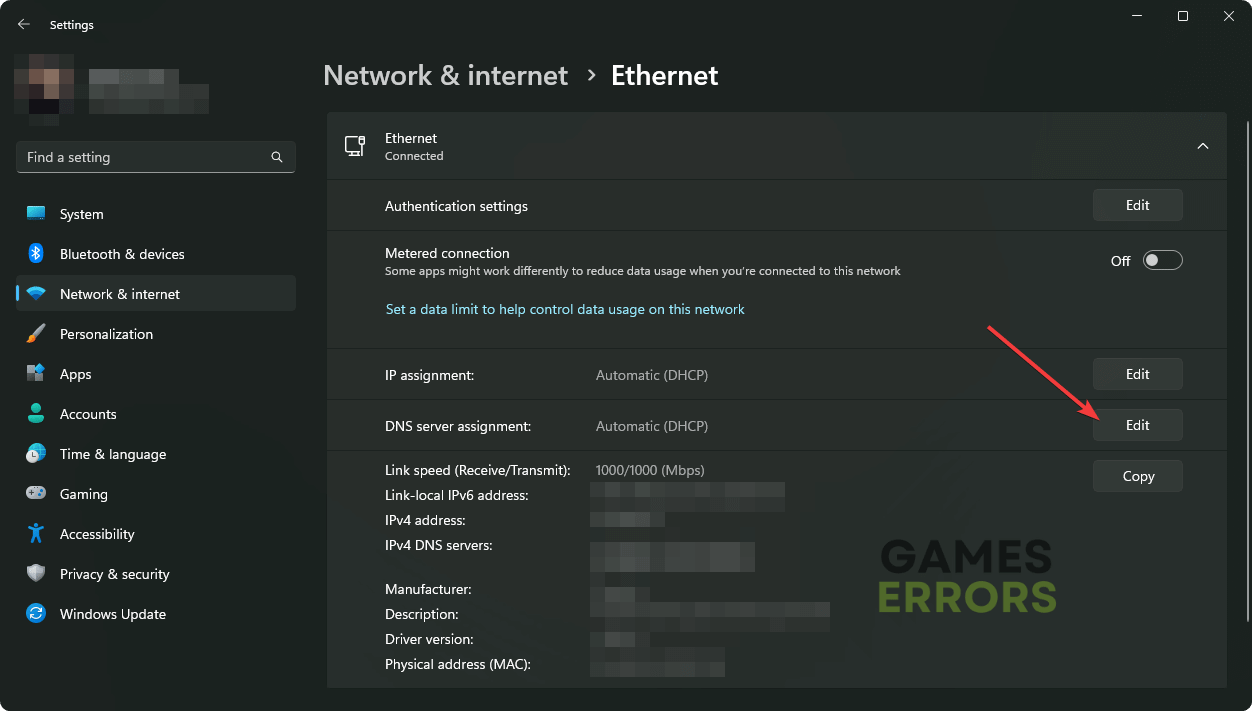
- Go to Windows Settings.
- Navigate to the Network & internet, and then go to WiFi or Ethernet, depending on which one you are using.
- Click on Edit next to the DNS server assignment.
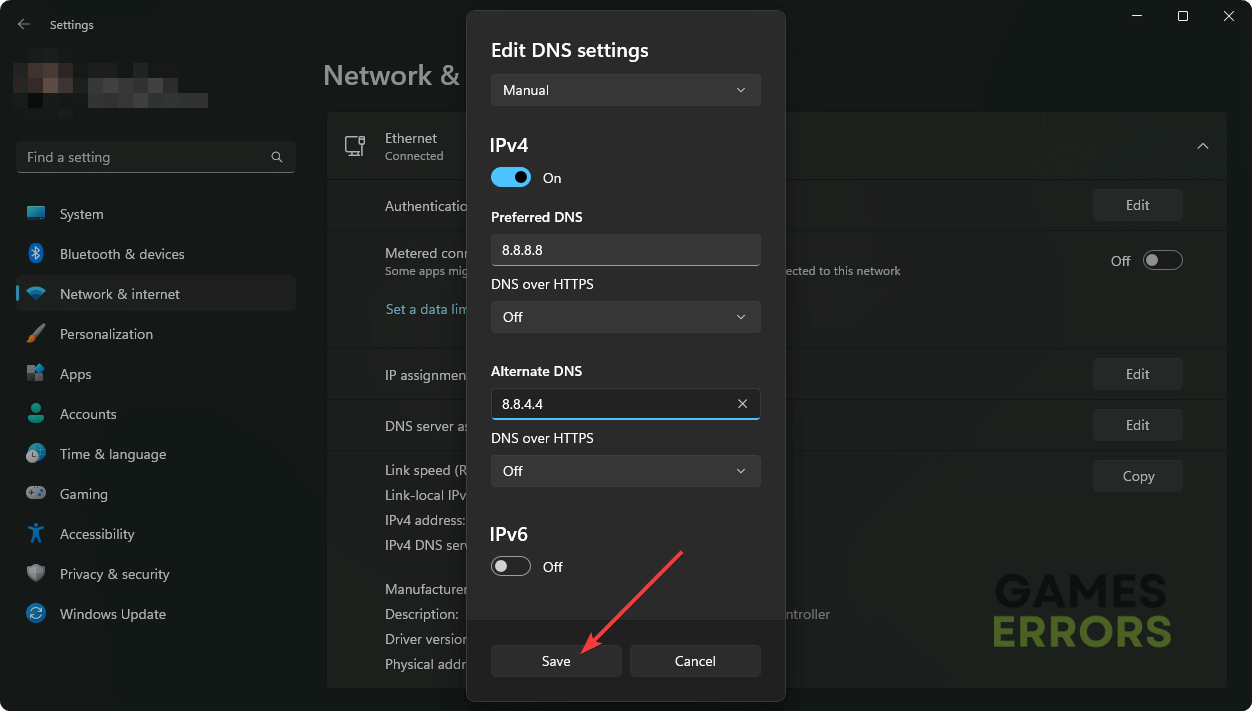
- Choose Manual.
- Enable IPv4.
- Set the DNS as 8.8.8.8 and 8.8.4.4, and then click on Save.
- Restart your PC.
7. Reset network
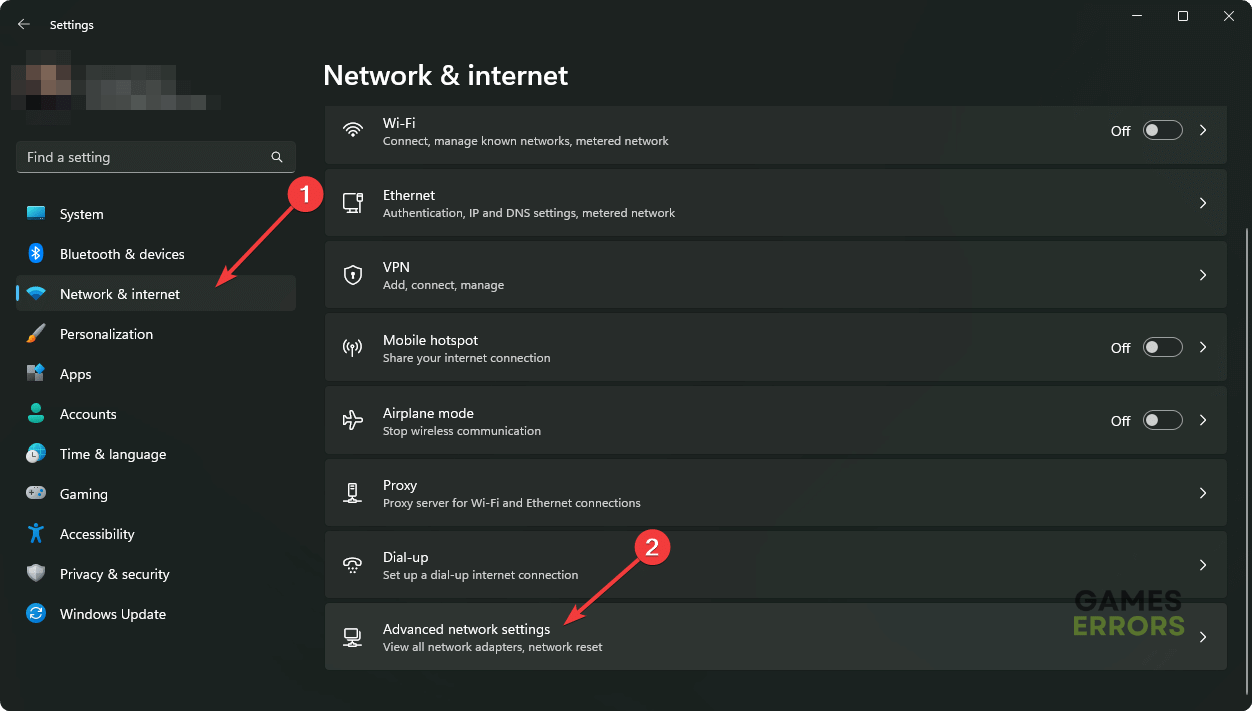
- In Windows Settings, go to the Network & Internet and then go to Advanced network settings.
- Go to Network Reset.
- Click on Reset.
- Restart Windows.

8. Verify if the Windows Installer service is active
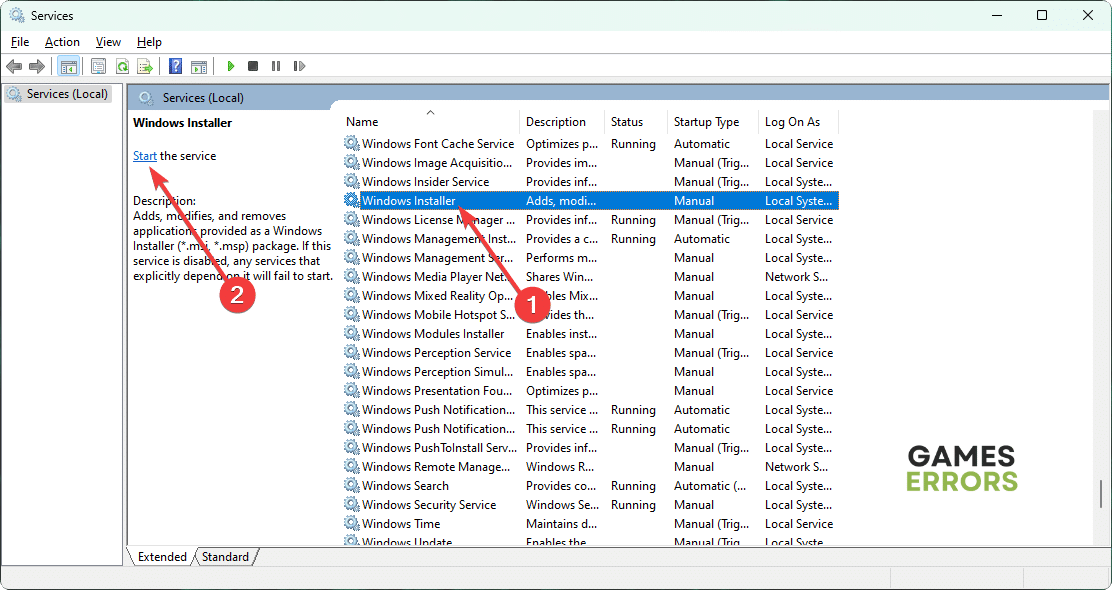
- Open the Windows Search box, type services.msc, and hit Enter.
- Search for the Windows Installer service, select it, and then click on Start if it’s not running already.

- Now, try to install Minecraft Legends and see if it works.
9. Try installing it in an alternative channel
You also can consider installing the game in different ways. For example, you can install Minecraft Legends using Microsoft Store or Xbox app or using the installer downloaded directly from the official website. If you use Steam, you can manually get an offline copy and load it into your Steam.
You also can consider taking steps to solve any internal Windows issues. We suggest you try to install the game in clean boot mode too. Sometimes, it may work.
If you are interested, learn how to fix Minecraft Legends crashing.
These are the best things to do when Minecraft Legends won’t install on your PC. If you have any questions, let us know in the comment box.

Improve this guide
User forum
0 messages