
Battlefield 5 Connection Issues: How To Fix
There can be multiple reasons why you are experiencing Battlefield 5 connection issues. So, lets look into all the methods to fix this issue. 💥

Battlefield 5 connection issues have affected players around the world, making the game completely unplayable for many.
This baffling problem has left gamers frustrated, but it’s not the fault of EA or the Battlefield 5 servers. Instead, it’s a nasty bug that usually lurks within individual consoles, affecting players on Xbox One, PS4 or PC.
But don’t worry. We’re here to guide you through the process of solving Battlefield 5’s connection issues.
Join us as we take a look at why you might be experiencing Battlefield 5 internet problems and how to fix them once and for all.
Why Won’t Battlefield 5 Connect Online?
- Network Problems: Issues with your internet connection, including slow speeds or instability.
- Your firewall or antivirus settings may block the game’s connection to servers, causing issues.
- Server Overload: Sometimes, heavy server loads due to high player activity can result in connection problems.
- Outdated Game or System: Running an outdated version of the game or an outdated system software.
- Incorrect or missing port forwarding settings on your router.
How To Fix Battlefield 5 Connection Issues?
Firstly, complete the following pre-checks:
- Ensure that your internet connection is stable.
- Make sure that the time and date your system is set to is correct.
- Temporarily disable any firewall or antivirus software that may be blocking the game’s connection.
- Make sure both Battlefield 5 and your gaming system (PC, Xbox, or PS4) are running the latest updates and patches.
- Confirm that your router settings, including port forwarding, are correctly configured.
- Ensure Battlefield 5 servers are not currently experiencing any outages. Check official sources to see if Battlefield 5 lost connection to EA servers or is experiencing problems.
Next, let’s get into the targeted solutions below👇:
Table of Contents:
1. Flush DNS
Time needed: 2 minutes
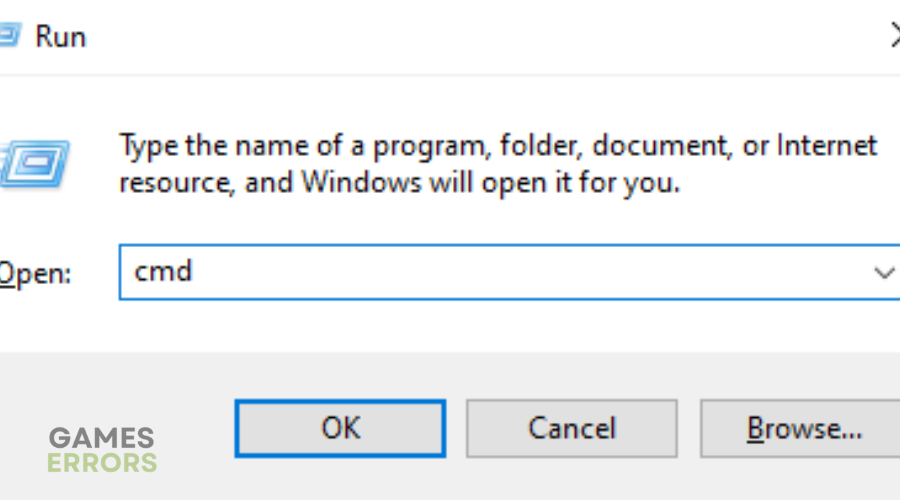
- Press the Windows + R shortcut to open the Run window.
- Type “cmd” to open Windows Command Prompt.

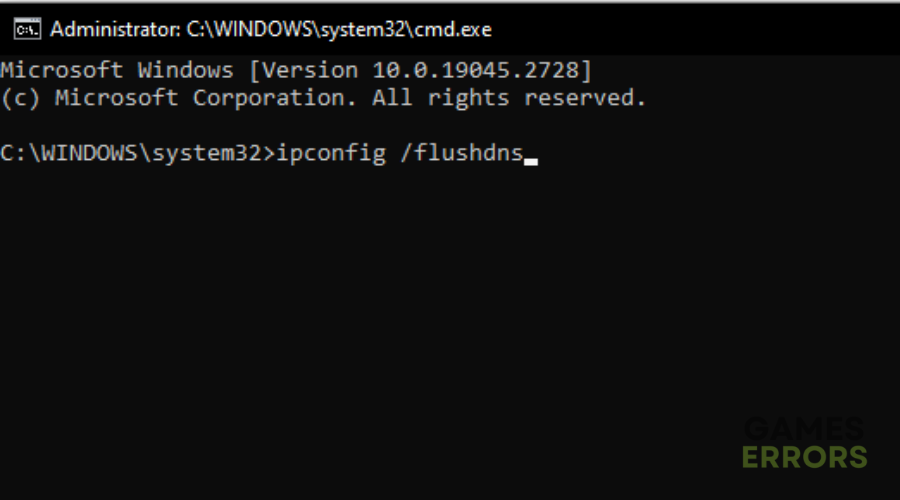
- Type the following command and hit Enter: “ipconfig /flushdns”
- Windows will automatically clear your DNS cache files and reset the DNS resolver cache. If successful, you’ll see a confirmation message in Command Prompt.
This is the message: Windows IP configuration successfully flushed the DNS Resolver Cache.
2. Change DNS Server Settings on Windows 10
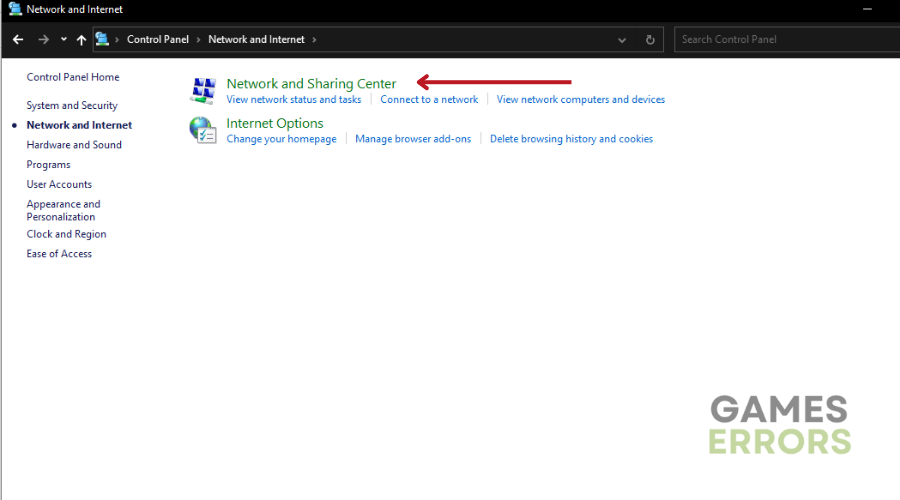
- Go to the Control Panel.
- Click on “Network and Internet” and go to “Network and Sharing Center”
- Click on “Change adapter settings.”
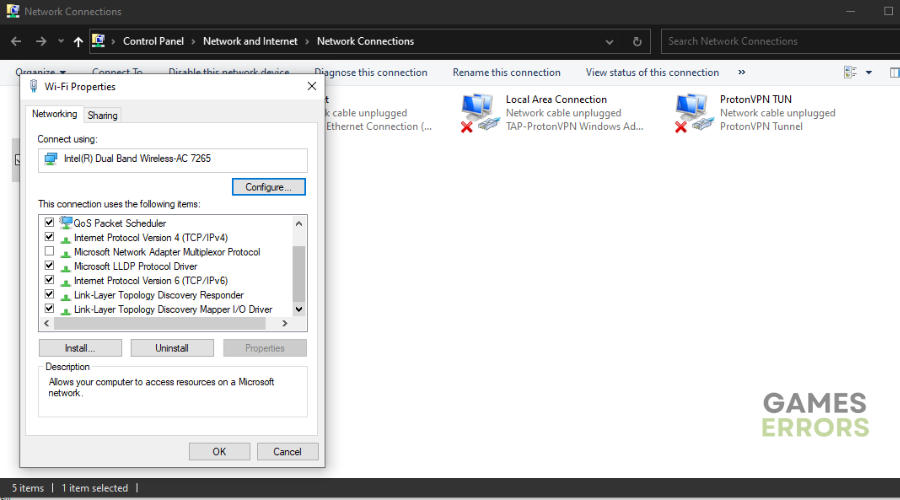
- Select the connection you want to configure (e.g., Ethernet or Wi-Fi) and right-click it, then choose “Properties.”
- If prompted for an administrator password or confirmation, provide it.
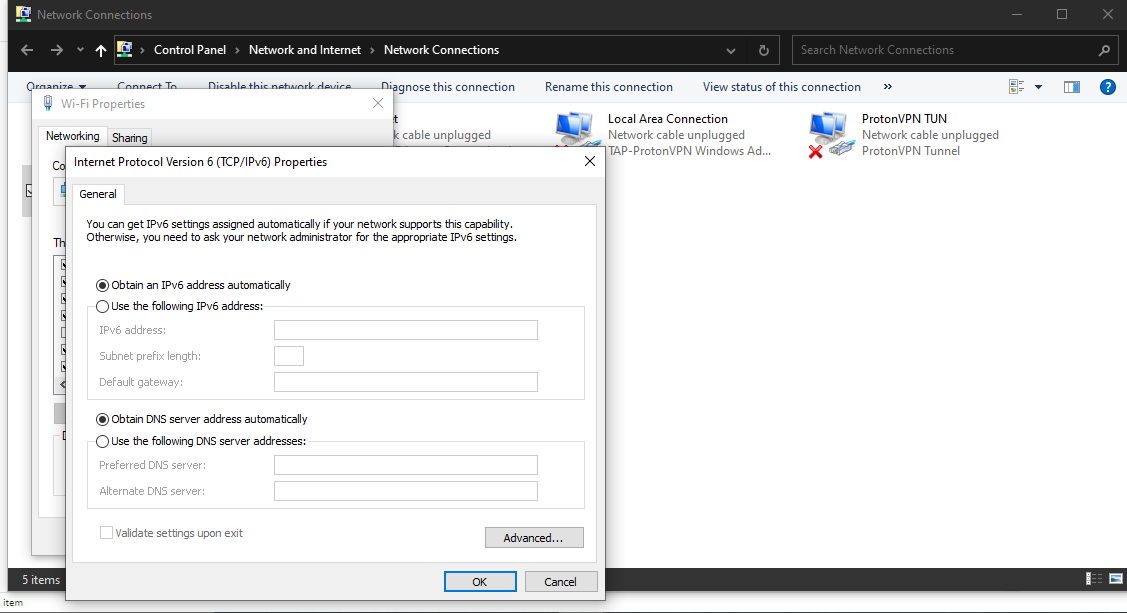
- Select the Networking tab and under “This connection uses the following items,” choose “Internet Protocol Version 4 (TCP/IPv4)” or “Internet Protocol Version 6 (TCP/IPv6)” and click “Properties.”
- Click “Advanced” and go to the DNS tab. If any DNS server IP addresses are listed, write them down and remove them from this window.
- Click OK.
- Select “Use the following DNS server addresses” and replace any IP addresses with Google DNS server addresses:

- For IPv4: Use 8.8.8.8 and/or 8.8.4.4.
- For IPv6: Use 2001:4860:4860::8888 and/or 2001:4860:4860::8844.
- For IPv6-only: You can use Google Public DNS64 instead of the IPv6 addresses.
- Test to ensure your setup is working correctly.
3. Clear Your Hosts File
To reset the Hosts file back to default, follow these steps:
- Open Notepad by searching for “Notepad” and clicking the icon.
- Copy the provided text and paste it into the Notepad file.
- # Copyright (c) 1993-2006 Microsoft Corp. # # This is a sample HOSTS file used by Microsoft TCP/IP for Windows. # # This file contains the mappings of IP addresses to host names. Each # entry should be kept on an individual line. The IP address should # be placed in the first column followed by the corresponding host name. # The IP address and the host name should be separated by at least one # space. # # Additionally, comments (such as these) may be inserted on individual # lines or following the machine name denoted by a ‘#’ symbol. # # For example: # # 102.54.94.97 rhino.acme.com # source server # 38.25.63.10 x.acme.com # x client host # localhost name resolution is handle within DNS itself. # 127.0.0.1 localhost # ::1 localhost
- Save the file as “hosts” to your desktop.
- Close Notepad.
- Search for “%WinDir%\System32\Drivers\Etc” and select the File folder icon.
- Rename the existing Hosts file to “Hosts.old.”
- Copy or move the “hosts” file from your desktop to the “%WinDir%\System32\Drivers\Etc” folder. If prompted for an administrator password, continue with the process.

💎Extra Steps:
- You also need to run Origin as Adminstrator.
- Clear your browser cache.
- Restart your PC or console.
Related Articles:
- Battlefield 5 Low FPS: How To Improve Perfomance
- Battlefield 5 Crashing: Fix Like A Pro
- Battlefield 5 Stuttering: How To Improve Perfomance
Conclusion
In conclusion, Battlefield 5 connection issues can be a frustrating problem for players worldwide. While these problems aren’t attributed to EA or the game’s servers, they can disrupt your gaming experience.
However, by following the steps outlined in this guide, you can effectively fix these connection problems. Whether it’s addressing network issues, adjusting DNS settings, or clearing your hosts file, these solutions should help you get back to enjoying Battlefield 5 without interruptions.
Implement these strategies and pre-checks to significantly improve your chances of having a smooth and uninterrupted gaming experience in Battlefield 5.
Let us know what worked for you in the comment section below.
Happy gaming!

Improve this guide
User forum
0 messages