
Destiny 2 Vex Input Error: How to Fix Fast
Don't let the Vex Input Error deter you from playing Destiny 2. Read on to find a solution that works for you⚒
Destiny 2 Vex Input Error is a common game issue, and it can be fixed easily. When it occurs, it displays the following error message: “vex input error. Resetting vex locked.”. Lately, the excitement of Destiny 2 players seems to have stalled out due to errors and issues that are barely addressed. Unfortunately, many of them don’t even have an official fix, but we have solutions to most of them.
Keep on reading to discover why this problem appears, what it is, and how to fix the Destiny 2 Vex Input Error.
What is Destiny 2 Vex Input Error?
According to many reports, Destiny 2 Vex Input is appears as an error message that occurs when players attempt to play any activities related to Vex enemies in the game such as Crucible matches, Strikes, and Raids in the Headlong mission.
The Vex Input error basically indicates that Destiny 2 has detected an issue with your input. One of the main reasons for the Vex Input Error tends to be Internet connectivity issues.
How to Fix Destiny 2 Vex Input Error?
Before jumping into the solutions listed below, try completing the following preliminary fixes and checks:
- Check the official Bungie Website to see whether the servers are up and running.
- Ensure that your Internet connection is stable and working correctly.
- Try restarting the game and your devices.
- Run a full antivirus scan on your PC to ensure the game files are safe.
If the checks are good to go, follow the following steps below.
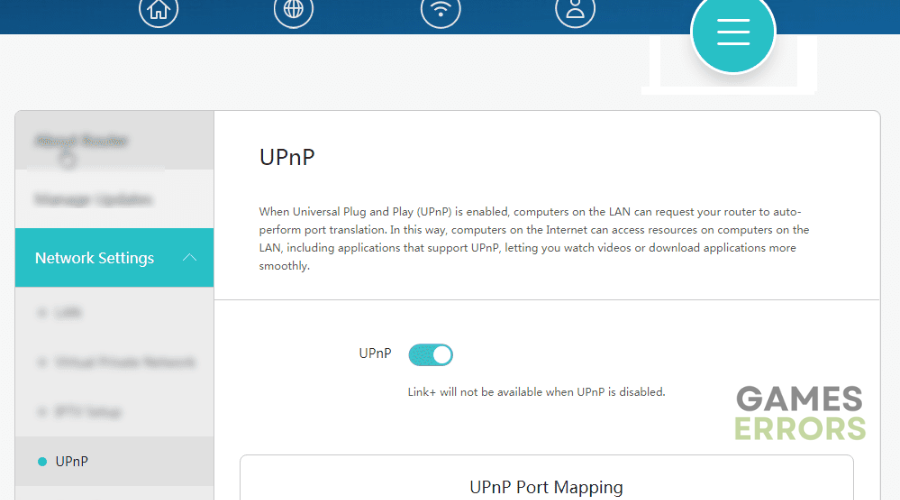
1. Disable UPnP On Your Router
UPnP helps devices connect automatically, but it can sometimes cause conflicts with Destiny 2. If you’re having trouble with the Vex Input error while playing Destiny 2, try turning off the UPnP feature on your router. To do this:
- Log in to your router’s settings by entering the login information and IP address.
- Navigate to the “Advanced” or “Security” settings menu.
- Disable UPnP by turning it off.

- Save your changes and exit the router’s settings.
- Restart your console or PC.
- Launch Destiny 2 to see if the error has been resolved.
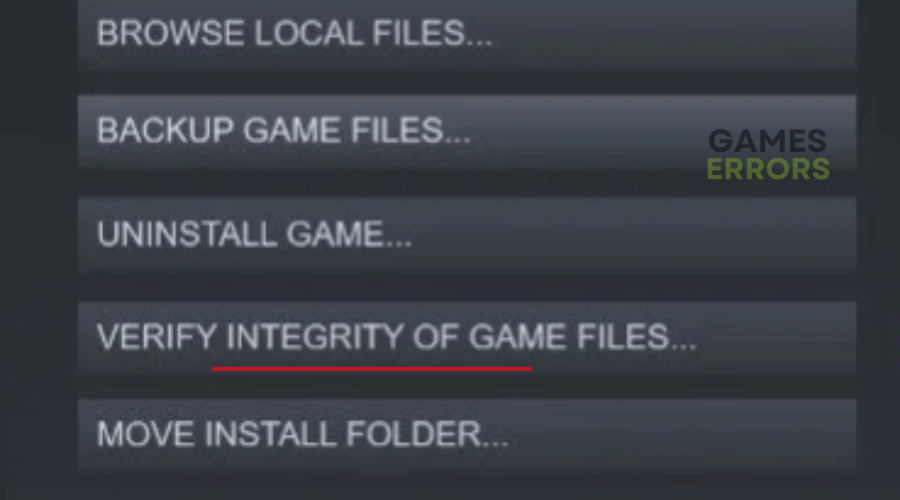
2. Verify Game Files
Verifying the game files through the Steam client checks for any corrupted files or missing updates. To do this:
- Open “Steam”.
- Go to your “Game Library”.
- Select Destiny 2 and click on “Properties”.
- Click on the “Local Files” tab.
- Click on “Verify Integrity of Game Files”.
- Wait for the process to complete and launch the game to check if the error still occurs.
3. Power Cycle Your Router
If you are experiencing the Vex Input error, you can try fixing it by power cycling your internet router. By doing a power cycle, you can refresh the connection between your router and the internet. To do this:
- Press the power button on the back of your router to turn it off.
- Remove the power cables from the router and the outlet.
- Wait for 2-3 minutes.
- Plug the power cables back into the router and the outlet.
- Turn on your router.
- Launch the game to check if the error still appears.
4. Clear your Cache
Time needed: 2 minutes
The cache is temporary storage that can become corrupted over time, causing connectivity issues. Therefore, clear the cache regularly to prevent these issues by removing outdated files and improving performance.
- Open the Steam app.
- Go to the Settings menu
- Navigate to the Downloads tab, and click on “Clear Download Cache”.
- Close Steam and relaunch the app.
⭐If you are using consoles such as PlayStation and Xbox, shut it down completely and unplug it from the power source. Then, wait 30 seconds before plugging it back in and then restart the console.
5. Change DNS
Sometimes the default DNS server provided by your ISP can be slow leading to connectivity issues. By changing your DNS server to a faster and more reliable one, you should experience fewer connectivity issues and faster internet speeds, which can help fix the Vex Input error. To do this:
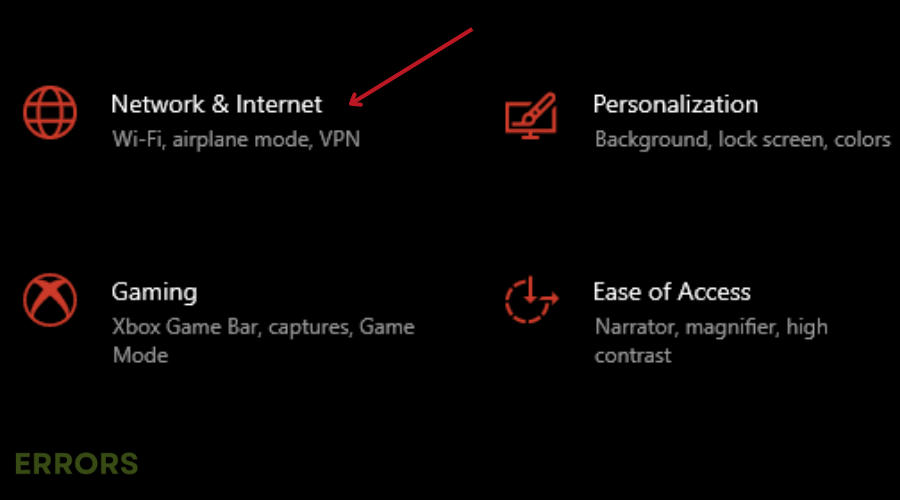
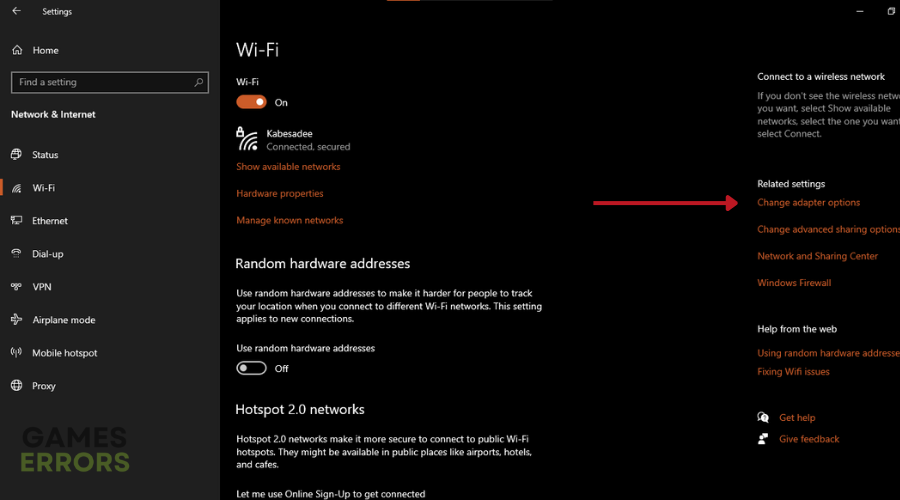
- Press Win + I on the keyboard to open Windows Settings.
- Navigate to the Network & Internet option.
- Click on change adapter options and Select either Wi-Fi or Ethernet, depending on your connection.
- Click on “Edit” next to the DNS server assignment.
- Select “Manual”.
- Enable either IPv4 or IPv6, depending on your DNS type.
- Set the preferred DNS to 8.8.8.8 and the alternate DNS to 8.8.4.4, and then click on “Save”.
- Restart your PC.
Related articles:
- Destiny 2 Error Code Bat: What it is & How to Fix it
- Destiny 2 Error Code Chicken: How to Fix This Problem
- Destiny 2 Error Code BEET: Fixed [PC, Xbox, PS4/PS5]
- Destiny 2 Error Code Coconut: Fix It Quickly
- Destiny 2 Error Code Baboon: Tips and Tricks to Fix It Fast
- Destiny 2 Error Code Buffalo: Most Successful Methods to Fix It
Conclusion
We hope one of the solutions listed above has helped you fix Destiny 2 Vex Input Error. Let us know what worked for you in the comment section below.

Improve this guide
User forum
0 messages