
Elden Ring Not Updating: How to Solve This Problem
Force close and relaunch Steam, and also follow these methods if Elden Ring is not updating 🚀

Is Elden Ring not updating on your PC? You can solve this problem quickly. So, don’t worry.
This action fantasy RPG is definitely a very good game in the industry and has been accepted very positively by gamers. However, it doesn’t mean they are not encountering any issues with this title. Recently, a lot of users have been experiencing not updating issues on Elden Ring.
What is preventing Elden Ring from updating?
If you are unable to update the Elden Ring, it is because of any of the following reasons:
- Firewall: The first thing that can prevent your game from being updated is the Firewall you are currently using. It can block the connection from your PC to the remote update service, which can be the root of the problem.
- Internet connection issues: Your internet connection problem can be another reason why Elden Ring is not updating. It also can create various connection errors with this game.
- Problem with the Steam app: Corrupted download cache or any other internal bugs on Steam can trigger this problem.
How do I fix Elden Ring not updating problem?
You must ensure these things before tying out the actual methods:
- Check the Steam service status and see if everything is OK or not.
- Make sure you have a stable internet connection.
- Update Steam to the latest version. Relaunching will do the job.
After ensuring the above things, go through the following methods to get rid of the Elden Ring not updating problem:
- Force quit and relaunch Steam
- Change DNS
- Reset network
- Change Auto update priority
- Clear Steam cache
- Whitelist in the Firewall
- Repair Elden Ring
1. Force quit and relaunch Steam
Time needed: 1 minute
If Elden Ring is not updating at all, force close the Steam app and relaunch it. Then, try again. It is the most working solution right now.
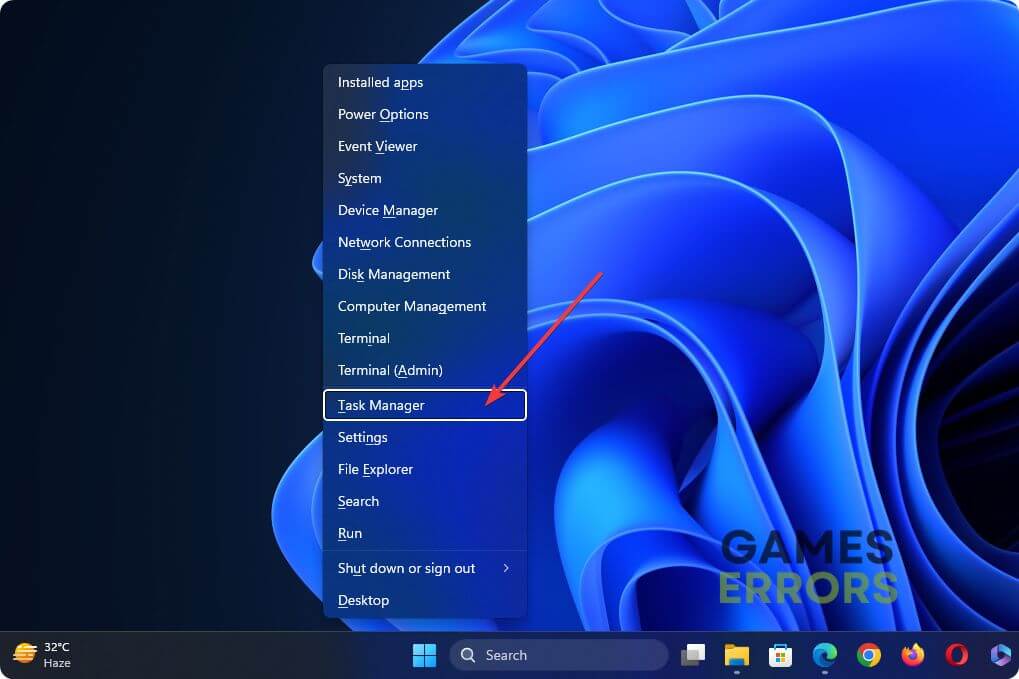
- Press Win + X on the keyboard and go to Task Manager.

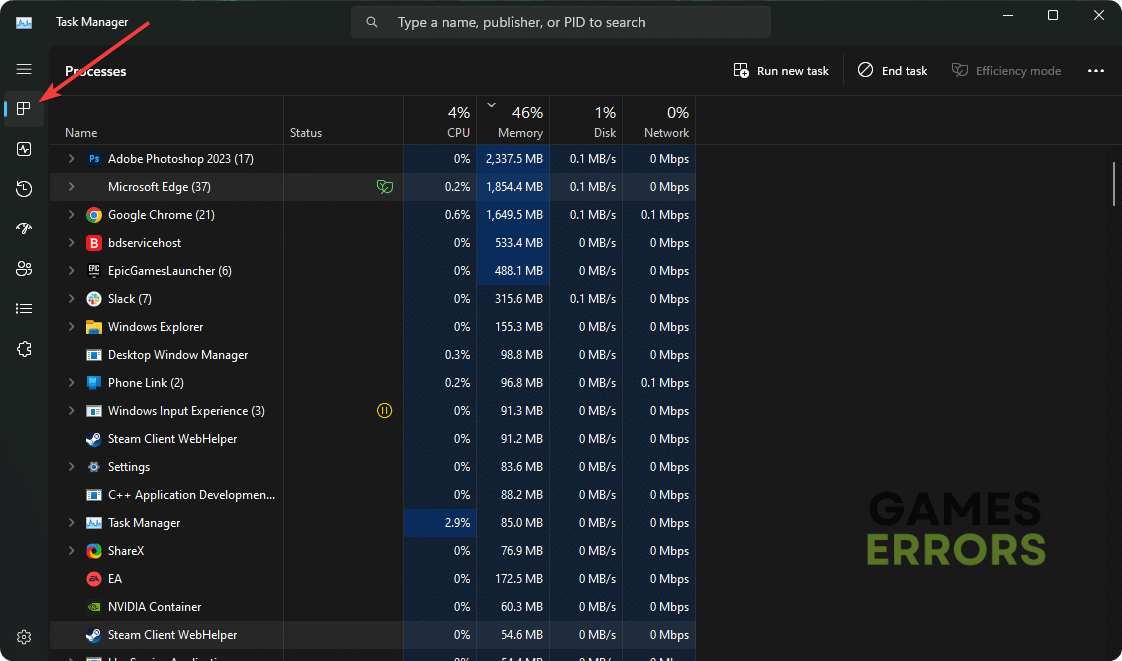
- Go to the Processes tab.

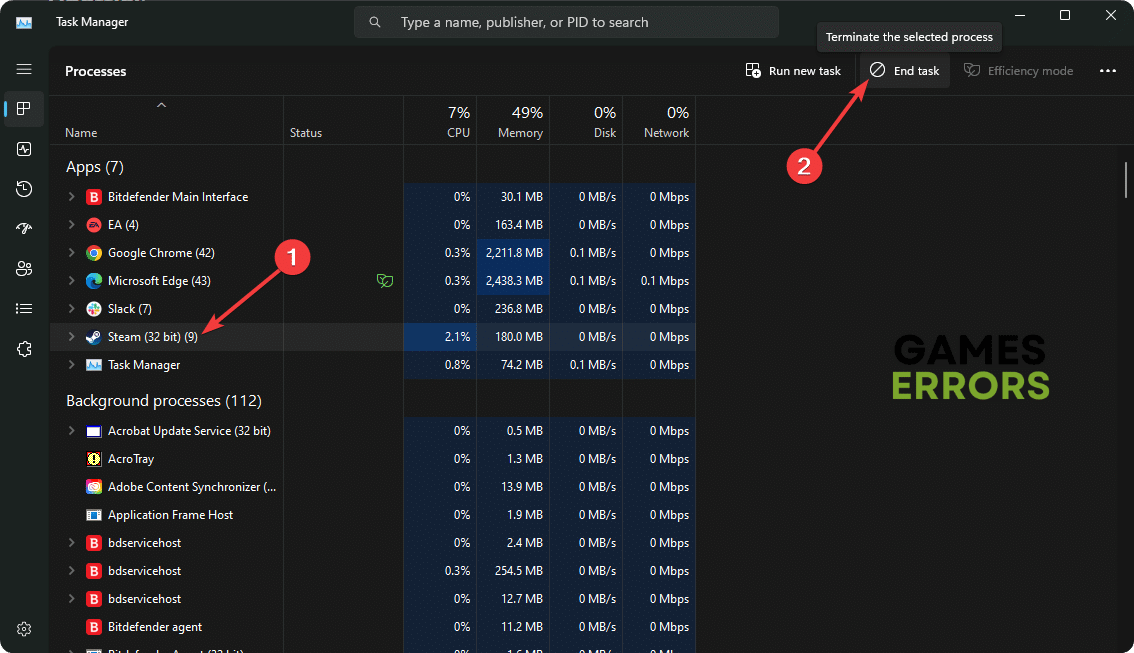
- Select Steam and click on End Task.

- Relaunch the Steam app.
2. Change DNS
- Press Win + I on the keyboard to open Windows Settings.
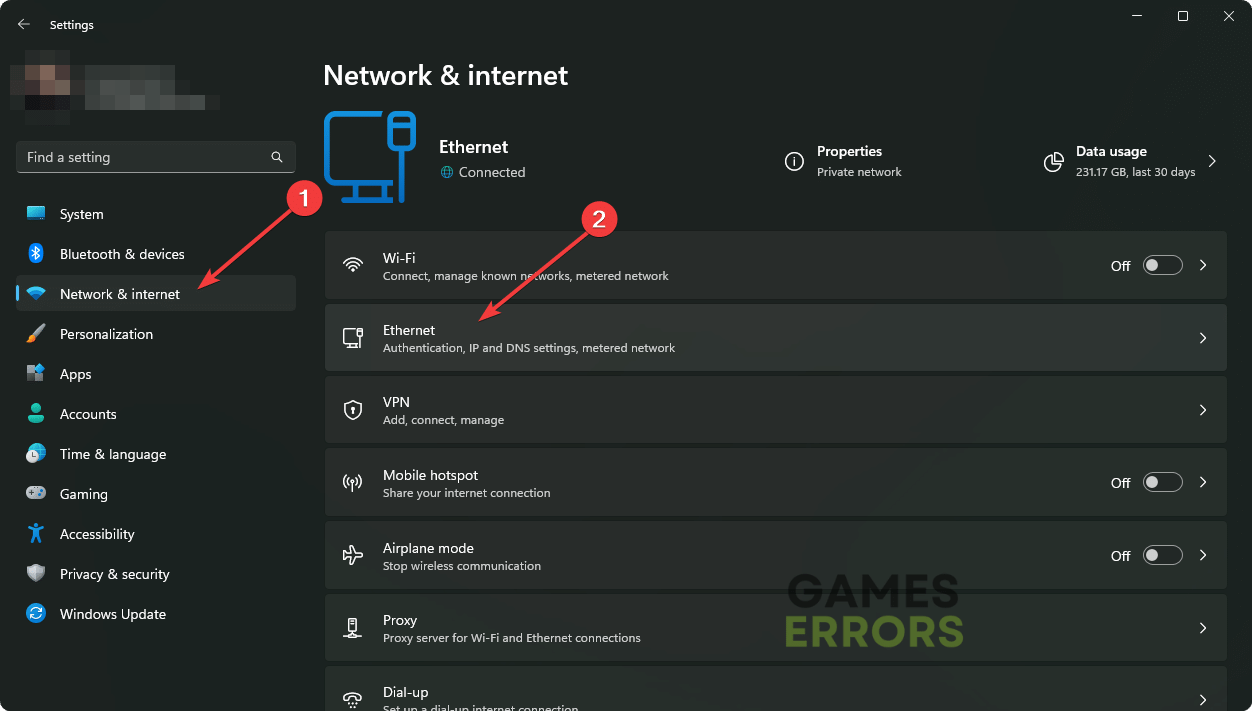
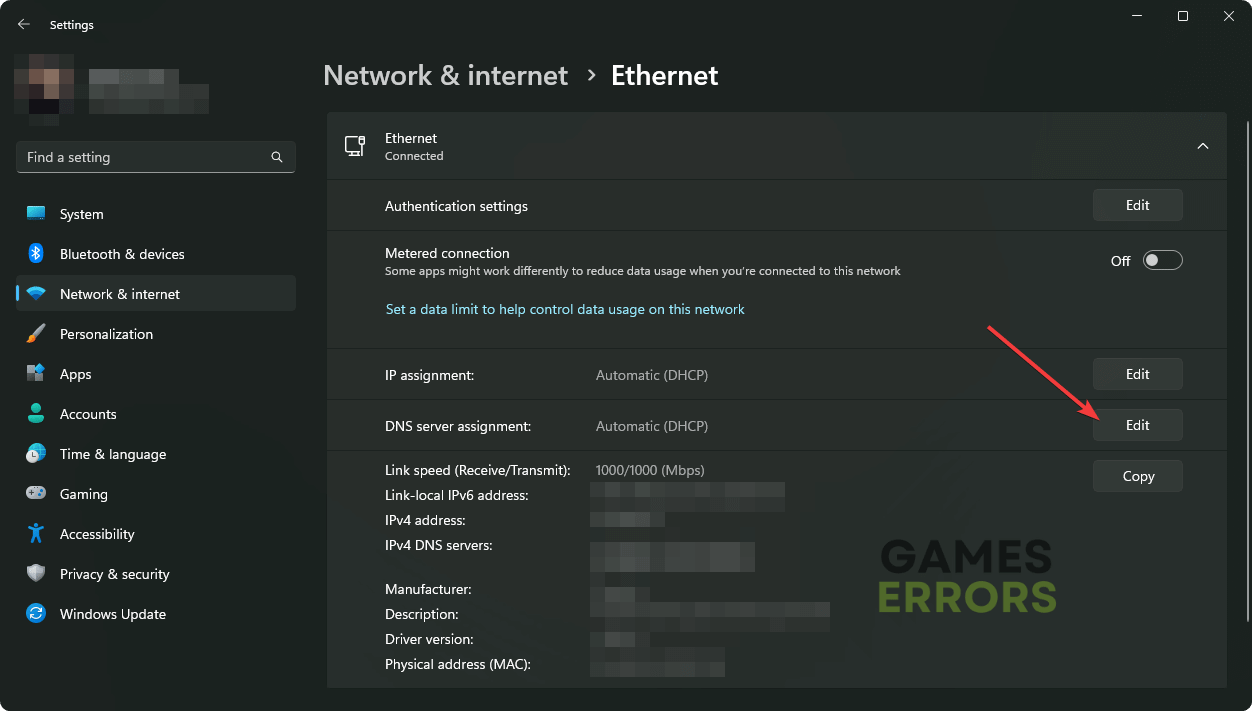
- Navigate to the Network & internet and click on Wi-Fi or Ethernet, depending on which connection you are using.

- Click on Edit next to the DNS server assignment.
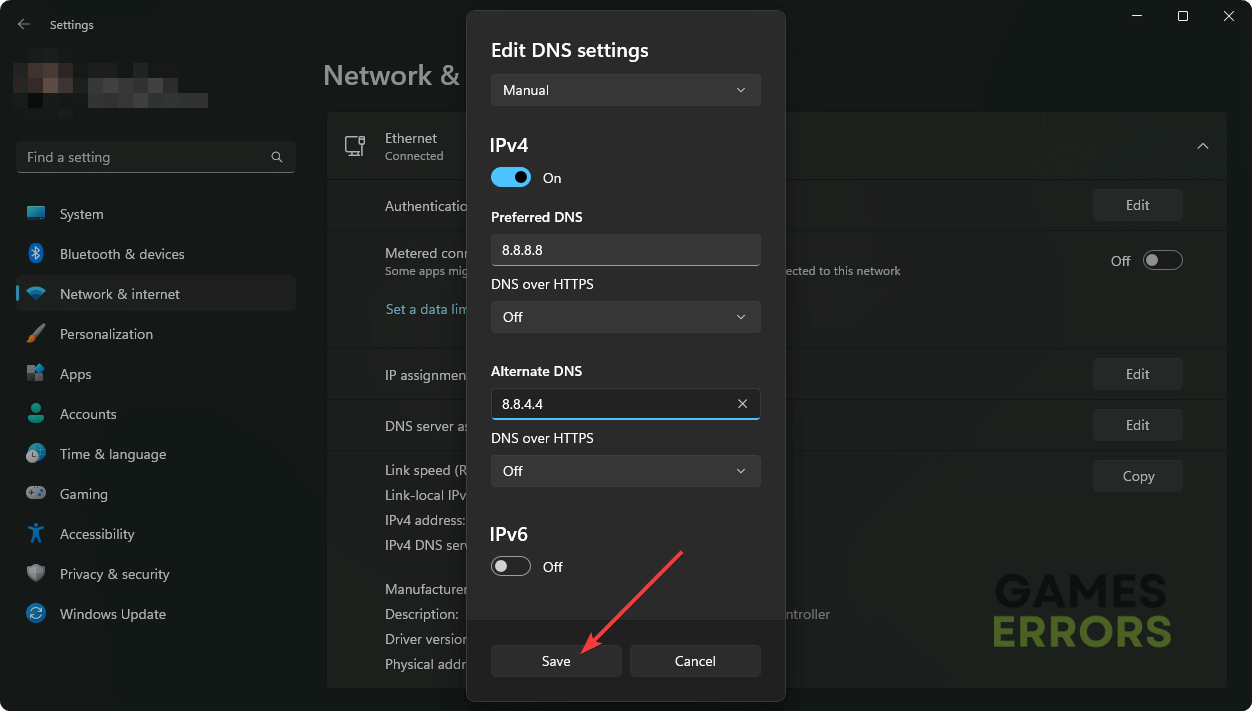
- Select Manual.
- Enable IPv4.
- Set the Preferred DNS as 8.8.8.8 and Alternate DNS as 8.8.4.4, and then click on Save.
- Restart Windows.
If your current DNS server is having some issues, Steam may fail to update the Elden Ring, or this game may get stuck on the updating status. So, using a better DNS, as shown above, will help to get rid of this problem.
3. Reset network
- Go to the Windows Settings like before.
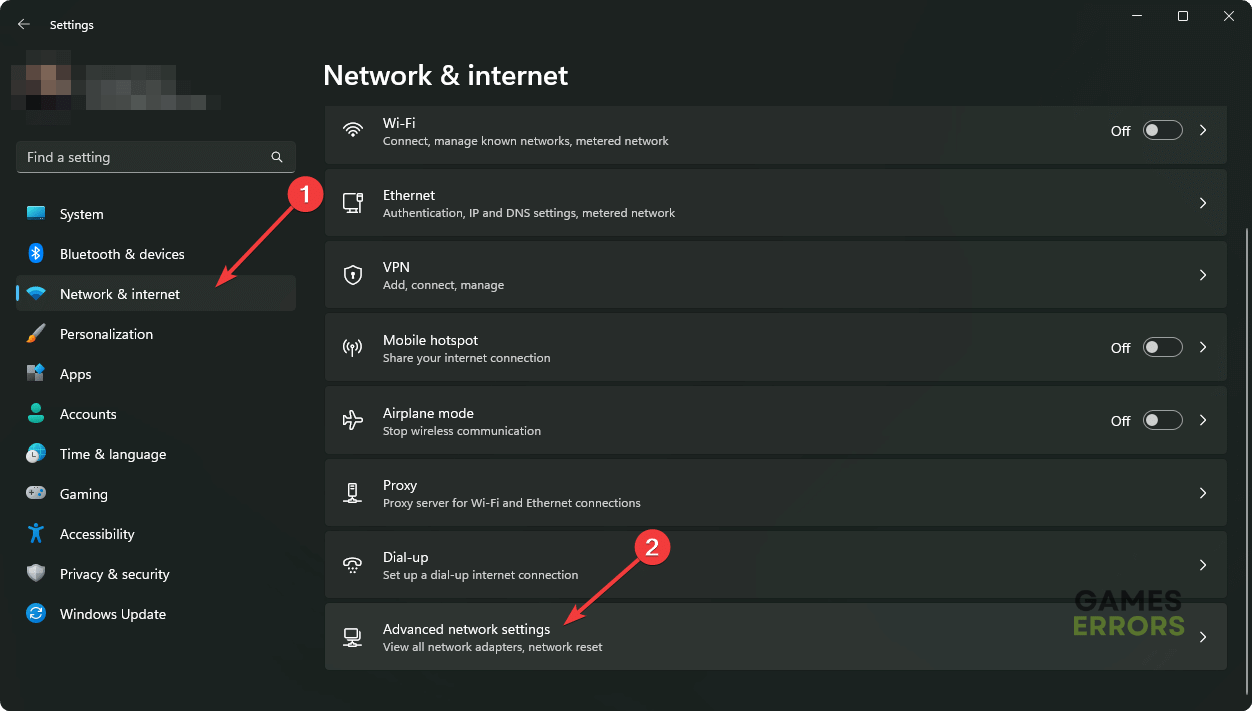
- Navigate to the Network & Internet and go to Advanced network settings.
- Go to the Network Reset.
- Click on Reset.
- Restart your computer.

Now, try again. It should help if Elden Ring is not updating on Steam.
4. Change Auto update priority
- Open Steam.
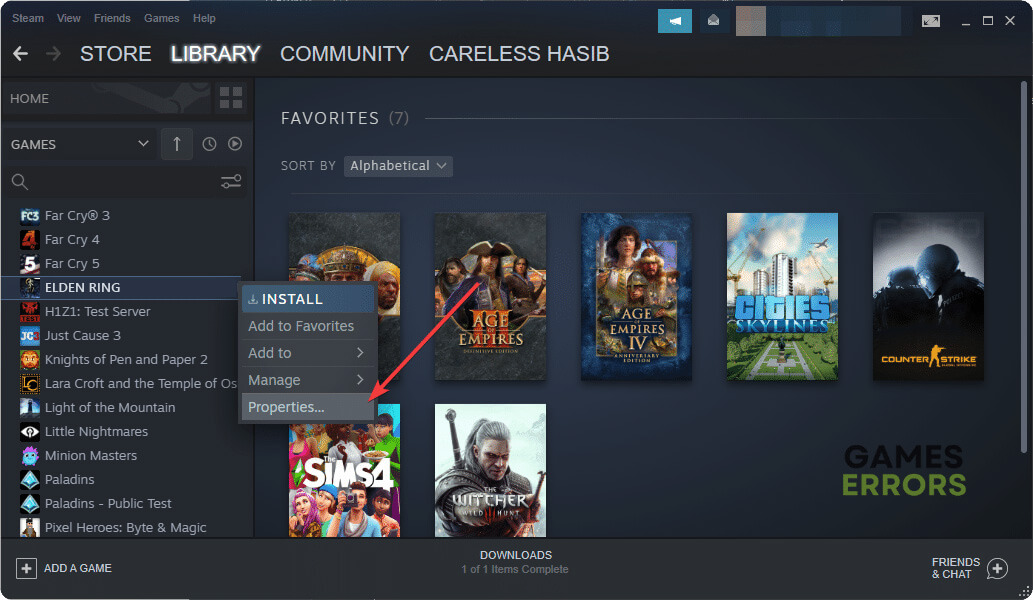
- Go to the game library.
- Right-click on the Elden Ring and go to its Properties.

- Go to the Updates tab.
- Set Automatic updates to High Priority.

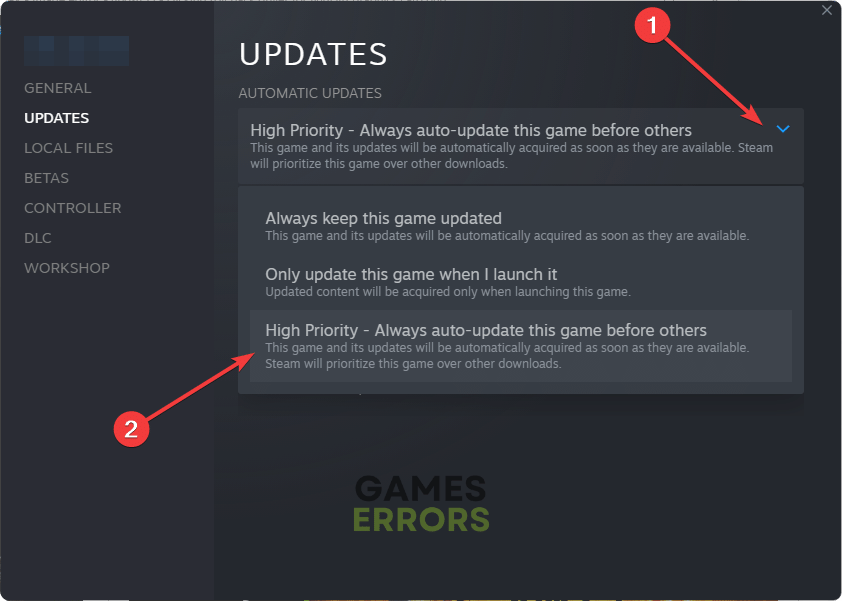
It may take a while. Then, try to launch Elden Ring. Steam will automatically update it to the latest version.
5. Clear Steam cache
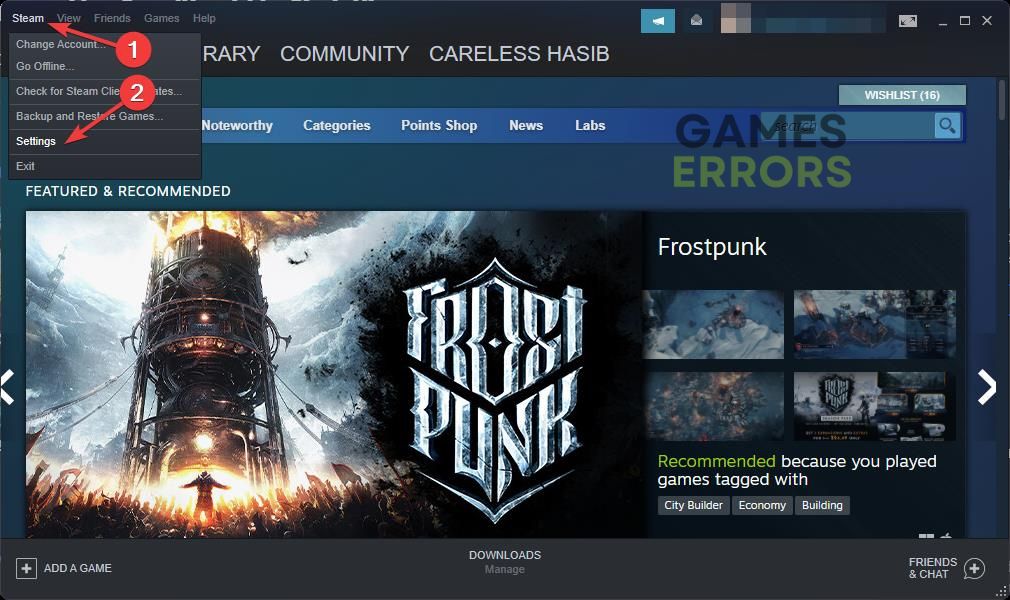
- In the Steam app, go to Settings, as shown in the screenshot.

- Navigate to the Downloads tab and then click on Clear Download Cache.

- Relaunch Steam.

6. Whitelist in Firewall
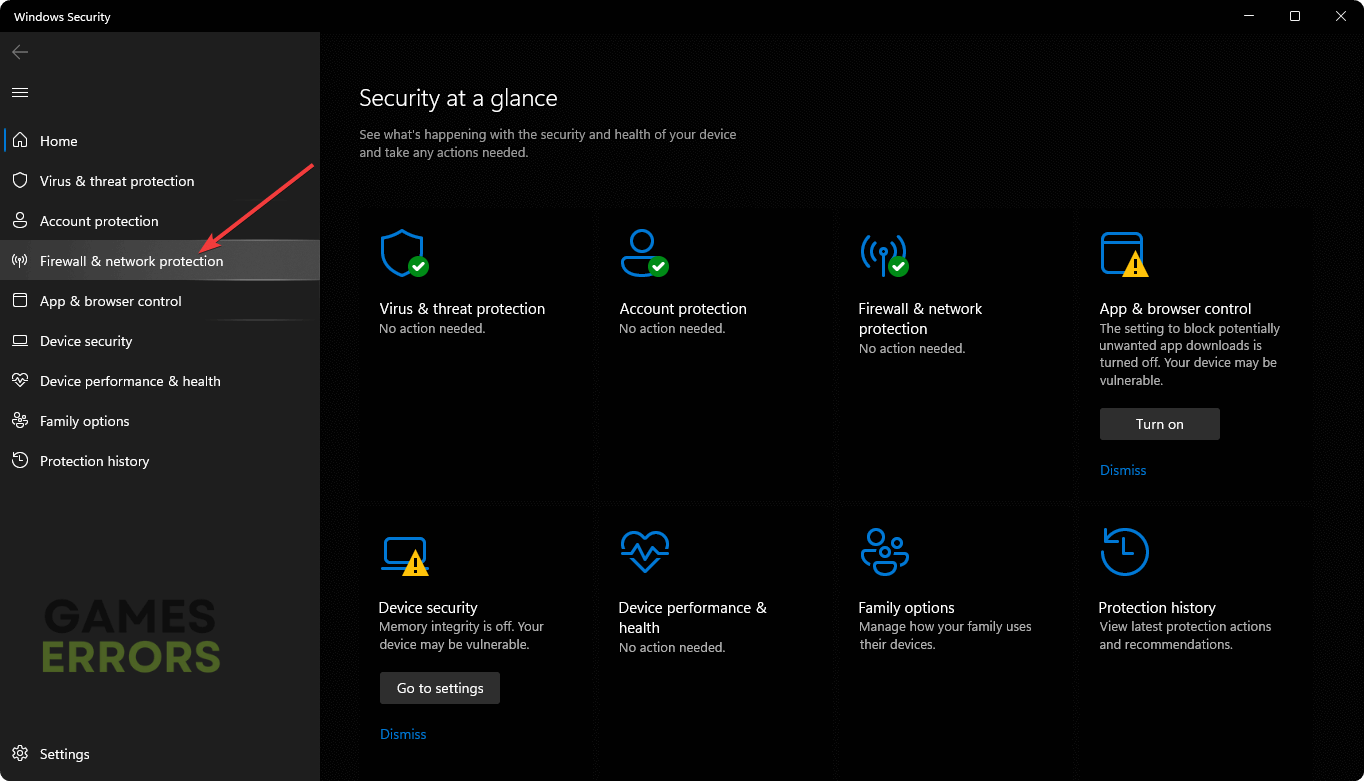
- In the Start Menu, search for Windows Security and open it.
- Navigate to the Firewall & network protection.

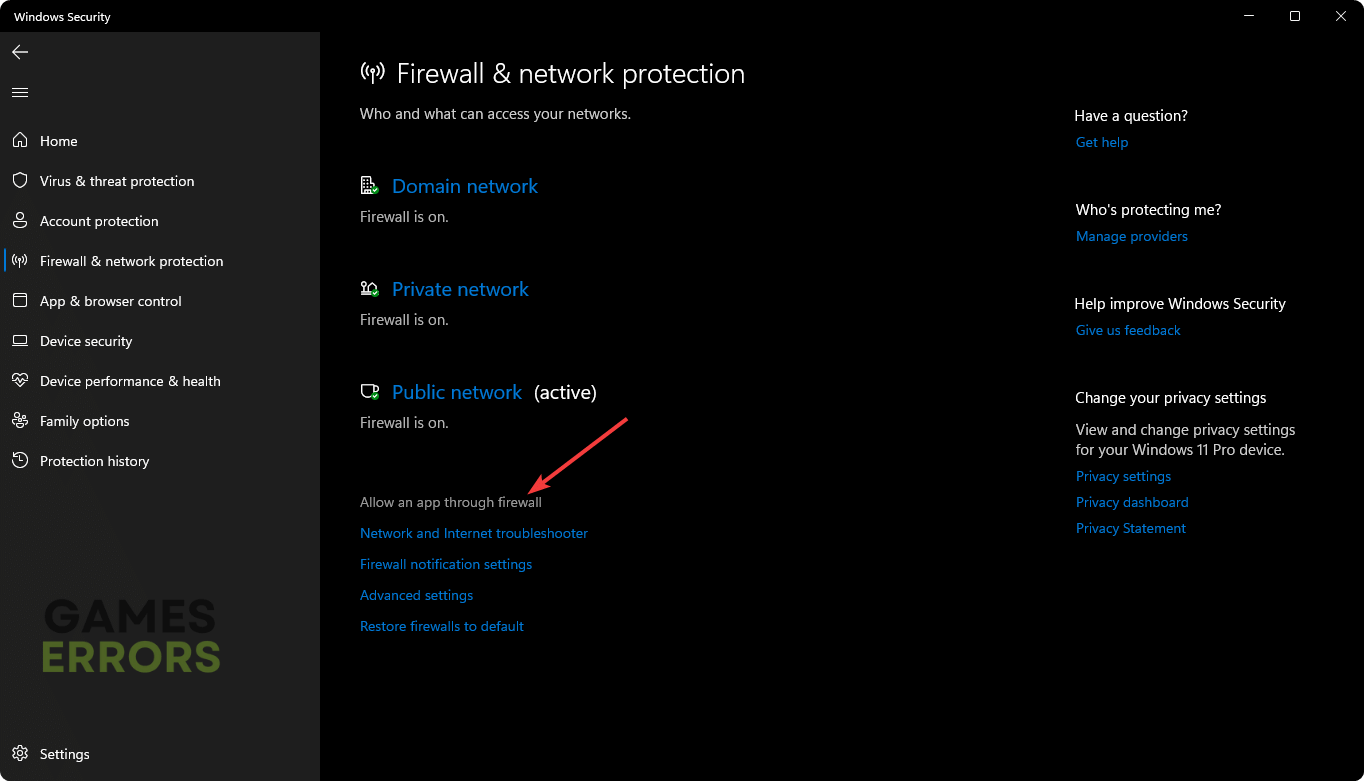
- Click on Allow an app through the Firewall.
- Click on Change settings.
- Tick the Private and Public for Steam and Elden Ring.
- Save the settings.
- Restart your PC.
You can add the Elden Ring manually if you don’t find it.
7. Repair Elden Ring
- In Steam, right-click on Elden Ring and click on Properties.
- Go to the Local Files tab.
- Click on Verify integrity of game files.
- Wait for a while until Steam finishes the process.
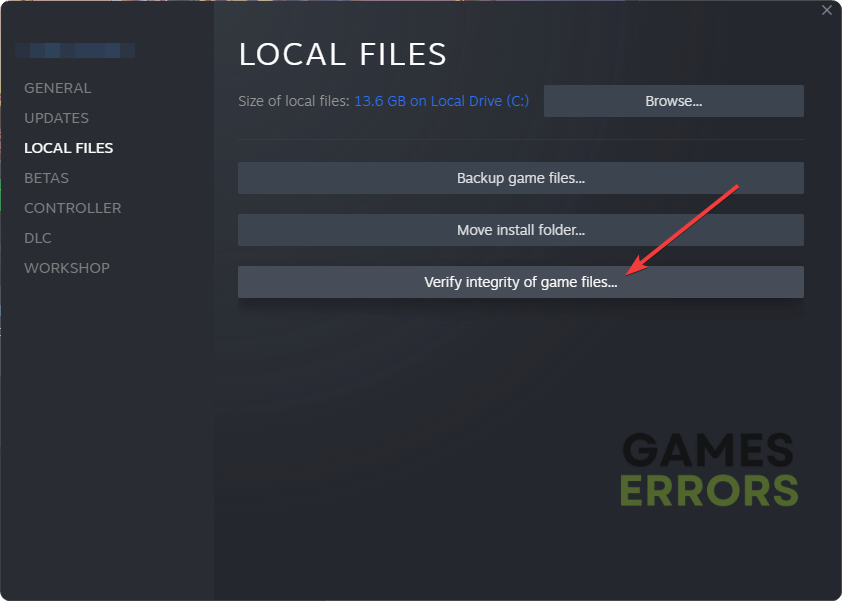
It will repair all of the necessary files of this game and solve any update-related problems. It also helps in problems like Elden Ring being stuck on the loading screen.
If the problem still persists, we suggest you keep your patience. Sometimes, Steam may take some time to deliver the update to certain users. If necessary, disable the antivirus and firewall.
You can also consider re-installing the game if you still have the same problem after waiting a long time. We also suggest you update your GPU and network driver using PC HelpSoft. It will help in various situations.
If you are interested, check out this Beginner’s Guide for Elden Ring.
This article has shown you how to fix Elden Ring not updating and why this issue may occur. Let us know in the comment box if you have any suggestions or questions.

Improve this guide
User forum
0 messages