
PVP.net Patcher Kernel Has Stopped Working in LoL: Fix It Now
"PVP.net Patcher Kernel Has Stopped Working" is a common error message among LoL players. Read this guide completely to discover the quickest fixes! 🎮

Many League of Legends players reported encountering the following error: PVP.net Patcher Kernel Has Stopped Working. If you’re in the same situation, make sure you read this article completely.
Below, you will find some workarounds to fix this issue and play the game in no time.
What is the PVP.net Patcher Kernel error in LoL?
This error typically indicates that there is an issue with the patcher software, which is responsible for downloading and installing updates to the game.
There are several possible reasons why this error may occur, such as a corrupted game installation, conflicting permissions or programs.
What can I do if PVP.net Patcher Kernel Has Stopped Working in LoL?
Table of contents:
1. Run the program as an Administrator
- Locate the LoL exe file (shortcut), then right-click on it.
- Choose to Run as administrator.
- Check if the issue is gone.
- If not, right-click again on the game exe file, then choose Properties.
- Go to the Compatibility tab and checkmark the Run this program as an administrator section.
2. Close unnecessary programs
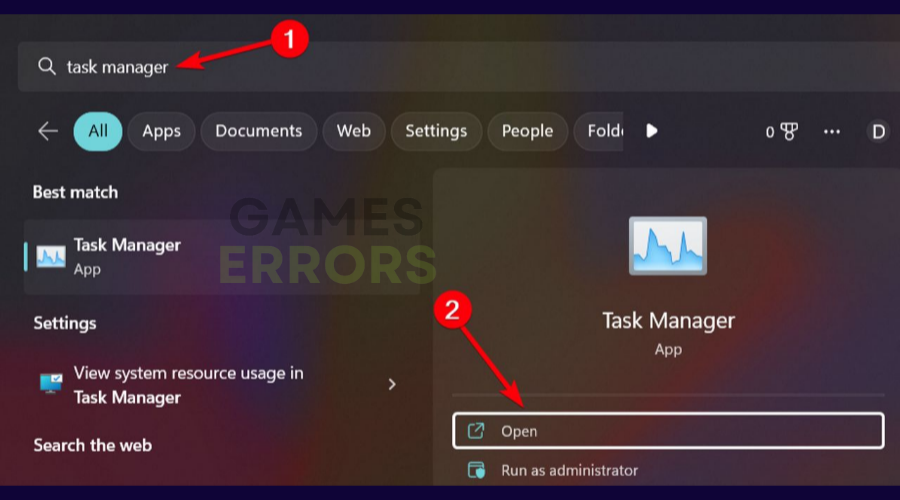
- Hit the Windows key, type Task Manager, then open the first result.

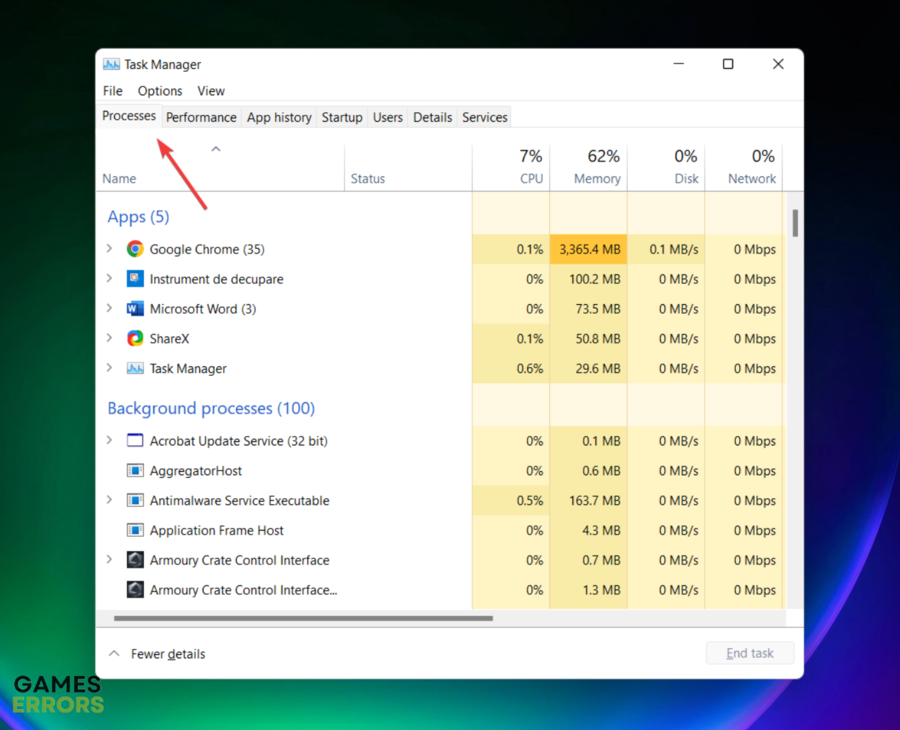
- Make sure you’re in the Processes tab.

- Click on the program you want to close, then click on the End task button.
- Repeat the process for each unnecessary program.
3. Remove patch files from the game
Time needed: 4 minutes
- Go into your League of Legends folder in C:/Riot Games.
- Open up the “RADS” folder ; “Projects” folder ; “lol_air_client” folder ; “releases” folder.
- Now, open up the folder that’s in there.
- It changes every patch but contains the same stuff.
- Delete the two files named “S_OK” and “release manifest”
- Open up the “deploy” folder.
- Delete the “logs”, “META-INF”, “lol.properties”, and “LoLClient.exe”
- Restart your Patcher.
- It will repatch the recent patch you had just downloaded.
- This will usually fix it. If not, we suggest trying to do a repair from the patcher’s options.
If none of the above options worked for you, we suggest accessing the League of Legends contact page and get in touch with the support team.
Related articles:
We hope that our quick guide helped you fix your PVP.net Patcher Kernel Has Stopped Working error and that now you are able to start League of Legends.
If you have any other questions please comment below and we will help you fix any of your gaming issues.

Improve this guide
User forum
4 messages