
Steam Won't Go Online & Stuck in Offline Mode [Fixed]
Having a problem with Steam not going online? Follow the troubleshooting steps below⚒

Steam is a popular digital platform for gamers to access their games and stay connected.
While it is the largest digital distribution platform for PC gaming, many players have reported Steam won’t go online.
If you are experiencing this problem, don’t worry, you’re not alone. Follow this guide to determine why Steam won’t go online and how to fix it.
Why won’t Steam go online?
There are several reasons why Steam won’t go online. Some of the most common culprits include:
- Slow or no internet connection
- Issues with the server
- Corrupt Winsock entries
- Random app or software bug
- Corrupted cache files
How do I fix Steam can’t go online!
Before jumping into the troubleshooting steps listed below, always ensure the following:
- Check the Steam server status.
- Update Windows to the latest version.
- Close all background apps like Antivirus.
After ascertaining that the above steps have been completed, you can proceed with the troubleshooting steps to resolve any issues with Steam.
Table of contents:
- Add –tcp to your Steam shortcut
- Clear your download cache
- Change Internet settings
- Reset Winsock
- Fix your ClientRegistry file
1. Add –tcp to your Steam shortcut
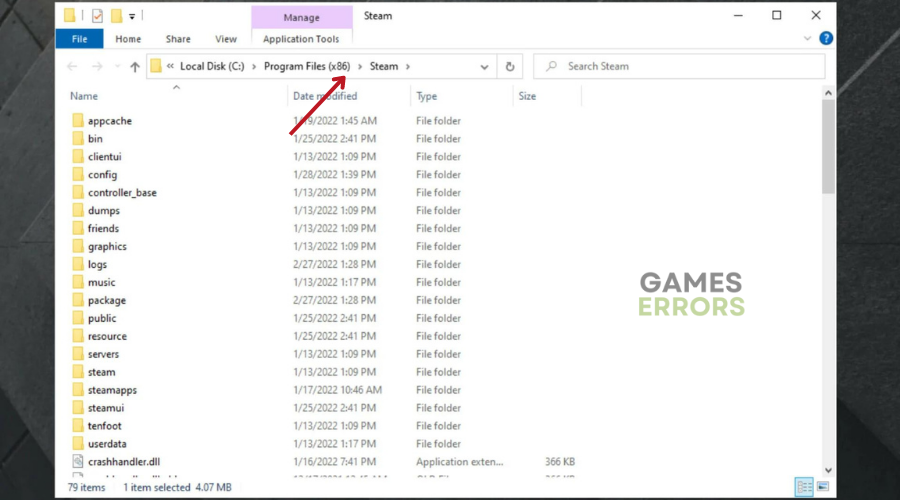
- Find the Steam client on your computer. By default, it should be located in the directory “C:/Program Files (x86)/Steam.”
- Create a shortcut for the Steam client in the same directory.
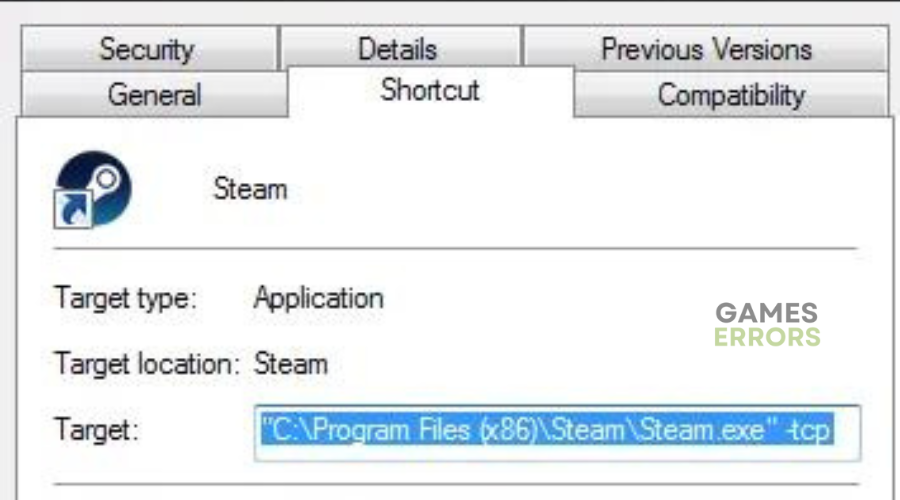
- Right-click on the shortcut and select “Properties.”
- In the “General” tab, go to the “Target” field and add “-tcp” at the end of the path.
- The final path should look like this: “C:\Program Files (x86)\Steam\Steam.exe” -tcp

- Open the Task Manager and end all Steam processes running in the background.
- Launch Steam by double-clicking on the shortcut you created in Step 2.
2. Clear your download cache
Time needed: 3 minutes
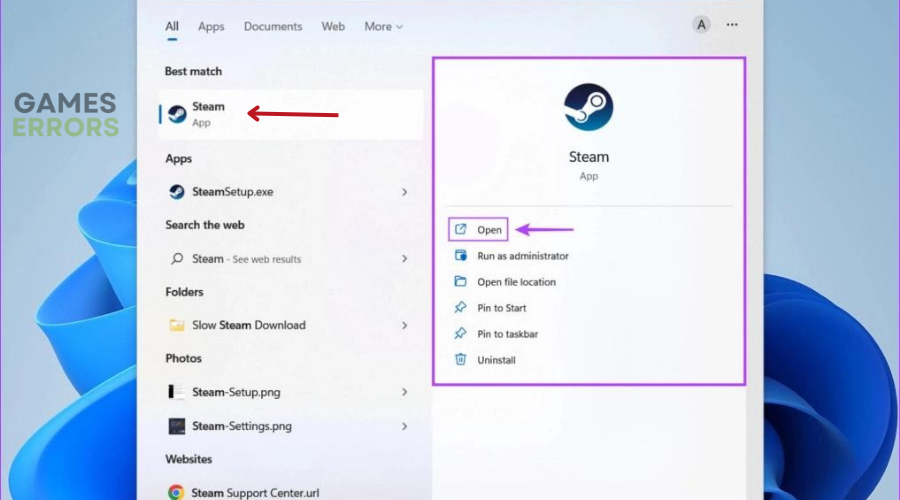
- Press the Windows key on your keyboard and type “Steam” to search for the app.
- Click on the Steam icon to launch the app.
- From the top-left corner of the window, click on the “Steam” dropdown menu.
- Select “Settings” from the dropdown menu.
- In the Settings window, click on the “Downloads” tab.
- Click on the “Clear Download Cache” button.
- When prompted, click “OK” to confirm that you want to clear the download cache.
This process may take a few minutes.
- Steam will now ask you to log in again. Enter your login details and click “Login.”
After logging in, Steam should start up as expected.
3. Change Internet settings
- Press the Windows key and “S” simultaneously to bring up the search bar.
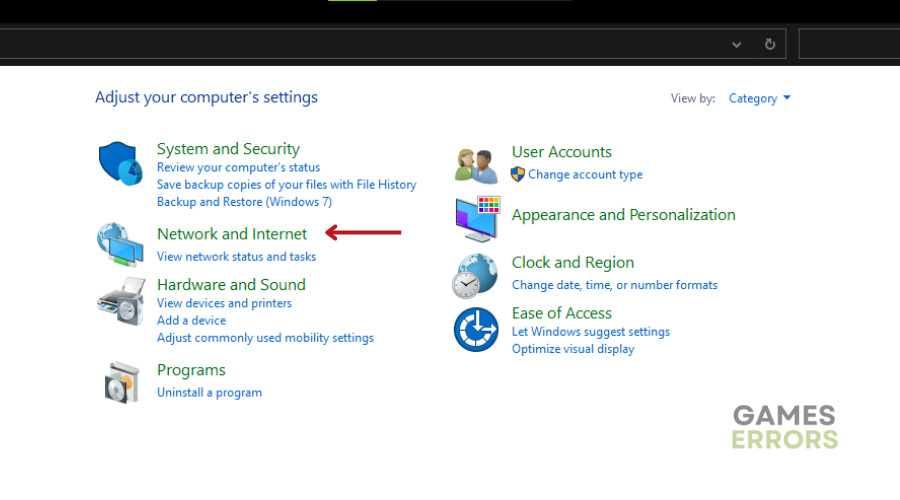
- Type “Control Panel” in the search bar, then click on the first result to open the Control Panel.
- In the Control Panel, select “Network and Internet.”
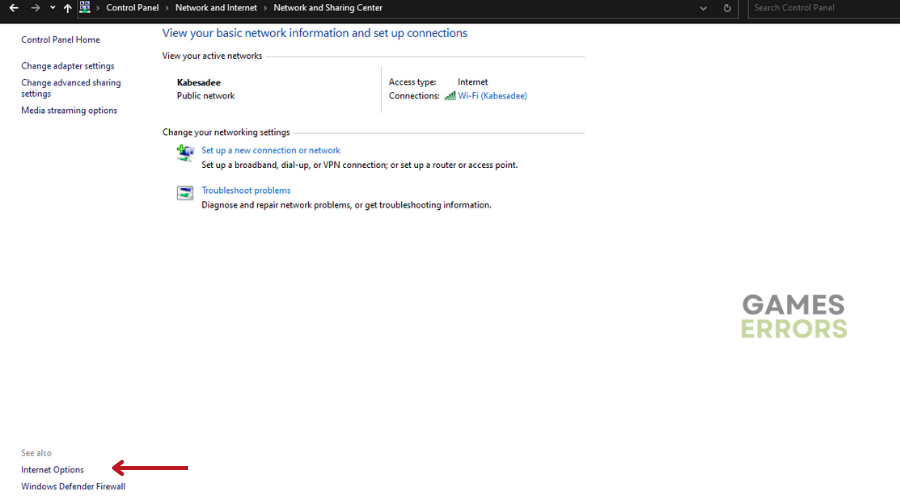
- From the Network and Internet menu, go to “Network and Sharing Center.”
- In the Network and Sharing Center window, click on “Internet Options” in the bottom left corner.
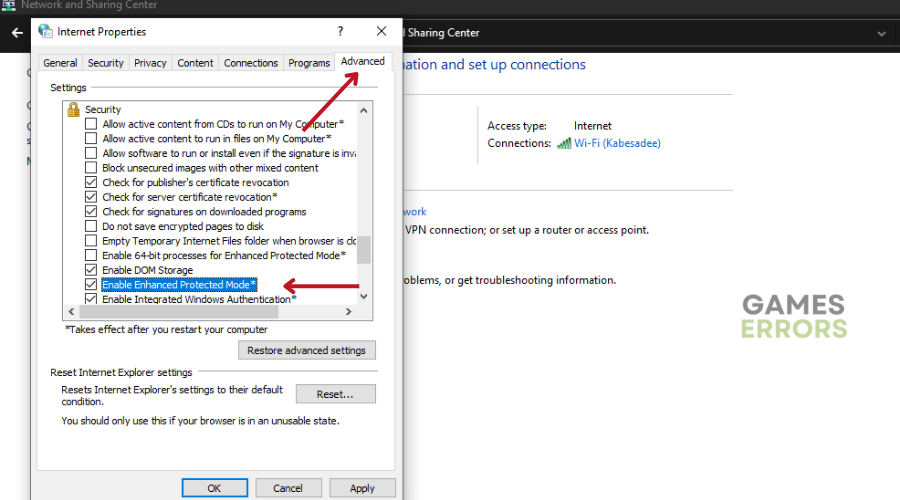
- In the Internet Options window, select the “Advanced” tab and scroll down to the Security section.
- Uncheck the box that says “Enable Enhanced Protected Mode.”
- Restart your computer to ensure the changes take effect.
- After restarting, launch Steam to see if the issue has been resolved.
4. Reset Winsock
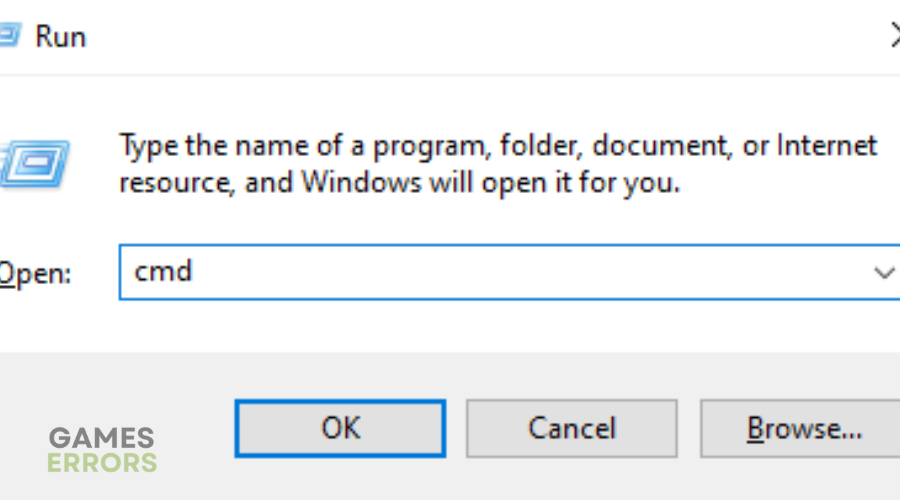
- Press the Windows key and type “cmd” in the search bar.
- Right-click on “Command Prompt” and select “Run as administrator.”
- If Steam is unable to go online, type the following command and press Enter:
- netsh winsock reset catalog
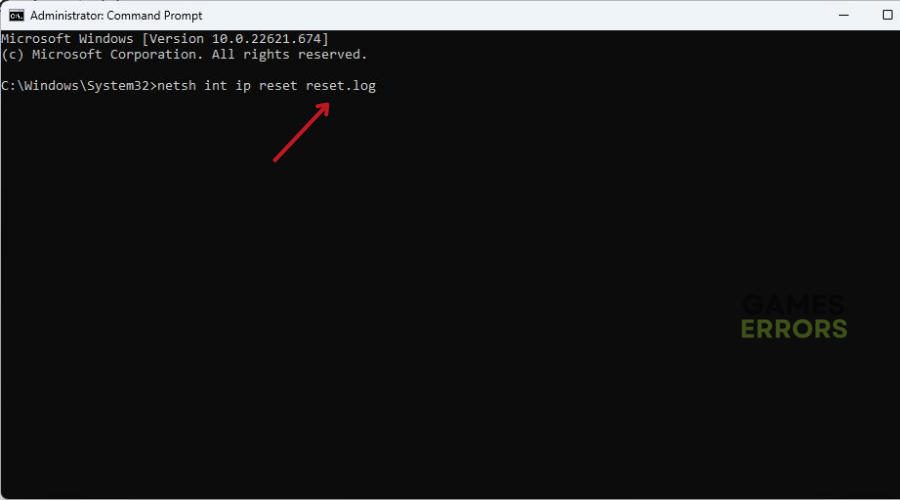
- Next, copy and paste the following command into the Command Prompt window, then press Enter:
- netsh int ip reset reset.log
- If Steam still can’t go online, restart your computer.
- Once your PC has restarted, try starting Steam again to see if the issue has been resolved.
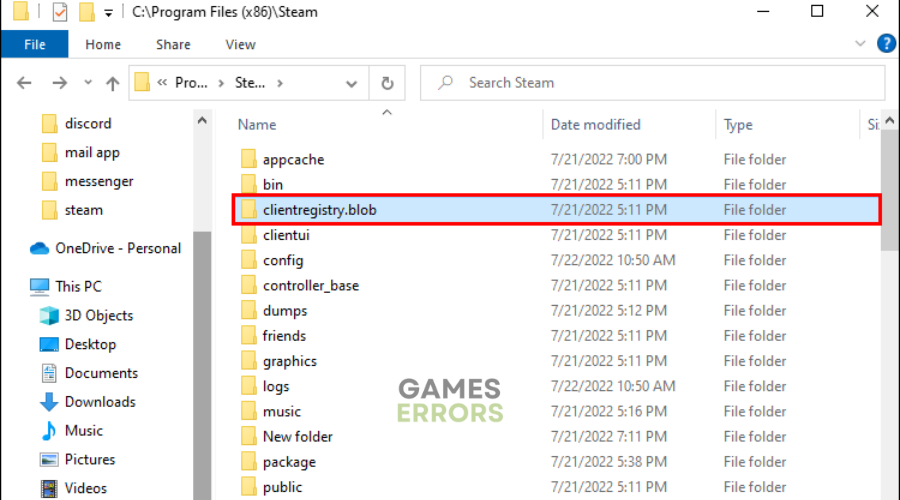
5. Fix your ClientRegistry file
- Close Steam completely and end all tasks related to Steam.
- Go to your Steam directory. By default, this directory is located at C:\Program Files\Steam.
- Locate the file named “ClientRegistry.blob.”
- Rename this file to ‘ClientRegistryold.blob’.
- Restart Steam and allow the “ClientRegistry.blob” file to be recreated.
- If your Steam client still doesn’t work properly, try the following steps:
- Go back to your Steam directory.
- Locate the file named “Steamerrorreporter.exe.”
- Run this application and relaunch Steam.
- Your Steam client should now run as expected.
Extra Steps
- Reinstall Steam on your PC.
- Start Steam in Safe mode.
- Reboot the modem or the router
- Disable Firewall and Antivirus
- Restart your PC
Related articles:
- Steam Game Not Launching: Why & What To Do In This Case
- Steam No Internet Connection Error: Quick And Lasting Fixes
- Steam Needs to Be Online to Update: Fix It Easily
- Steam Download Speed is Slow: How to Fix & Increase Speed
Conclusion
We hope the solutions listed above have helped you fix Steam won’t go online. Check out our website for any game fixes, guides, and gaming news. Also, feel free to leave us a comment, suggestion, or question in the comment section below.

Improve this guide
User forum
0 messages