
Destiny 2 Error Code Marmot: How To Fix [PC, Xbox, PS4/PS5]
Are you facing the Marmot error code in Destiny 2? Don't worry; in this article, we have the best fixes. 👍
Do you encounter the error code marmot in Destiny 2? This article will explain why this error occurs and how to fix it effectively.
Destiny 2 has undergone significant enhancements in its storyline, gameplay mechanics, and an array of graphical upgrades. Despite the game content still being enjoyable, the enemy AI has remained unchanged and might not provide enough challenge for players. However, let’s see how to deal with the Marmot error code if it appears on your PC or console.
What is the Error Code: Marmot in Destiny 2?
Error Code Marmot occurs when the game files of Destiny 2 are corrupted and require repair or verification. Other possible reasons for the occurrence of this error are:
- the game is not updated
- game launcher issues
- corrupted BattleEye service
- faulty RAM
- problem with the system files
How do I fix Error Code: Marmot in Destiny 2?
First of all, start with these prechecks:
- Verify and repair game files.
- Close and reopen the game launcher or restart your PC.
- Update DirectX, .NET Framework, and VCRedist.
If Destiny 2 still has a problem, do the following:
1. Update the game
Time needed: 3 minutes
We recommend always having the latest version of Destiny 2 installed to ensure the smoothest and error-free gameplay experience.
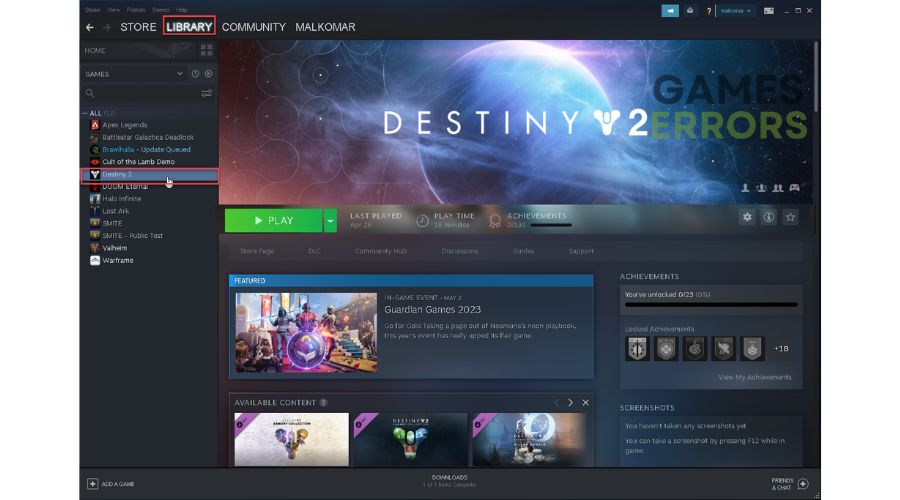
- Launch the Steam client and go to the games library.

- Right-click on Destiny 2 and select Properties.
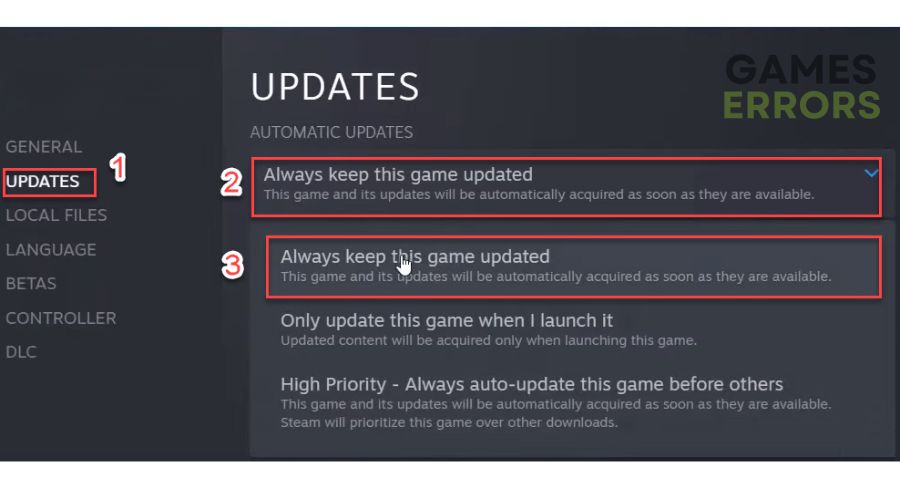
- Click on the Updates.
Select Always keep this game updated from the drop-down menu.
- Exit Steam launcher.
If there is the latest patch for the game, it will be automatically downloaded and installed.

2. Edit registry
BattleEye is a software program designed to prevent cheating, hacking, and other forms of exploitation in online games. It is a proprietary anti-cheat software currently employed in Destiny 2. Despite its effectiveness, some users have reported an issue where the program blocks a crucial file (steamclient64.dll) essential for connecting to the game servers when launching the game on Steam. Here is how to fix this issue:
1. Press the Win + R to show the Run dialog box.
2. Type; “regedit” to open Registry Editor.

3. Navigate to the HKEY_LOCAL_MACHINE\SOFTWARE\Policies\Microsoft\SystemCertificates\AuthRoot.
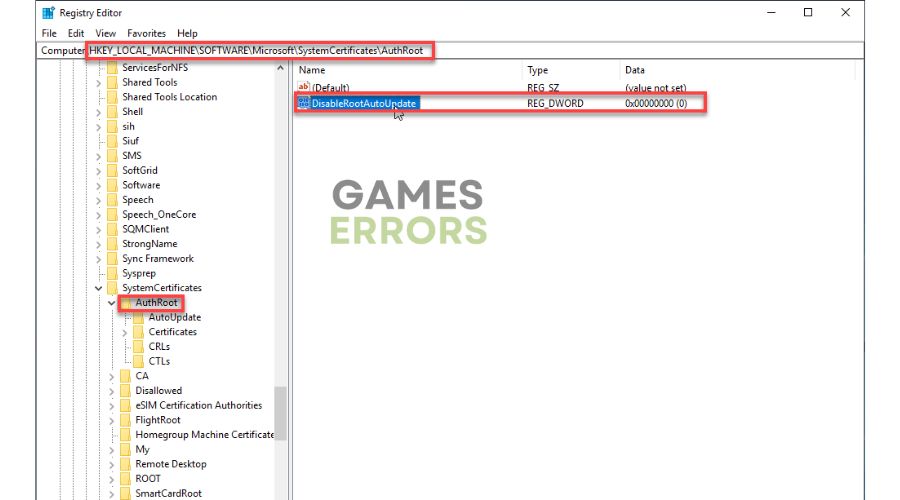
4. Select the AuthRoot key and double-click on DisableRootAutoUpdate.
5. Set the base of DisableRootAutoUpdate to Hexadecimal and the value to 0.
6. Click OK to confirm changes, close Registry Editor, and reboot your PC.
7. Launch Destiny 2 to check if the error code marmot is fixed.
3. Update game launcher
Using outdated platforms like Steam, Epic Games Launcher, or EA App may cause game issues. To update your Epic Games Launcher, choose between automatic and manual updates. The EA App updates automatically, but you can check for updates by relaunching it. To update your Steam client, follow these steps:
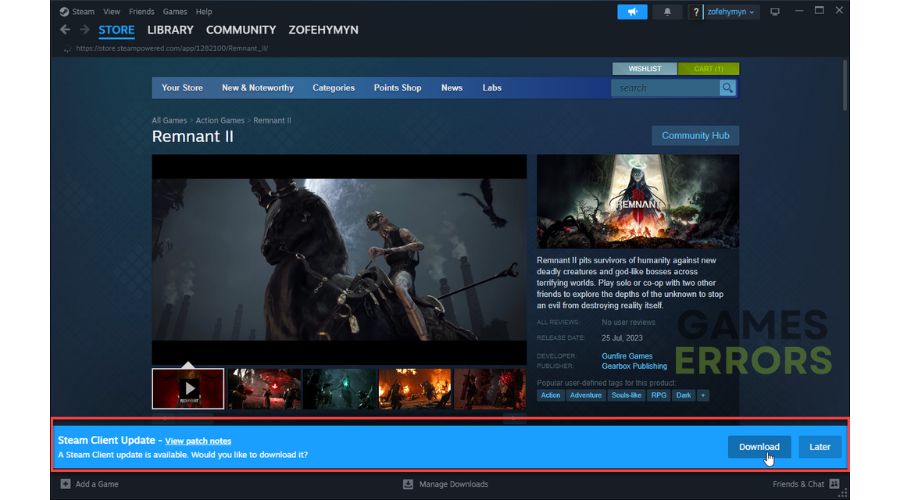
1. Open Steam client, click on Steam>Check for the Steam Updates…

2. If there is a new client version, click Download and wait for Steam to update.
3. After the update, log in to your Steam account and run Destiny 2 to check if the issue is gone.
❕Extra steps:
If you still have the error code marmot in Destiny 2, consider some additional options like:
- Update Windows to the latest version.
- Check your RAM and replace it if necessary.
- Disable the XMP.
- Check your system files with the sfc/scannow command in Comand Prompt.
- Check your drive issues with the chkdsk D: /f /x command in Comand Prompt.
- Perform clean boot.
- Reinstall Destiny 2.
🎮How to fix the Destiny 2 Error Code Marmot on Xbox?
- Check for updates (Open the My Games & Apps menu/Manage/Updates/Update All).
- Restart your console.
- Clear console cache (Unplug the power cord for 5 to 6 minutes, then plug the power cord back and turn on your Xbox).
- Press the Xbox button on the controller and open Settings (Devices & connections>Blue-ray>Persistent Storage>Clear persistent storage).
- Delete and reinstall Destiny 2.
🕹How to fix Destiny 2 Error Code Marmot on PS4/5?
- Check any updates (Select Destiny 2 from the Home screen, press the Options button on your controller, and select Check for Update).
- Clear console cache (same procedure as Xbox console).
- Hold down the power button until it beeps two times, then release the button to enter Safe Mode. Choose Rebuild Database.
- Delete and reinstall Destiny 2.
Related articles:
- Destiny 2 Error Code BEET
- Destiny 2 Preservation Mission Not Showing Up
- Destiny 2 Error Code Coconut
Conclusion
If you have Error Code Marmot in Destiny 2, verify and repair game files or restart the game and your computer, as the issue may be temporary. Second, update the game and edit the registry to fix BattleEye service issues. Additionally, update DirectX, .NET Framework, and Visual C++ runtime libraries. If you’re experiencing problems with the game launcher, try to update or reinstall it. However, for additional questions, comment below; we’ll be happy to help.

Improve this guide
User forum
0 messages