
High On Life Low FPS: How to Fix Quickly
Here's everything you need to know about High on Life low FPS and how to fix it✅
Despite its recent debut, High on Life has already garnered a dedicated following among gaming enthusiasts, yet some players find themselves dealing with frustrating stutters, lags, and FPS drops.
Whether you’ve experienced an abrupt FPS drop during your High on Life escapades, or your gaming setup is struggling to keep up with the demands of the game, this comprehensive guide will take you through a series of troubleshooting steps and offer insights that could get you back in the game and restore smooth, immersive gameplay.
Why Do I Have High on Life Low FPS Levels?
High on life works pretty well, for the most part, however, it is not uncommon to experience FPS drops during gameplay. Some of the common reasons why you may be experiencing this issue include:
- Your computer doesn’t meet the minimum system requirements to play High on Life.
- Outdated device drivers including graphics drivers.
- An outdated game version
- An outdated Windows build
- Issues with the game files
- DirectX-related issues
- In-game graphics settings
- Background running tasks
- Power options
- Overlay apps
💥 How To Fix High on Life Low FPS?
Before jumping into the solutions below, complete the following pre-checks, and ensure your PC meets the minimum system requirements to run High on Life.
Table of contents:
- Update graphics driver
- Optimize in-game graphics configurations
- Change High DPI Settings
- Enable Hardware Accelerated GPU Scheduling
- Increase the Virtual RAM
1. Update graphics driver
Time needed: 4 minutes
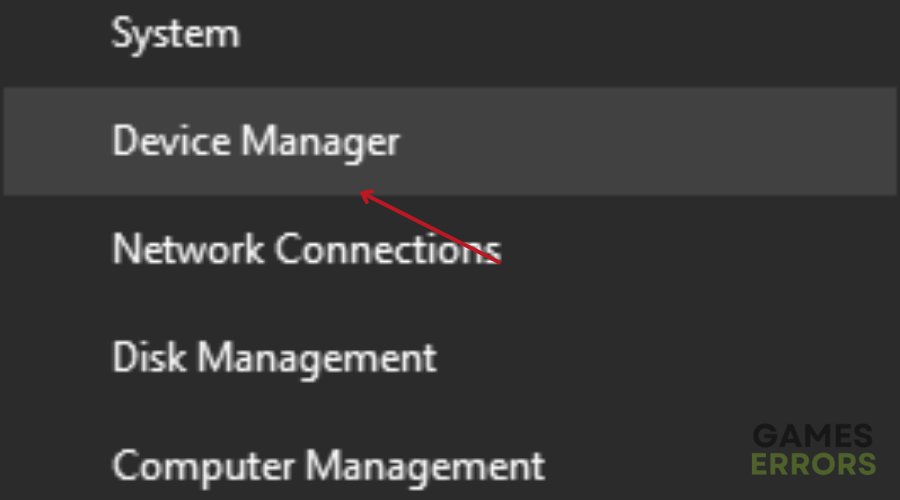
- Right-click the Start Menu to access the Quick Access Menu.
- Click on Device Manager from the list.

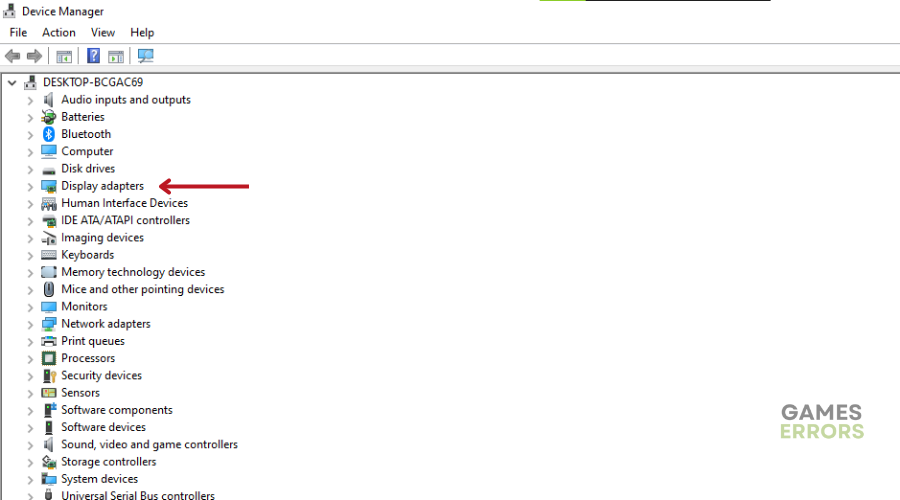
- Double-click the Display adapters category to expand it.
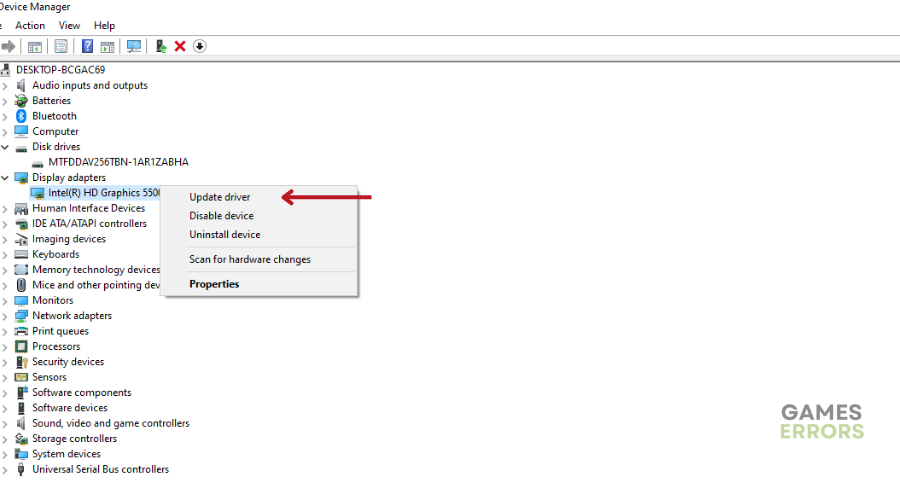
- Next, right-click the name of your dedicated graphics card.
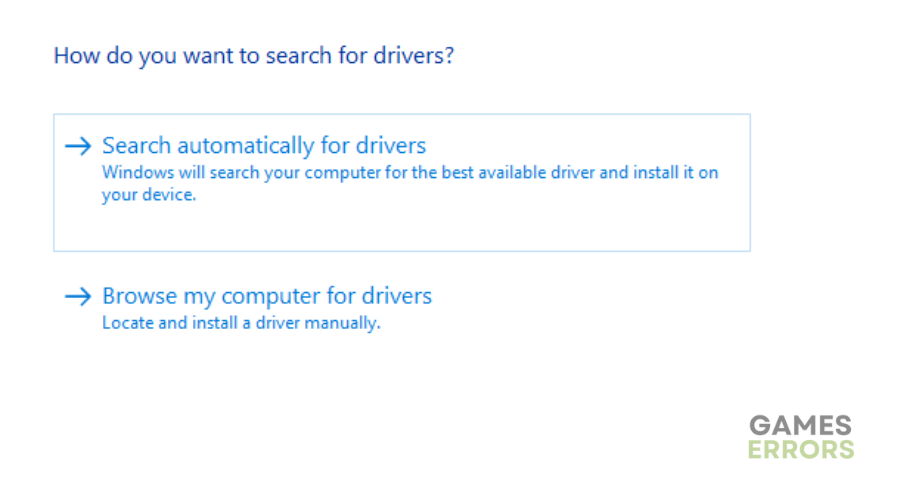
- Select Update driver > Choose Search automatically for drivers.
- An update will be downloaded and installed automatically if available.
- After completion, remember to reboot your computer to apply the changes.
📌 Trying to find the right driver manually takes time, and sometimes may result in installing the wrong version of the driver. This causes many issues, including High on Life low FPS. That is why you should use PC HelpSoft. It will save you time and reduce risks.
2. Optimize in-game graphics configurations
- Begin by launching the High on Life game and accessing its Settings menu.
- Navigate to the Video tab and configure the following options:
- Resolution: Choose either 1920×1080 or the highest available resolution.
- V-Sync: Disable this option.
- Graphics Quality: Set to Custom.
- Motion Blur: Ensure this is Disabled.
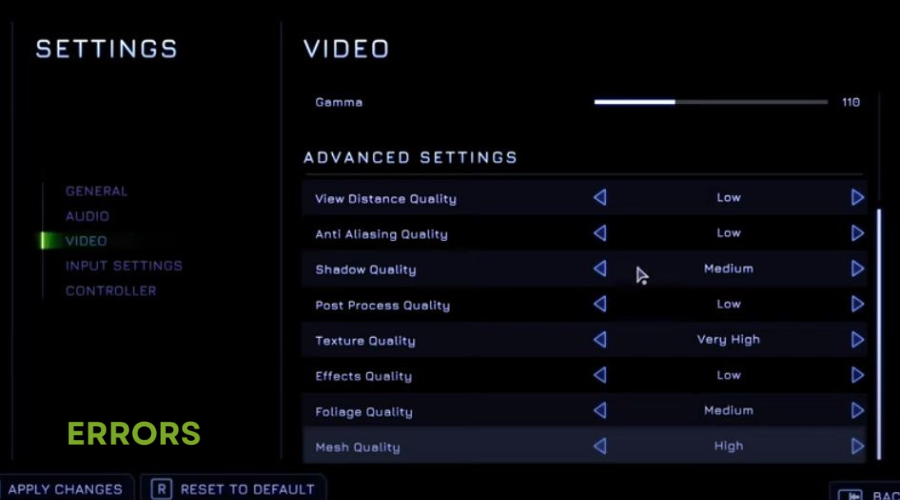
- Proceed to set up the Advanced Settings options as follows:
- View Distance Quality: Choose Medium.
- Anti-Aliasing Quality: Opt for Low.
- Shadows Quality: Set to Low.
- Post Process Quality: Select Medium.
- Texture Quality: Set to Low.
- Effects Quality: Choose High.
- Foliage Quality: Opt for Medium.
- Mesh Quality: Set to Low.
- Once you have adjusted these settings, remember to save the changes.
- Exit the Settings menu and proceed to play the game with your newly configured settings.

3. Change High DPI Settings
- Open Steam and go to Library.
- Right-click on High on Life and select Manage.
- Click on Browse local files, which will open the game’s installation folder in File Explorer.
- Find the High on Life.exe application file.
- Right-click on this file and then click on Properties.
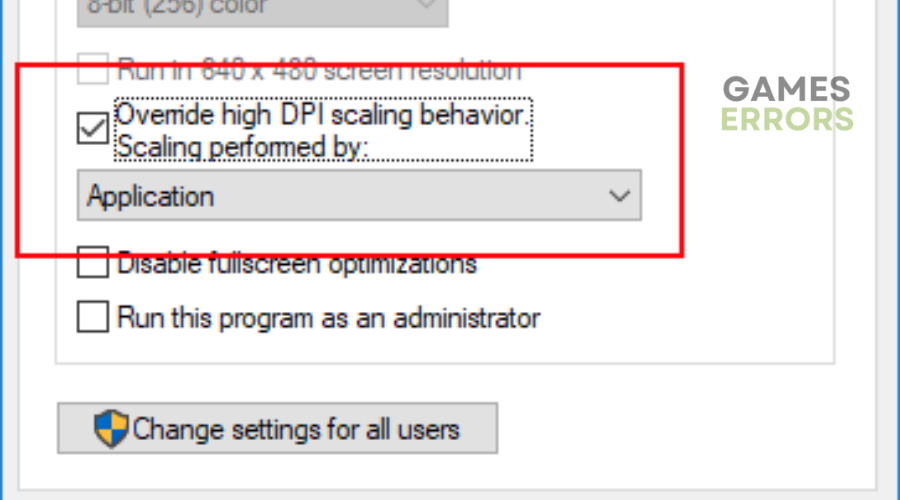
- Go to the Compatibility tab and find the Change High DPI Settings option.
- Enable “Override high DPI scaling behavior. Scaling performed by: Application” checkbox.
- Click OK, then Apply.
- Now, attempt to run the game again using the adjusted settings.

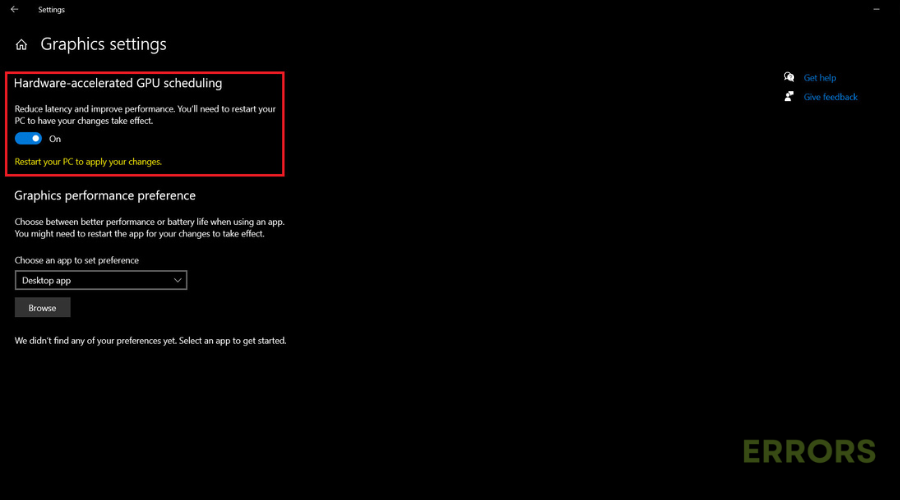
4. Enable Hardware Accelerated GPU Scheduling
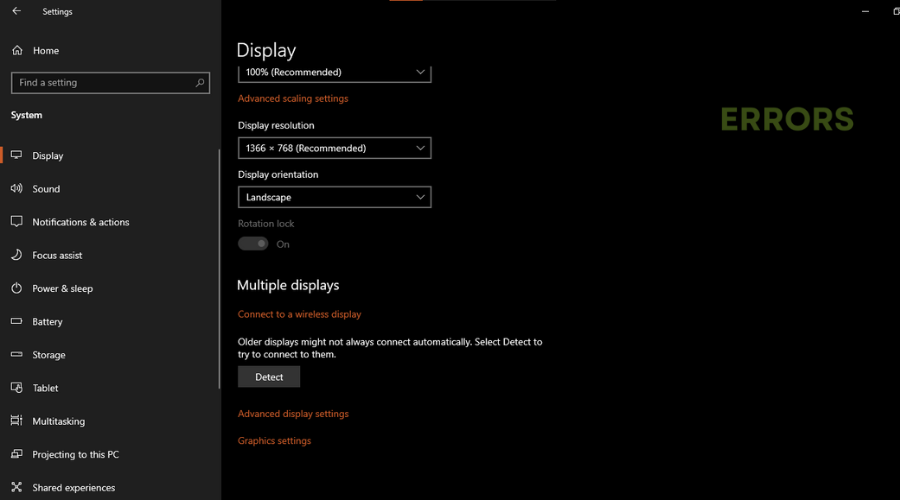
- Press Windows + I keys on the keyboard to open Windows Settings.
- Navigate to System and click on Display.
- Go to Multiple Displays.
- Choose Graphics settings.
- Turn on the Hardware-accelerated GPU scheduling option.
- Finally, restart the system to apply the changes.
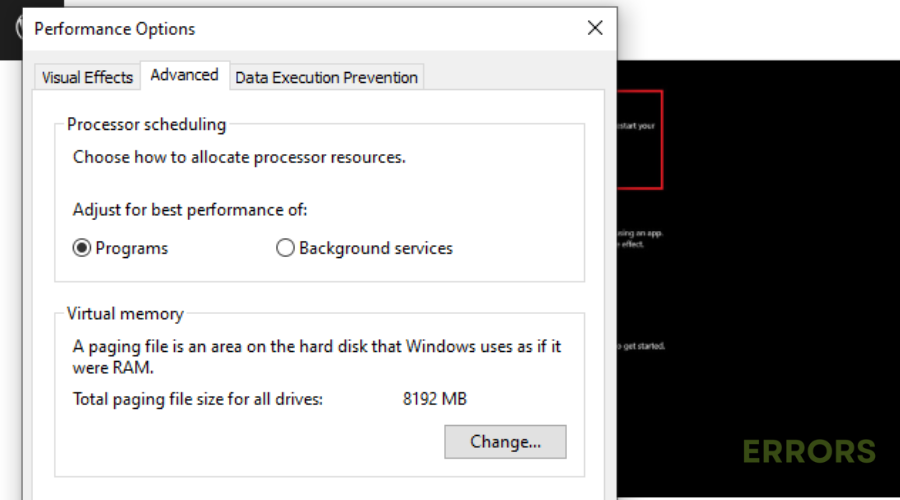
5. Increase the Virtual RAM
- Open This PC (My Computer) and right-click on it from the Desktop.
- Click on Properties.
- Choose the Advanced system settings option from the left sidebar.
- Click on Performance Options under the Advanced tab.
- Go to the Advanced tab and click on Change under Virtual Memory.
- Uncheck the Automatically manage paging file size for all drives option.
- Select the drive where you’ve installed the game (e.g., C drive).
- Click on the Custom size option and enter 20000 in both the Initial & Maximum size fields.
- Click Set and then OK.
- Once completed, restart your PC and attempt to launch the game.
More fixes to try:
- Close unnecessary background running tasks or programs that consume a higher amount of CPU or Memory resources
- Run High on Life in the compatibility mode.
- Turn on Xbox Game Mode on your Windows PC.
- Verify and repair the problematic game files via the Steam or Epic Games Launcher.
- Run the High on Life game executable file as an administrator to avoid privilege issues.
Conclusion
From updating graphics drivers to tweaking in-game settings and adjusting system configurations, each solution presented in this guide offers a tailored approach to tackling performance issues and boosting High on Life low FPS levels. Let us know what worked for you in the comment section below. Happy gaming!

Improve this guide
User forum
0 messages