
Fix: DirectX 12 Crashing Games [Fortnite, Civ 6 & others]
DirectX 12 has been designed to take better advantage of modern hardware, allowing games to run more efficiently and potentially leading to higher frame rates and lower system requirements. It allows for more realistic and detailed graphics, providing developers access to more advanced graphics features and capabilities.
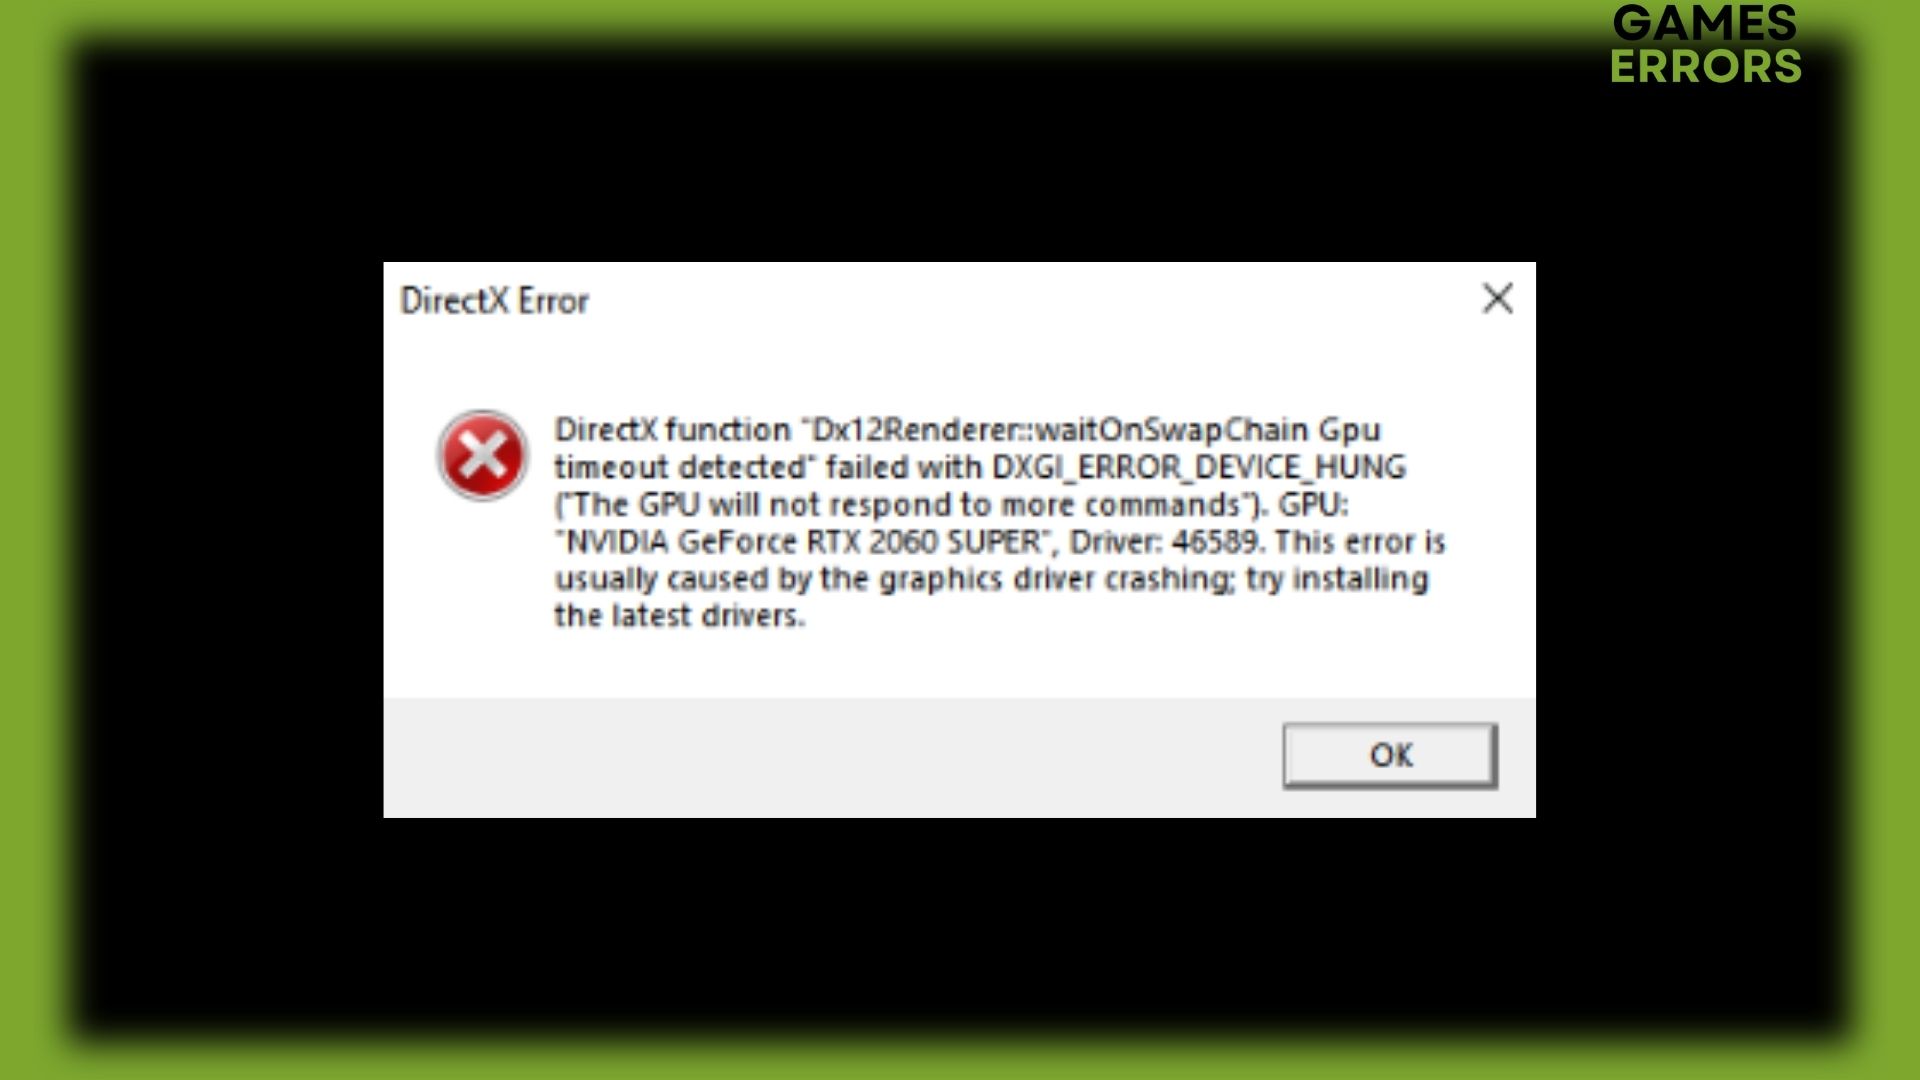
Directx 12 crashing games – is a problem that several players have encountered in pretty much any game. If you’re experiencing crashes when playing a game that uses DirectX 12, read our guide on how to fix this problem.
Firstly, let’s have a look at the common games that crash while using DirectX 12 :
- Fortnite
- CIV 6
- Dying Light
- Battlefield V
- Tom Clancy’s The Division
- Outriders
- PUBG Battlegrounds
- Elder Ring
- Forza Horizon 4
- Cyberpunk
- Far Cry 6
- WOW
- BF1
- Rise of the Tomb Raider
- Deus Ex Mankind Divided
- and many others
Why does DirectX keep crashing?
There can be several reasons why DirectX 12 crashes games. Some common causes include:
- Out-of-date or damaged graphics drivers: If your graphics drivers are damaged or out-of-date, DirectX issues may arise, resulting in game crashes.
- Compatibility problems: Some software or hardware may not be completely compatible with other software or hardware, which might result in DirectX crashing.
- Game bugs: If the game you’re playing has bugs, it may interfere with DirectX and cause crashes.
- Hardware issues: Hardware issues, such as a malfunctioning graphics card or overheating, can result in DirectX crashes.
How do I stop my Dx12 from crashing?
When it comes to DirectX crashes, the GPU driver is so crucial that often just updating it is insufficient. The first thing that you should consider is rolling back your GPU driver.
If rolling back your GPU drivers don’t fix DirectX 12 crashing games, let’s dive into further solutions.
Table of content:
1. Roll back the GPU drivers
As we spoke previously, DirectX 12 crashing games may be caused by new drivers, meaning that you’ll have to roll back your drivers to the older version. To roll back a GPU driver, you will need to follow these steps:
- Press the Windows key + R to open the Run dialog box.
- Type “devmgmt.msc” and press Enter to open the Device Manager.
- Expand the “Display adapters” section and right-click on your GPU.
- Select “Properties” from the context menu.
- Go to the “Driver” tab.
- Click the “Roll Back Driver” button.
- Follow the prompts to complete the rollback process.
Note: If the “Roll Back Driver” button is disabled or unavailable, you cannot roll back the driver. This can be the case if an older driver is missing from your system or if your GPU does not support the rollback feature.
If the Roll Back Driver button in Device Manager is grayed out, Windows was unable to locate a GPU driver to roll back to. In this situation, manually downloading and installing an older GPU driver is required. You can do it by going to the official manufacturer’s website:
For a more advanced step-by-step guide on how you can roll back your NVIDIA drivers and AMD drivers, make sure to follow the steps in the mentioned articles.
2. Update the GPU drivers
If the older version of your GPU drivers constantly crashes games while using DirectX 12, updating your GPU drivers is a crucial step. Here is how you do it using Device Manager:
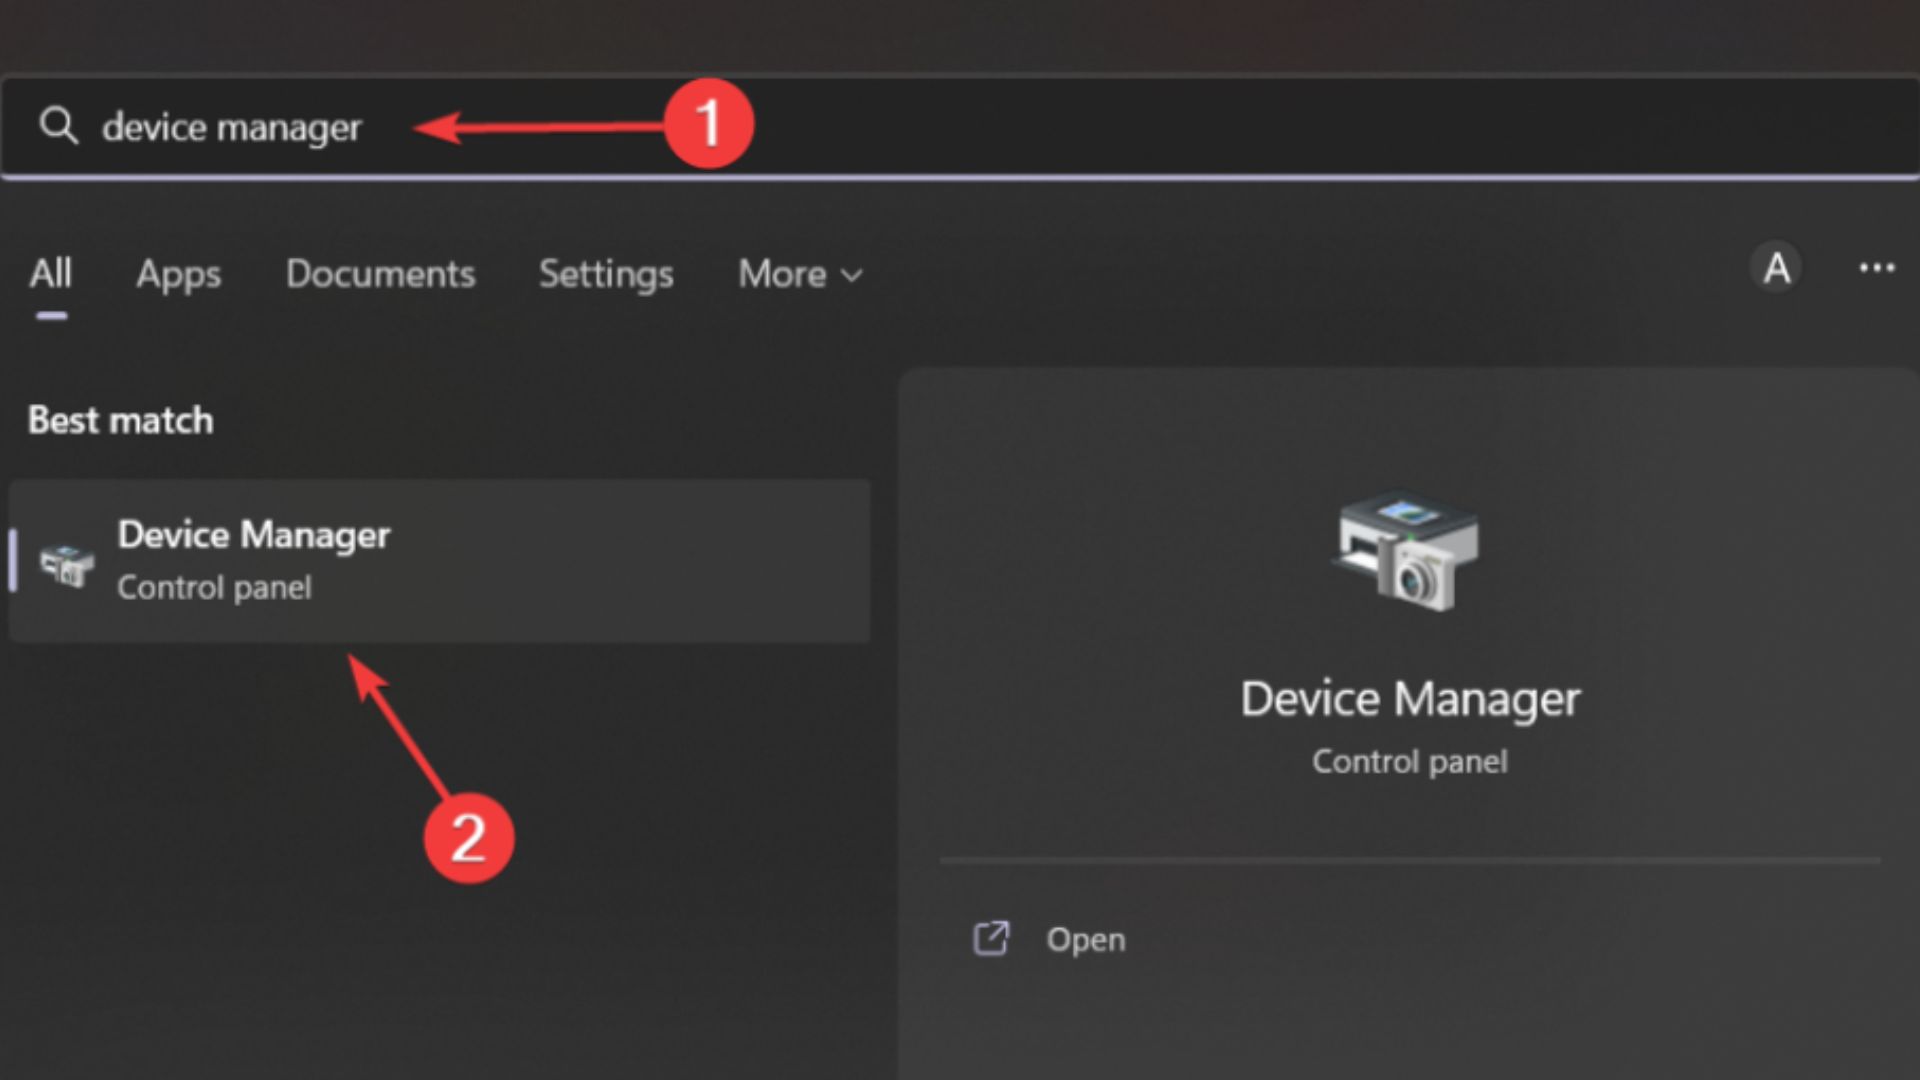
- Search for Device Manager and open the app.
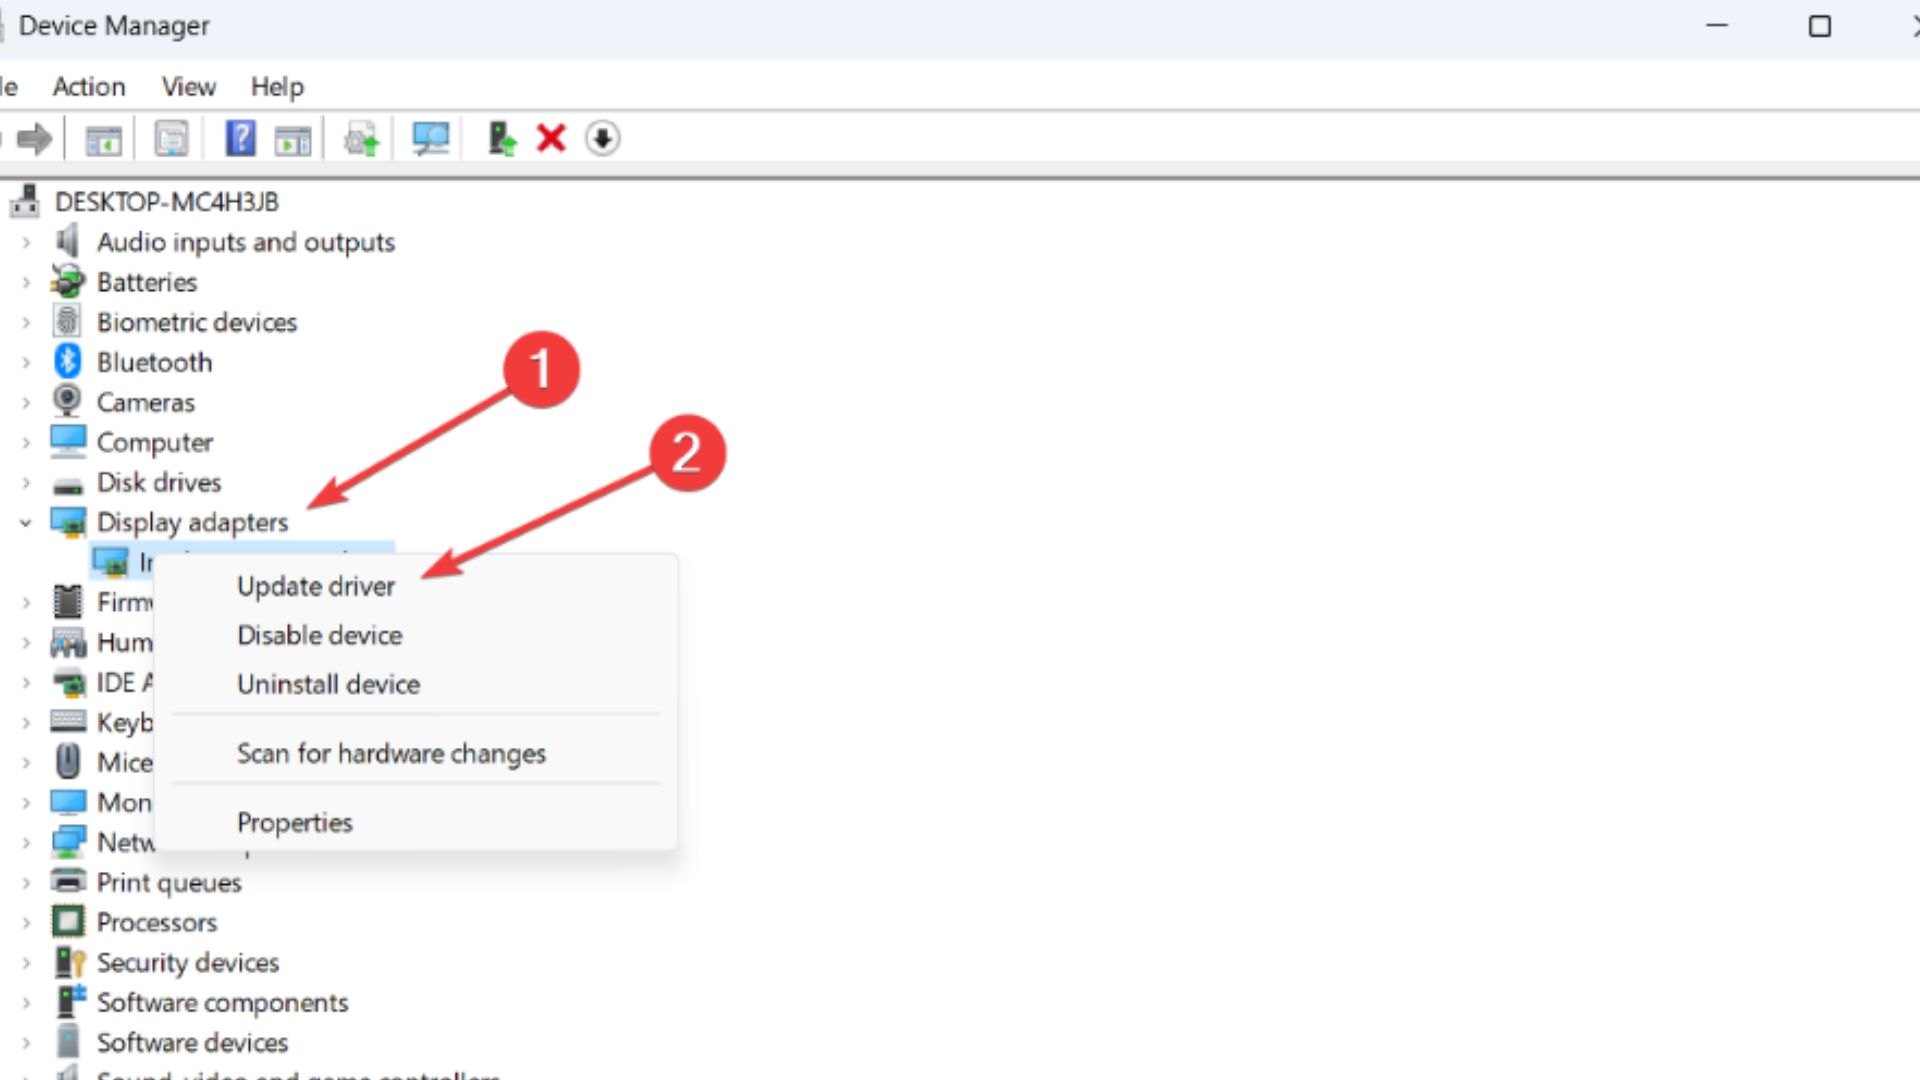
2. Double-click on Display adapters, right-click the dedicated one that you are using, then select Update driver.
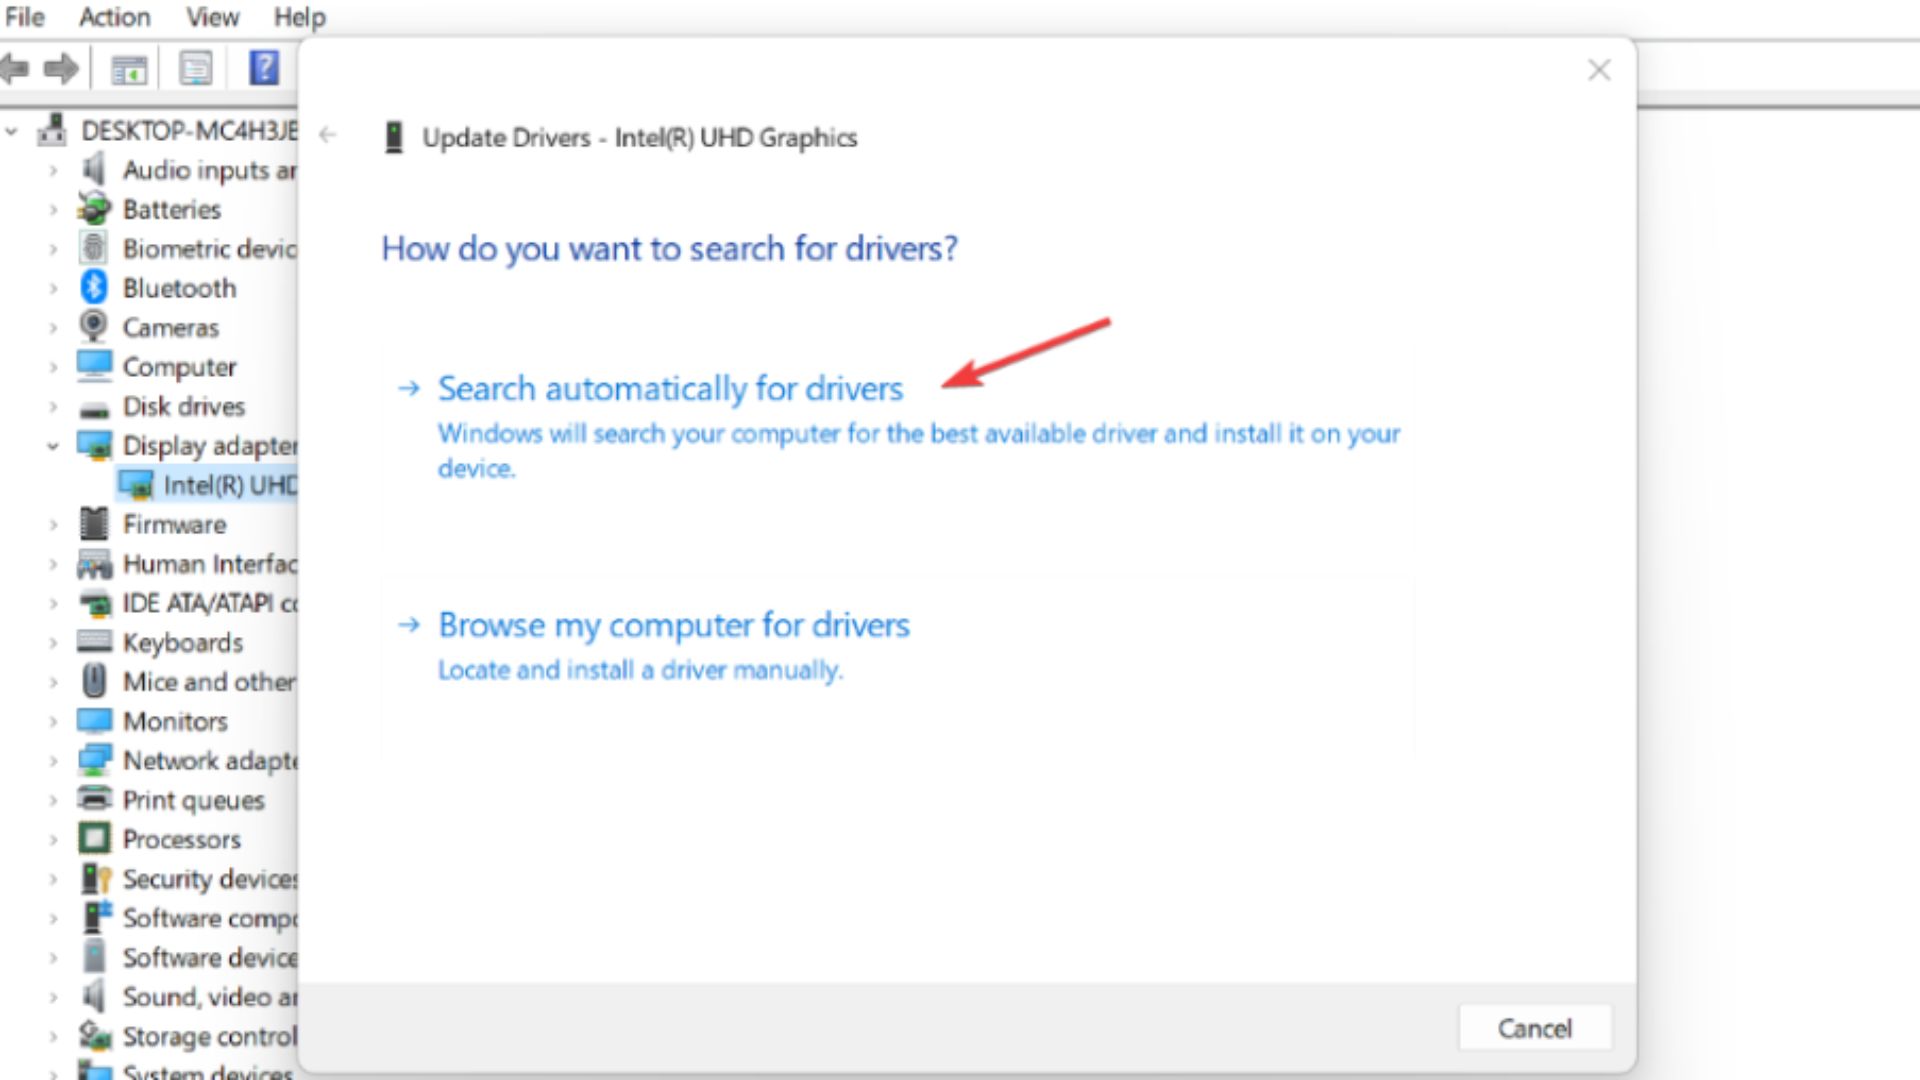
3. Choose Search automatically for drivers.
Knowing that you can update your drivers automatically with a specialized third-party app like PC HelpSoft will help you when updating your GPU driver manually can be challenging or time-consuming. You can use it to update any driver, and it only takes a few clicks to complete the process. Here’s how:
- Download and install PC HelpSoft.
- Launch the app and it will start scanning.
- Update All Drivers to fix all errors.
3. Clear the DirectX shader cache
If you think the DirectX shader cache is corrupted or too big, delete it. Once finished, this folder will be permanently erased, however, the Shader Cache will regenerate, reload, and it can stop DirectX 12 crashing games. It might require a reboot to restore it.
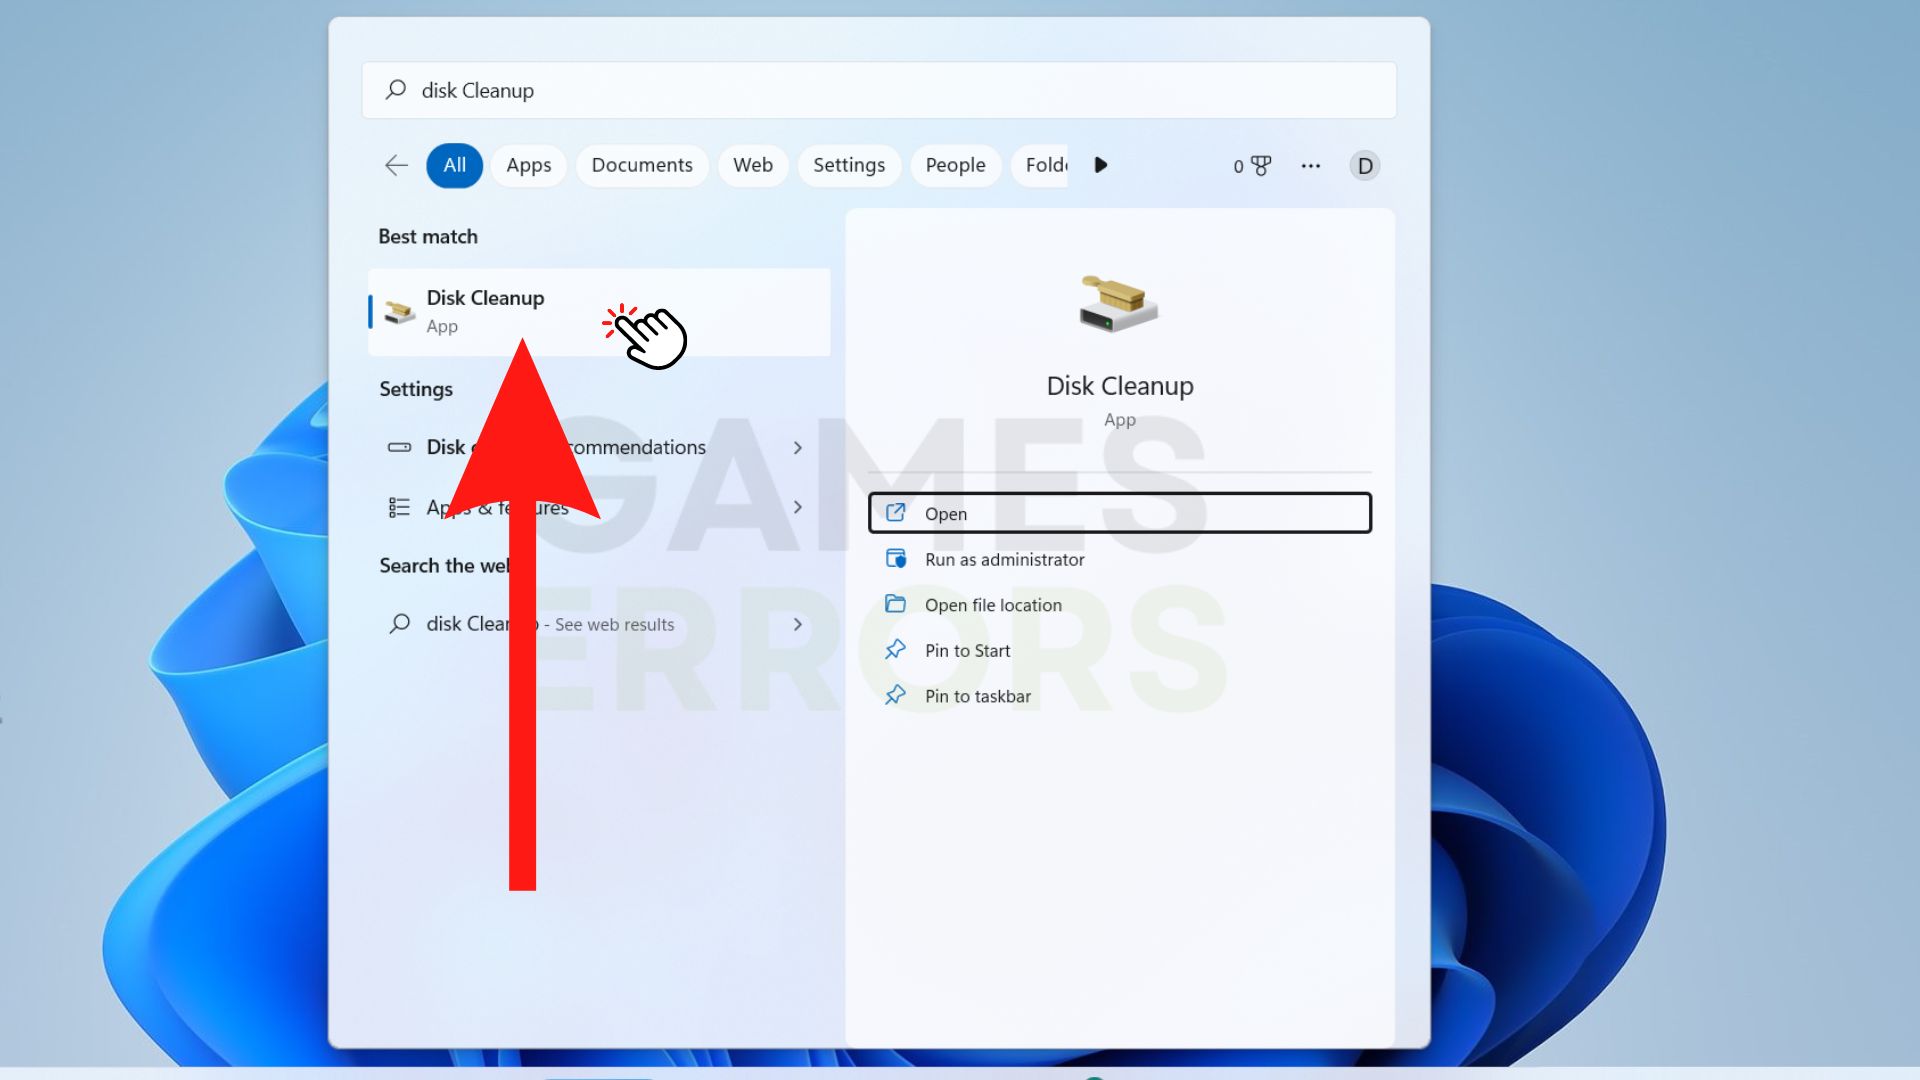
- Search for Disk Cleanup in the Windows search box and open it.
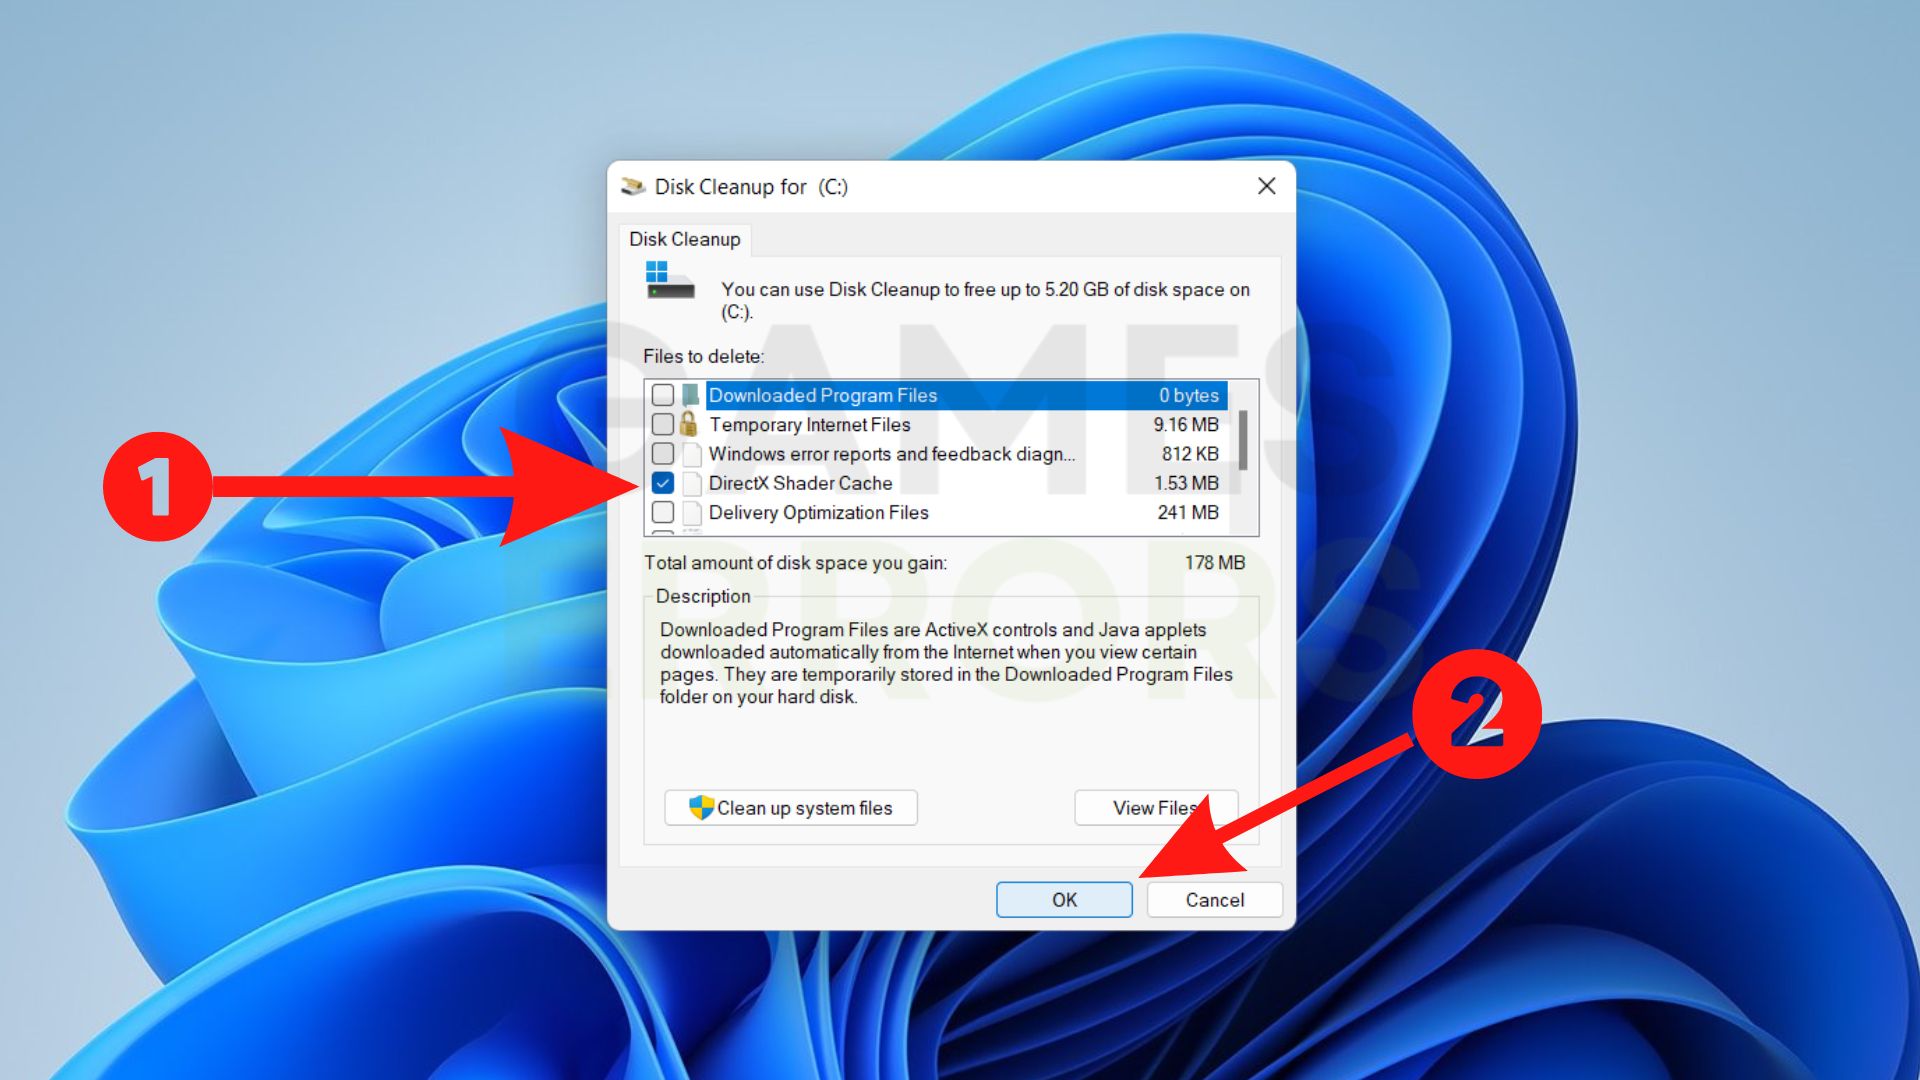
2. Tick the checkbox next to DirectX Shader Cache and click on OK.
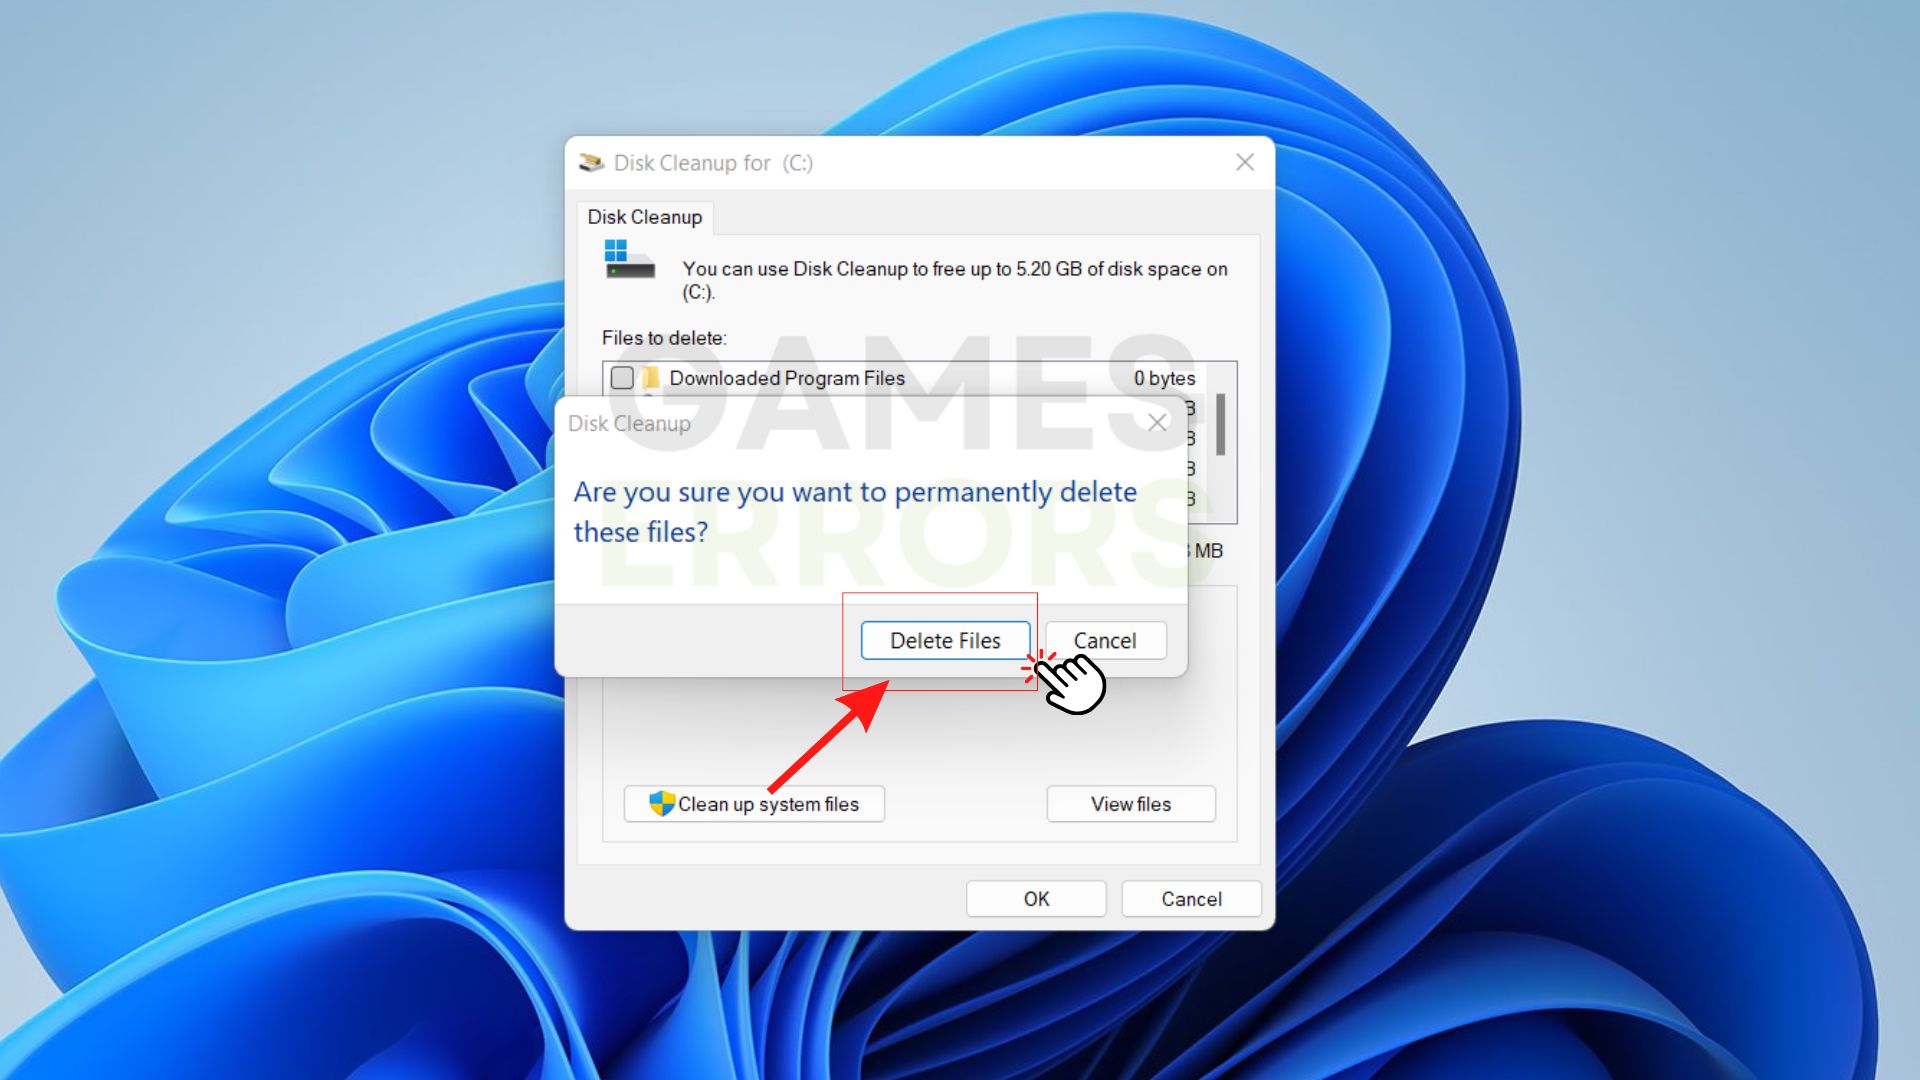
3. Click on Delete files to confirm the process.
4. Use DirectX 11
DirectX 12 is causing many problems for players that cannot enjoy their games because of the constant crashes. In case none of the above methods helped you in fixing the game crashing while using DirectX 12, you will have to get back to DirectX 11. It’s true that Dx12 has some advantages over Dx11, however, they both provide the same functionality.
Have you ever encountered a Fatal DirectX Error in FFXIV? Make sure to read our article on how to fix the error easily.
If a certain option did work for you, let us know in the comments area below. Also, let us know if you came up with any other solutions to the DirectX 12 issue.

Improve this guide
User forum
4 messages