
Computer Won't Turn On: How to Fix Using Expert's Guide
Dealing with a PC that won't turn on can be extremely frustrating, but there are always solutions to efortlessly fix it! ✨
If your computer won’t turn on, then your entire day gets halted. Since you can’t enter the system, there is no way to run diagnostic software to identify a problem.
However, there are a few factors that you can check and correct which may help. Following are the common ways to fix a computer that won’t turn on.
How do you fix a computer that won’t turn on?
Table of contents:
- Check Power Supply
- Verify your display
- Remove any additional hardware
- Check for failed hardware
- Explore the BIOS
- Boot in Safe Mode
1. Check Power Supply
The best way to fix this problem is to start at the source and make our way up. The first point of failure due to which your computer won’t turn on is the power supply.
To identify this as the problem, try switching on your CPU. If you do not hear the fan turn on or none of the lights starts working, that means your power source is the point of failure.
To begin with, if your system is connected to a power strip or Utility Power Source (UPS), then remove it and plug it in directly to the electric source. This will eliminate your surge protector as the problem.
Make sure that the power button on your CPU is switched on. Also, though it goes without saying, make sure the switch on the plug you are connected to is on.
In the case of a laptop, make sure that the charger is connected firmly and correctly to the slot. Sometimes if the connecter is not inserted properly your laptop may show you an error.
Another thing to check in the case of your laptop is your battery. If the battery is the removable kind, you can remove it, and clean the insides with a dry cloth correctly; now insert and try restarting the laptop. The life of your battery can be monitored via a control panel and might require replacement.
2. Verify your display
After turning on your PC, if you can hear the fan turn on but no boot image on the monitor, then the problem might lie with your monitor.
Make sure that the monitor’s power button is switched on, which can be identified from the power light on the monitor.
If your monitor also utilizes a surge protector or UPS, connect it firmly to the power source directly, just as mentioned in the previous section.
Most early monitors come only with a VGA connector. There is no need to manually adjust the correct input from the provided options.
However, if you are using HDMI as your choice of port, then you must make sure that the right option has been selected. This can be achieved using the TV/AV button till you find the right option.
In the case of your laptop before you try anything crazy try to increase the brightness. Many times, people forget to change the brightness setting when switching from low light to a bright light environment.
If your problem persists, try connecting the laptop to another monitor via an HDMI cable or any other display port of your choice.
If the screen gets displayed on the external monitor, then your laptop’s display screen is busted and may require a replacement.
3. Remove any additional hardware
Sometimes additional hardware can block the PC from booting. The most common culprit for this error is an external hard drive.
If connected, the system will try to retrieve the OS source from the external hard disk and since it won’t get any boot file, the boot will fail and may also show an error.
Other than the hard disk, make sure other devices like external webcams and USB headsets are also disconnected.
Start your PC just with the mouse and keyboard connected and if necessary, disconnect those devices too. The reason may not just be the device but the port that it’s connected to.
In such a situation, once a successful boot is achieved, your ports will function properly without any problem. You can reconnect your devices and continue to use the system.
4. Check for failed hardware
When discussing failed hardware, we are interested in the components which make the internal structure of your CPU.
The internal components and their connections are bound to move and get loose. This situation is more common if you have recently changed the position of your CPU.
You will have to open and reset all the components properly again. Do not attempt this by yourself if you are not familiar with what goes where.
However, if comfortable, open the side panel and reset all the components. Hardware like RAM, Graphics cards, Motherboard cables, and CPU heatsinks are your main points of focus.
Remove the components completely and plug them back in till you hear an audible click. If your computer won’t turn on because of this issue, then this might indicate your motherboard is dying.
Another thing to try is booting the system with some of the components disconnected, like the graphics card or one of the RAM sticks. In the case of the RAM sticks, try to boot the PC with each of them removed.
5. Explore the BIOS

There are situations where your PC switches on to show the POST screen, but it doesn’t go any further. If your PC doesn’t turn on beyond this point, then there may be an error in your BIOS settings.
One of the common errors is when your system is unable to find a bootable operating system. This error occurs when the PC is trying to retrieve the OS data from the wrong drive.
Another error is the system’s overclocking settings which are causing your computer to crash or “blue screen” immediately after starting the PC.
To fix this, enter your BIOS. This can be achieved by pressing the F2 button during the POST screen, but steps may vary based on models.
If any changes were made recently in the BIOS, set them back to default. Check whether the Boot Order is set to the right drive, RAM is recognized and readable, and the CPU isn’t overheating. In case none of these works, use Load Optimized Defaults to reset the BIOS to its original settings.
6. Boot into Safe Mode
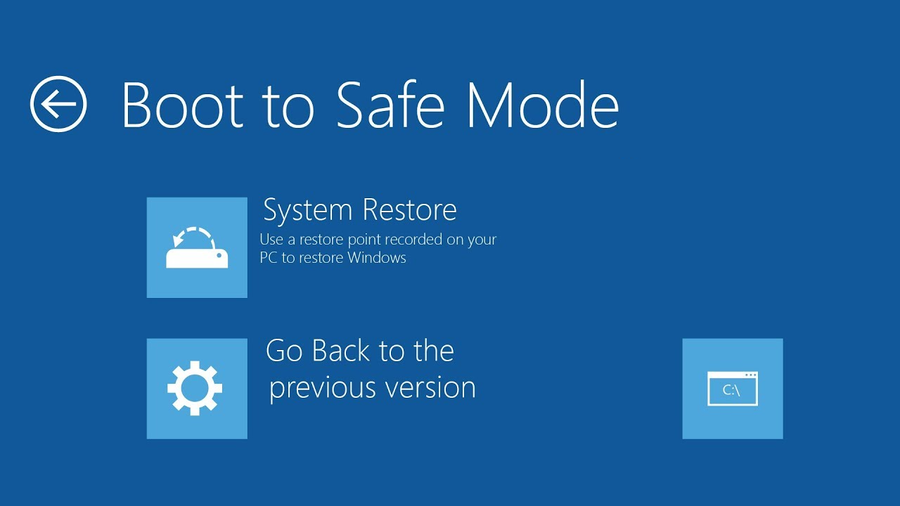
Blue Screen of Death is a well-recognized term in which the system fails to boot. This death screen may be caused because of a bad application, driver-based issues, or hardware interfering with the system boot.
Try googling the error code to find the best solution. In any case, you will have to enter safe mode to fix the issue.
Earlier, you could reach the safe mode by pressing F8 during boot. The newer versions require you to interrupt the boot process thrice by pressing the reset button and it will lead you to the Automatic Repair Screen. In the safe mode, create a Windows installation drive and choose to Repair your Computer.
Related articles:
These are the best solutions you can try whenever your computer won’t turn on. We hope our guide helped you, so make sure you leave your opinion in the section below.

Improve this guide
User forum
0 messages