
Minecraft Error Code 1: Here's The Simplest Fix
If you're currently experiencing Minecraft Error 1, keep reading for solutions 🎯
Minecraft is the best-selling video game in history. Since its release, the game’s developers have released numerous updates to improve the game’s quality and overall experience.
Games generally come with their own set of bugs, and Minecraft is no exception. Many players have reported error code 1 which comes with the message: “Game ended with Bad State: Exit Code 1”.
This can be frustrating as it can ruin the sandbox experience. Read on to find out what Minecraft Error Code 1 is, why it happens in the first place, and how to fix it.
What is the Minecraft Error Code 1?
Minecraft requires a specific version of Java to run properly. If there are issues with the configuration of Java on your PC, Minecraft may fail to run properly. Therefore, Minecraft Error Code 1 is caused by issues with Java runtime configuration.
Other reasons, such as incorrect in-game settings, outdated graphics driver, corrupted game files, incompatible mods, and an invalid launcher file path, can also cause the error.
How to Fix Minecraft Error Code 1?
Table of contents:
- Repair Minecraft Launcher
- Modify the Minecraft Launcher File Path
- Delete or Disable Outdated Mods
- Update Graphics Drivers
- Change the Java Executable Path
- Reinstall Minecraft Without Deleting Saves
1. Repair Minecraft Launcher
- To open Windows, press Win+I.
- In the left pane, select the Apps tab.

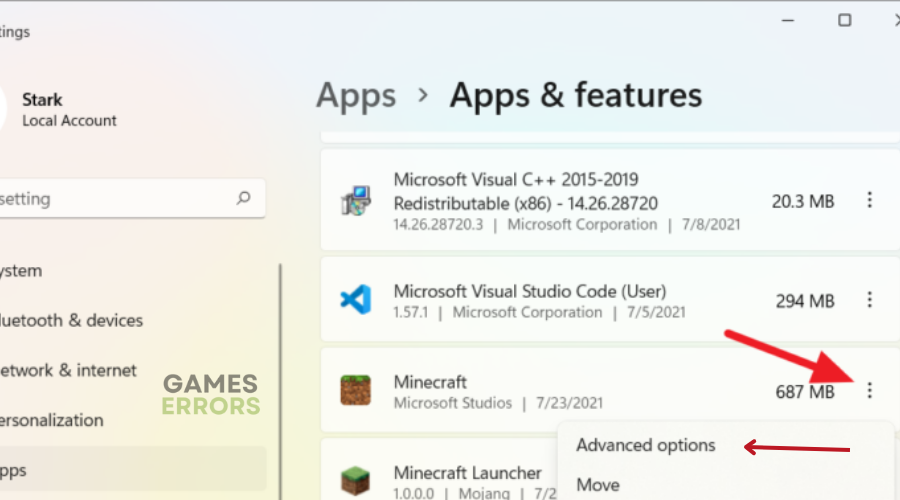
- Locate Minecraft Launcher under Installed Programs.
- To access advanced options for Minecraft Launcher, click the three-dots menu next to the app name.
- And select Advanced Options.
- Scroll down to the Reset section and click the Repair option. Windows will perform a quick repair and a checkmark will appear when the repair is complete.
- After the repair is complete, restart the Minecraft Launcher and check for any improvements.

2. Modify the Minecraft Launcher File Path
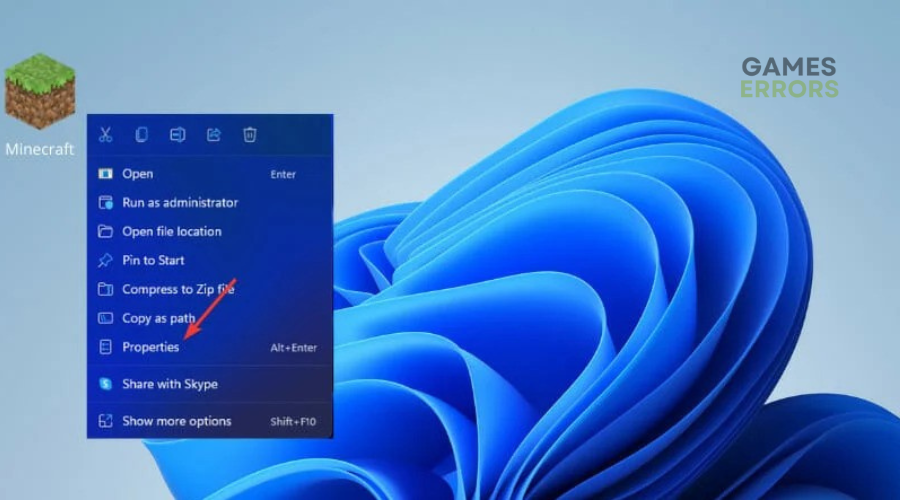
- Right-click on the Minecraft Launcher shortcut and select Properties.
- In the Properties tab, open the Shortcut tab.
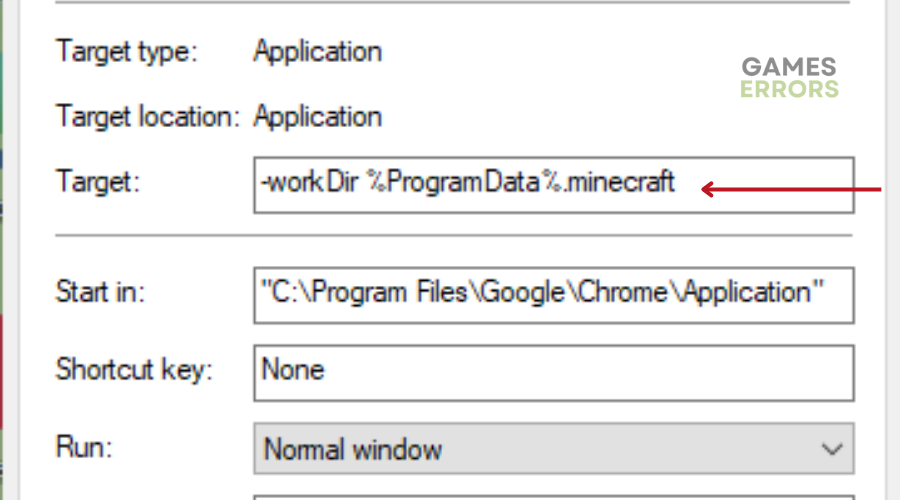
- In the Target field, add the following line after the existing file path to change the working directory for Minecraft Launcher:
- -workDir %ProgramData%.minecraft
- -workDir %ProgramData%.minecraft
- After making modifications, the target field will look something like this:
- “C:\Program Files (x86)\Minecraft Launcher\MinecraftLauncher.exe” -workDir %ProgramData%.minecraft
- Click Apply and OK to save the changes.
- Relaunch Minecraft and check for any improvements.
3. Delete Outdated Mods
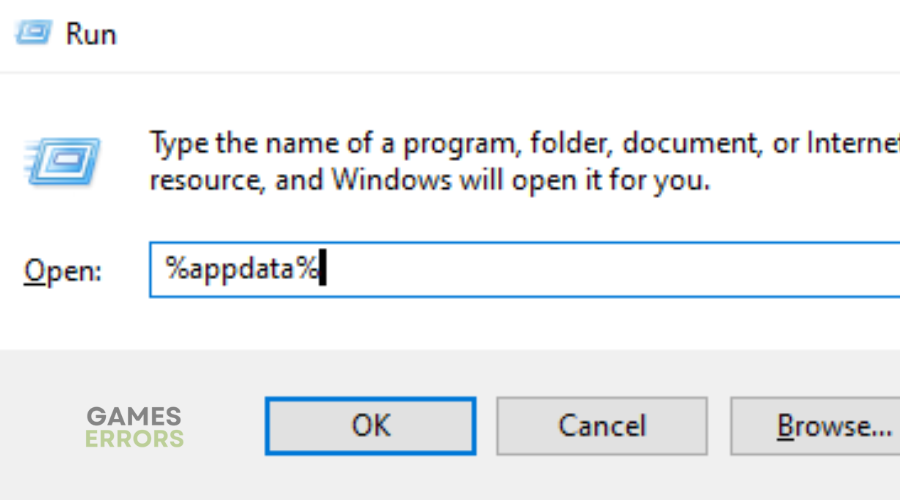
- Press Win+R to open the Run dialogue box.
- In the Run dialogue box, type %appdata%.
- Click OK to open the AppData\Roaming folder in File Explorer.
- Navigate to the .minecraft folder.
- Open the Mods folder inside the .minecraft folder.
- Select each mod one at a time, right-click and select Delete.

4. Update Graphics Drivers
Time needed: 4 minutes
Keeping your graphics driver up-to-date is always a good idea to ensure the best possible performance and user experience.
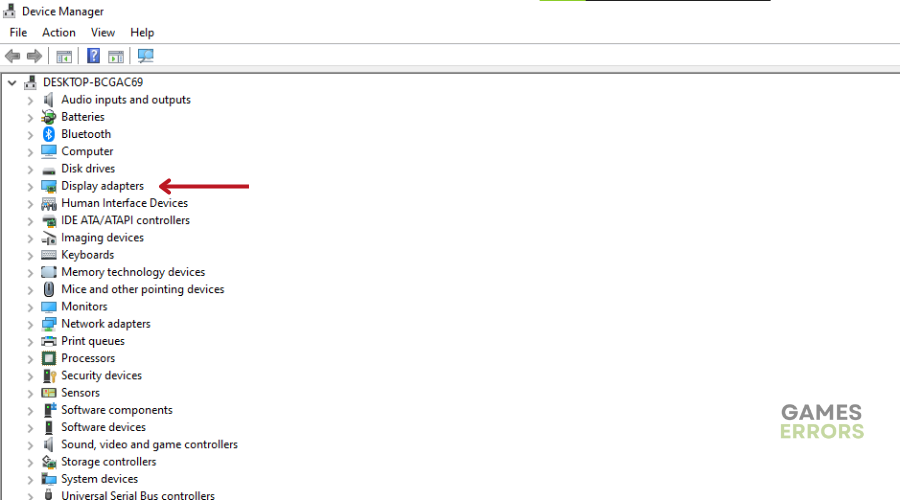
- Open the Start Menu and search for Device Manager.
- Click on Device Manager to open it.
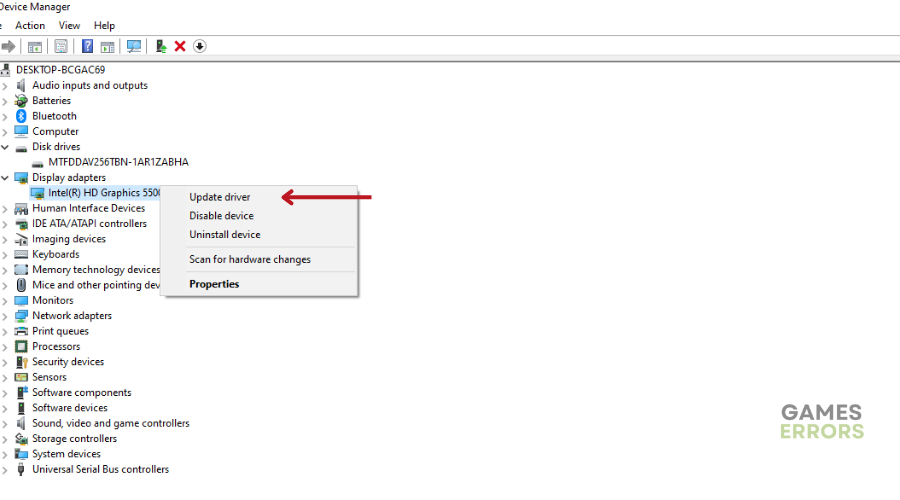
- Double-click on Display Adapters to expand the category.
- Right-click on your GPU driver and click on Update driver.
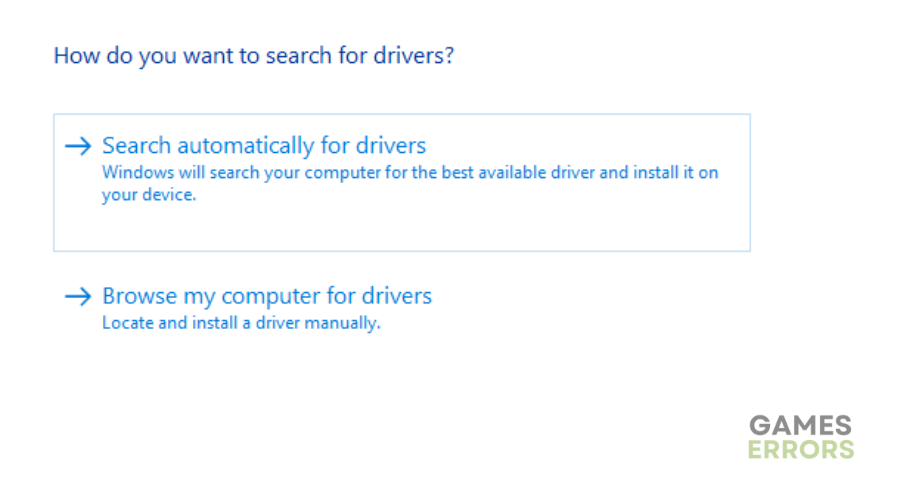
- Choose the option “Search automatically for drivers”.
- Follow the on-screen instructions to finish the update process.
- Restart your PC for the changes to take effect.
Alternatively, we recommend using DriveFix, a tool that repairs all out-of-date drivers. Drivefix will not only scan your PC for missing and out-of-date device drivers but also provide a detailed report of all of your up-to-date and out-of-date device drivers.
5. Change the Java Executable Path
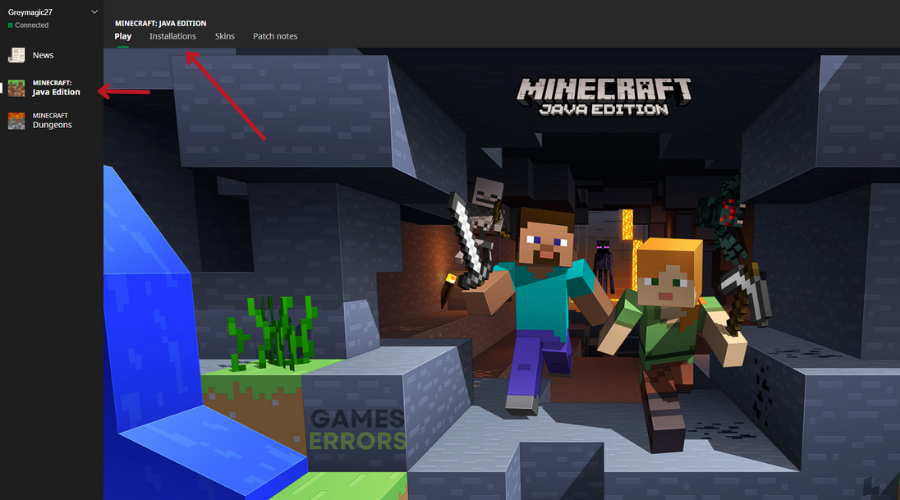
- Open the Minecraft Launcher.
- Select the Minecraft Java Edition tab from the left pane.
- Click on the Installations tab in the toolbar.
- Hover your mouse over the Latest Release and click on the three-dots menu.
- From the menu, select Edit.
- Click on More Options to view additional options.
- Click on Browse to add a Java Executable.
- Navigate to your Java installation directory. By default, the JRE file path is: C:\Program Files (x86)\Java\jre1.8.0_361\bin
- Select the Java.exe file and click on Open.
- Click on Save to apply the changes and relaunch Minecraft Launcher.
Note that you will need to update the Java version number or re-add the Java executable every time you update Java.
6. Reinstall Minecraft Without Deleting Saves
- Press Win + R to open the Run dialog.
- Paste “%appdata%” in the Run field and click on OK.
- Open the .minecraft folder.
- Right-click on the saves folder and select Copy (Ctrl + C).
- Paste the saves folder outside the .minecraft folder.
- Go back to the Roaming folder and delete the .minecraft folder to uninstall the game.
- Restart your computer.
- To reinstall Minecraft, open Minecraft Launcher. It will start the installation process.
- Follow the on-screen instructions to complete the process and sign in with your Minecraft account.
- Move the saves folder back to the following location: C:\Users[Username]\AppData\Roaming.minecraft.
- Finally, relaunch Minecraft to check if the error is resolved.
Related articles:
- Minecraft Legends Won’t Install: Easiest Ways to Solve It
- Minecraft Legends Low FPS: How to Get Better Performance
- Minecraft Legends Crashing: How to Fix It Quickly
- Minecraft Outdated Server Error: Quick & Easy Fixes
- Minecraft Failed to Create Profile: How to Fix It Quickly
- Minecraft Launcher You’re Too Early: How to Fix
Conclusion
We hope one of the solutions listed above has helped you fix Minecraft Error Code 1. Go through our website which features a bunch of gaming news and fixes for your favourite games. Also, feel free to leave us any comment, question, or concern in the comment section below.

Improve this guide
User forum
0 messages