
Minecraft Failed to Create Profile: How to Fix It Quickly
Regardless if this error message appears when you try to create a profile, or it seems like a bug, we know how to fix it! 👾
Minecraft failed to create a profile is a message that pops up when you try to create or log into the existing game profile. Although it sometimes comes as a valid message suggesting you should choose a different username, it is a bug you should fix in most cases.
👉 Read out what to do if you ever wonder why my ping is so high in Minecraft.
Why did I get Minecraft failed to create profile message?
You get this message because there is a bug in your Minecraft launcher, the internet browser is running in the background, you use an incompatible Minecraft launcher, the network driver is outdated, PC is connected to unreliable DNS, or you use VPN/proxy services.
How do I fix failed to create a Minecraft profile?
Solve this issue with a couple of quick fixes and checks:
- Log out and log in: If you get the Minecraft failed to create profile while you are trying to launch the game, simply log out and log back in. This will clear any misconfigured files and let you in the game.
- Use the browser to create a profile: If this bug occurs while creating your Minecraft profile, use a browser to do it. After that, you can log in and play the game using the Minecraft launcher.
- Close the browser before launching the game: Some players report a conflict between your Minecraft launcher and the internet browser running simultaneously. Close the browser and other apps before running Minecraft to prevent such conflicts.
If you still experience the Minecraft failed to create profile problem, proceed with the following solutions.
1. Use Windows 7/8 launcher
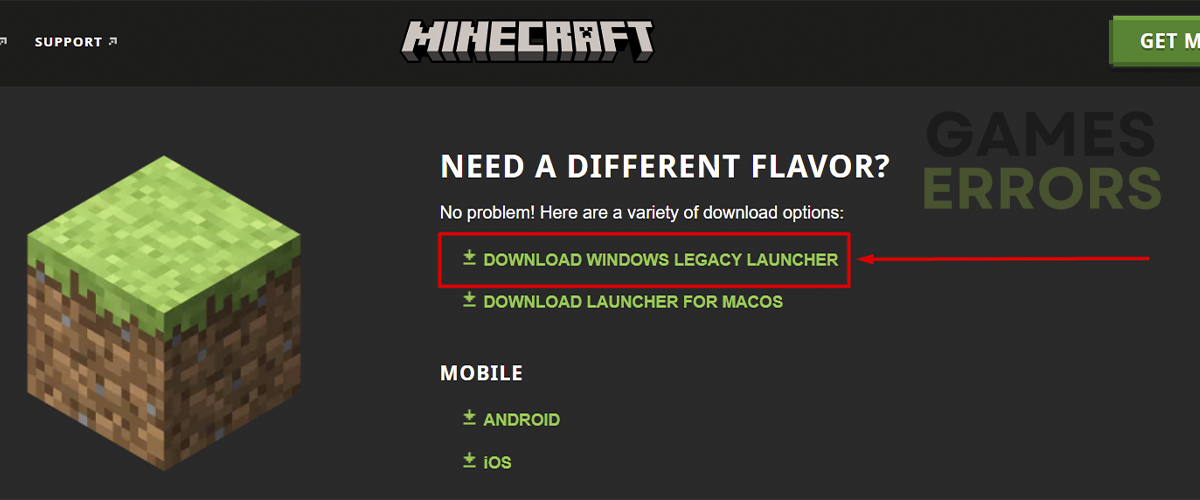
Many players report that this problem occurs when they try to run the game from the Minecraft launcher downloaded from the Microsoft store. This is why we advise you to use a launcher made for previous versions of Windows but compatible with Windows 10/11.
- Click on the Windows icon, type Apps & feature, and open this tool from the search result.
- Find Minecraft on the list of apps, click on it, and press the Uninstall button.
Follow any additional steps for uninstalling the faulty Minecraft launcher. - Go to the Minecraft download page, and click Download Windows legacy launcher.

- Click on the installation file and follow the steps to install the legacy launcher.
- Restart your PC.
2. Update the network driver
An outdated network driver can cause communication issues between your game launcher and Minecraft servers. Prevent this and many other possible connection-related issues by updating the network driver.
- Click the Windows icon, type Device Manager, and open this tool under Best Match.

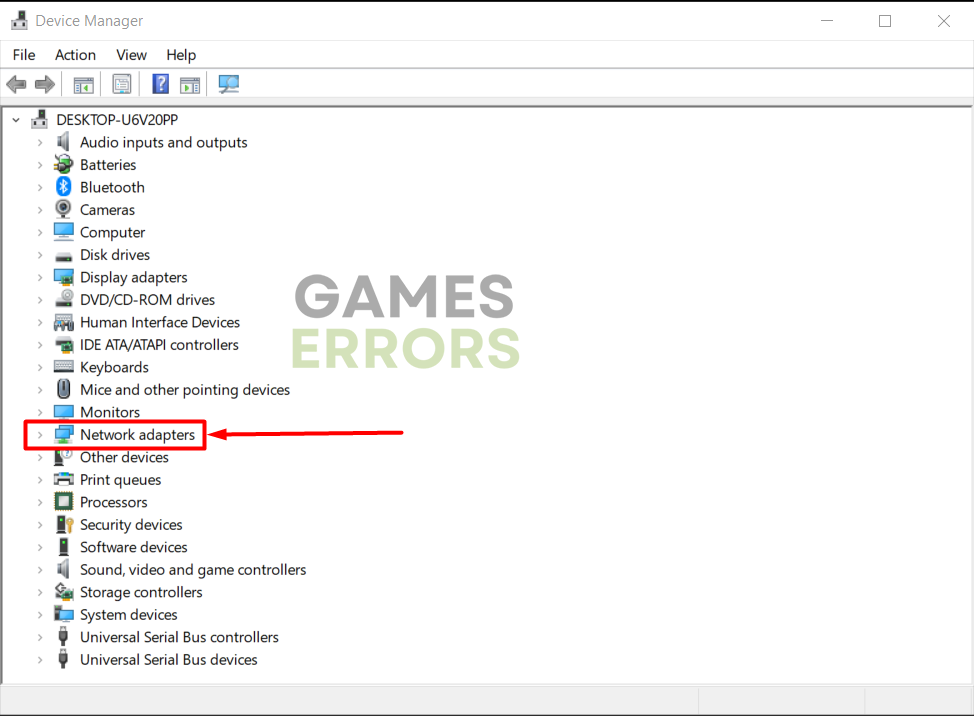
- Double-click on the Network Adapters section.

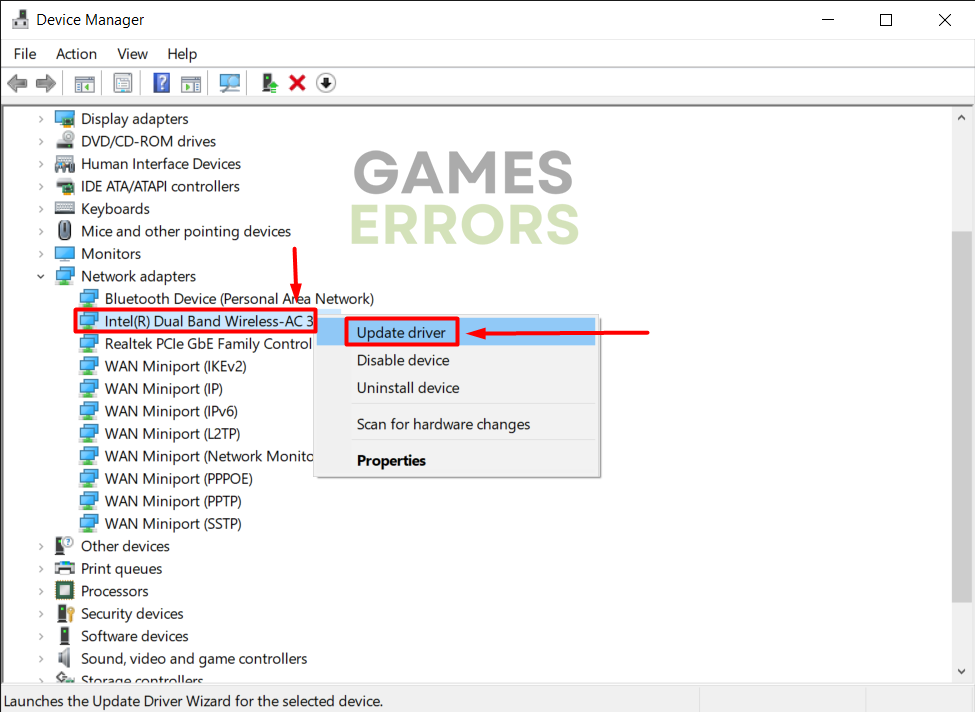
- Right-click on your internet adapter and select Update driver.

- Select the Search automatically for drivers option.
- Install the driver update if one is found.
- Restart your PC.
If Driver Update Wizard doesn’t find a suitable network driver update, use PC HelpSoft to gain access to a large database of the latest drivers. This tool will help you manage drivers and save you a lot of time and nerves.
3. Use Google DNS
Time needed: 4 minutes
By default, Windows will connect you to the most suitable DNS. However, this will sometimes cause networking issues and cause bugs. Solve this by using the reliable Google DNS.
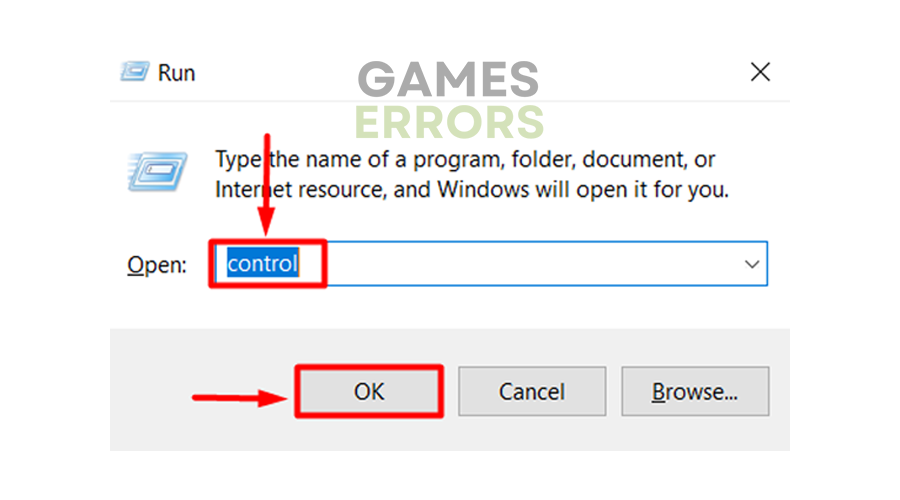
- Use the Windows Key + R shortcut to open the Run dialog, type control, and hit OK.

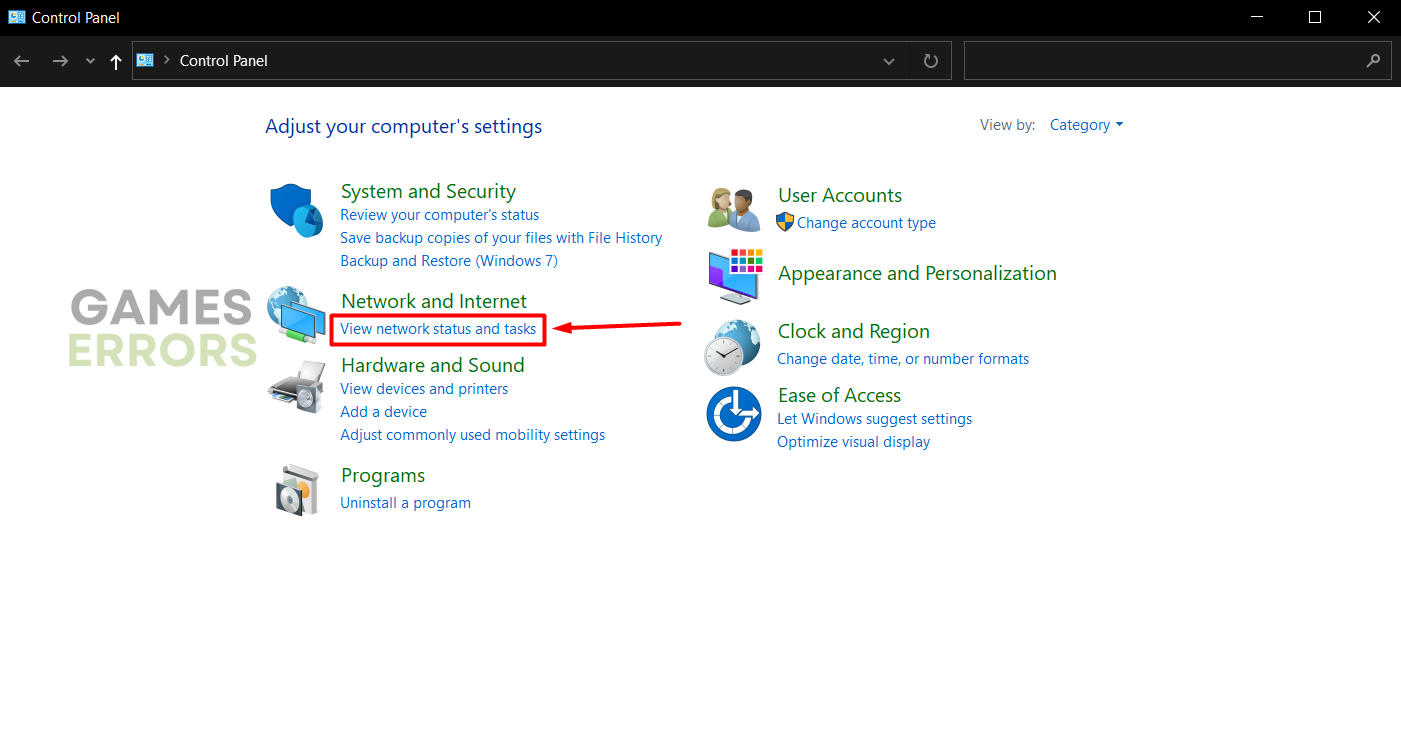
- Click on View network status and tasks under the Network and Internet.

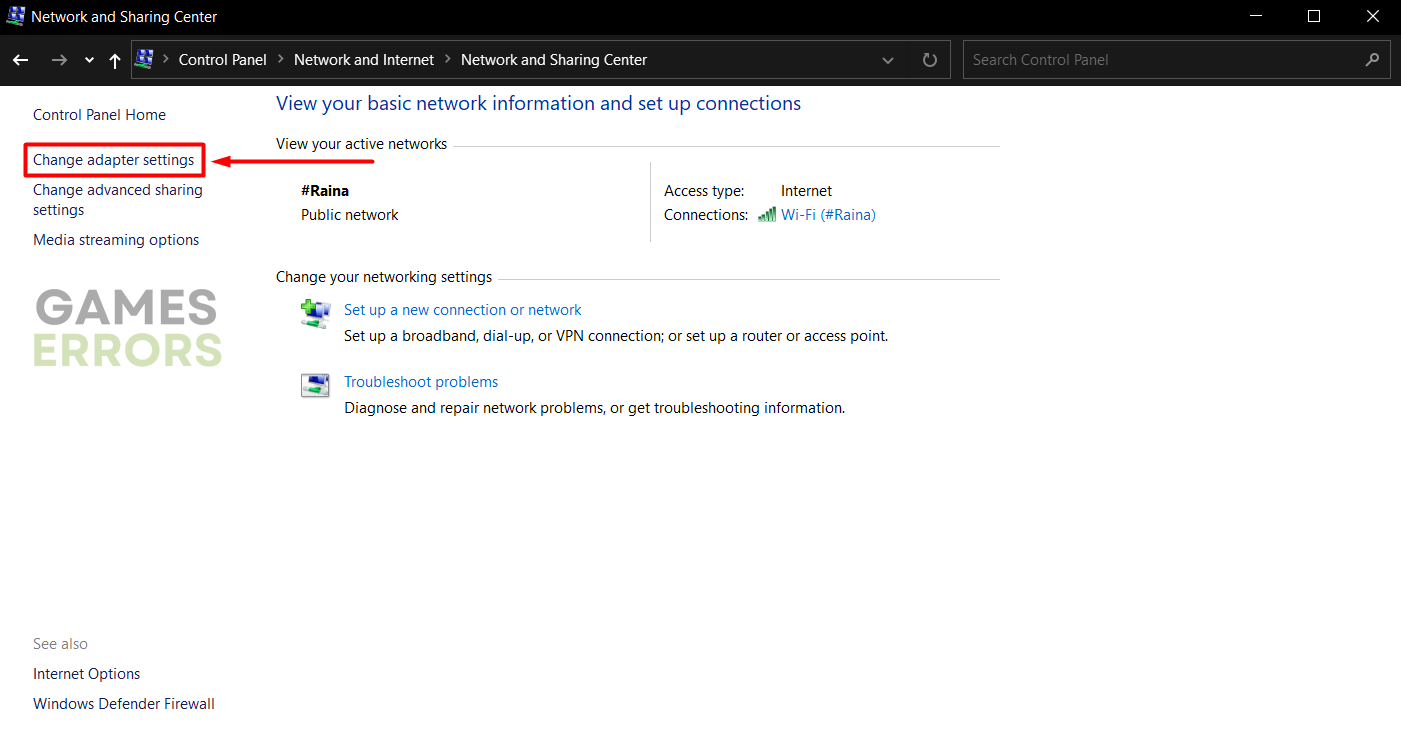
- Click on the Change adapter settings.

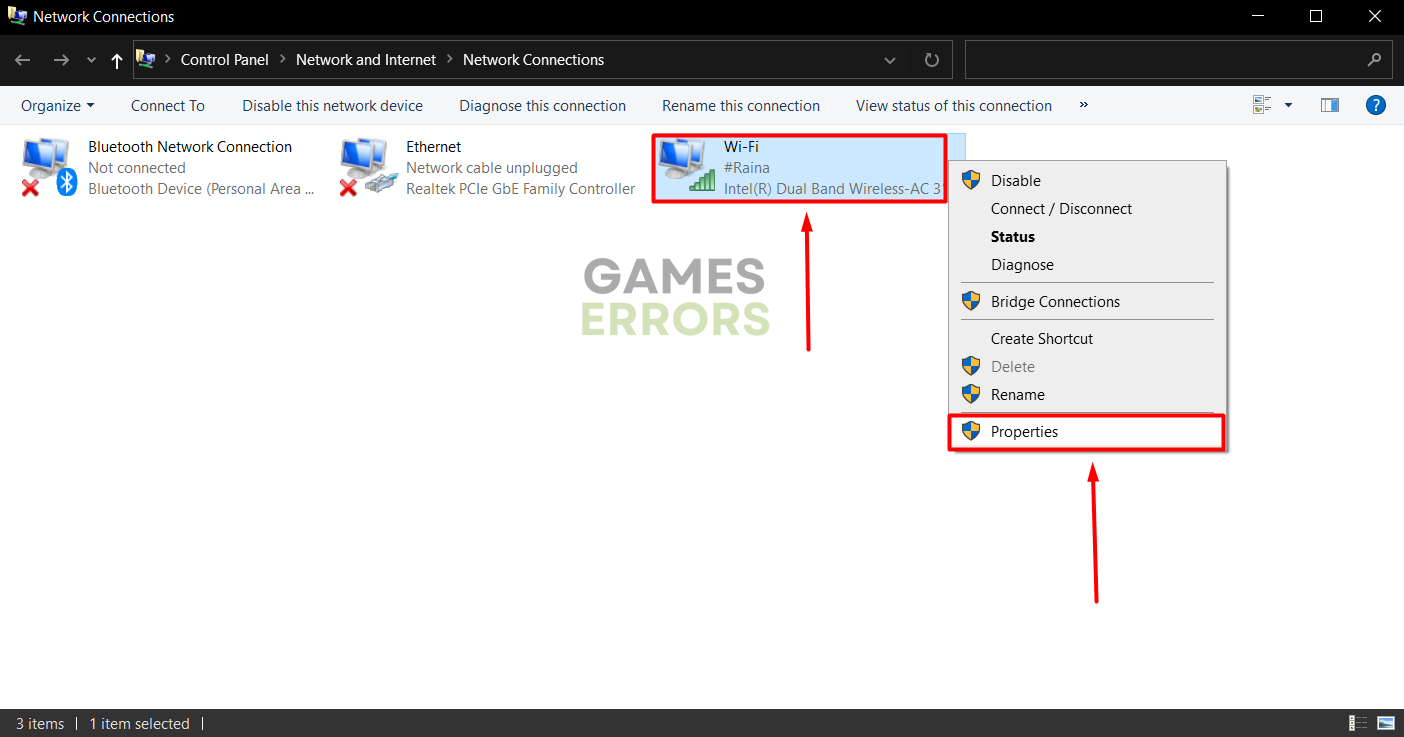
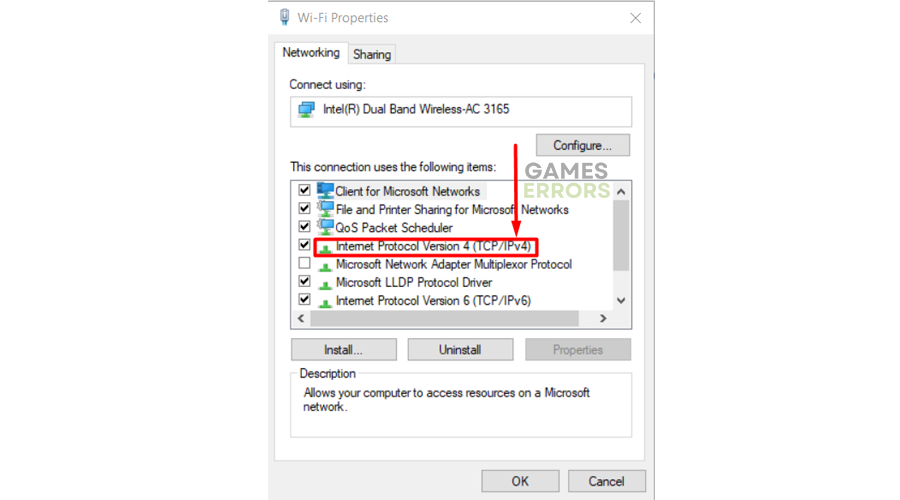
- Right-click the internet network you use and select Properties.
➡ The green signal icon marks a wireless connection
➡ The cable icon marks a wired network
- Double-click Internet Protocol Version 4 (TCP/IPv4).
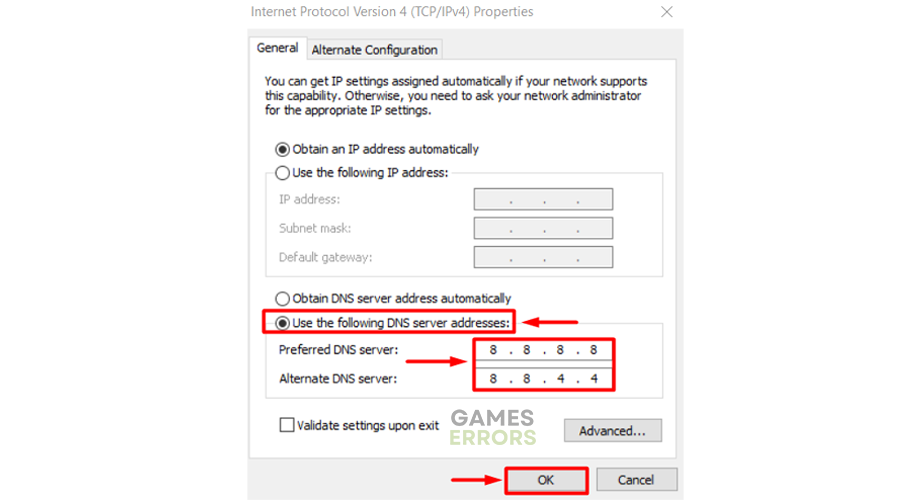
- Enable Use the following DNS server addresses and add:
➡ 8.8.8.8 for the Preferred DNS server
➡ 8.8.4.4 for the Alternate DNS server - Click OK and restart your PC.
Extra steps
Double-check if you have done everything we recommended so far. If you did, and the problem still occurs, try to:
- ❌ Disable VPN and proxies: If you use any VPN programs or have proxies enabled, we advise you to disable these programs and services. This way, you will ensure Minecraft is not blocking you due to unusual IP addresses and suspicious networking configurations.
- 🔌 Power cycle your network device(s): Unplug your modem and/or router from the power outlet. Wait for a couple of minutes and plug them back in. Once the network is back, try launching Minecraft.
- 📧 Contact the Minecraft support team: You can contact Minecraft support as a last resort. Give them details on your problem, explain that Minecraft failed to create a profile, and follow the instructions they will provide you.
Related articles:
- Minecraft -1073740940: Quick Fix To Avoid Crashing
- Internal Exception Java.Net.SocketException Connection Reset [Fixed]
- Minecraft Keeps Crashing: Here’s The Easiest Fix
- Minecraft Error 442: Here’s The Simplest Fix
- Minecraft Error Code Drowned: How To Fix It Easily
Conclusion
Enjoy playing Minecraft after applying all of the solutions from our list. We hope you don’t encounter Minecraft failed to create a profile message anymore, but if you do, feel free to let us know in the comment section.

Improve this guide
User forum
0 messages