
Project F Crashing: Here Is What to Do
You and your team can get very annoyed when Project F suddenly crashes on your PC. Learn how to prevent this annoying issue so you don't leave your team handicapped anymore! 💪
Many gamers complained that Project F crashing ruins their experience and annoys them and their teammates. We were decisive in finding the most suitable solutions for this problem. It resulted in the list of the most frequent causes and fixes to prevent crashes in Project F.
If you can’t even launch the game, learn what to do when Project F doesn’t launch.
Why is Project F crashing?
Project F is crashing due to unnecessary background apps, corrupted game files, outdated DirectX version or GPU driver, pilled-up cache files, low Windows virtual memory, problematic startup services, or obsolete Windows components.
How to fix Project F crashing?
Apply the following checks and fixes to resolve the problem quickly:
- Close background apps: Apps running in parallel to Project F can cause compatibility issues and lead to game crashes. You can also use the Task Manager to close apps invisible in the taskbar.
- Verify Project F files: Follow our guide for game file verification to quickly discover if any files are corrupted and automatically replace them.
- Use DirectX 12: Project F requires DirectX 12 to run smoothly without crashes, so better install it on your PC if you don’t already have it.
Proceed with the list of step-by-step solutions for troubleshooting Project F crashing issues.
1. Update the GPU driver
Time needed: 5 minutes
An outdated GPU driver will limit the performance of your graphics card and can lead to stability issues. We advise you to update your GPU driver to avoid crashes in Project F.
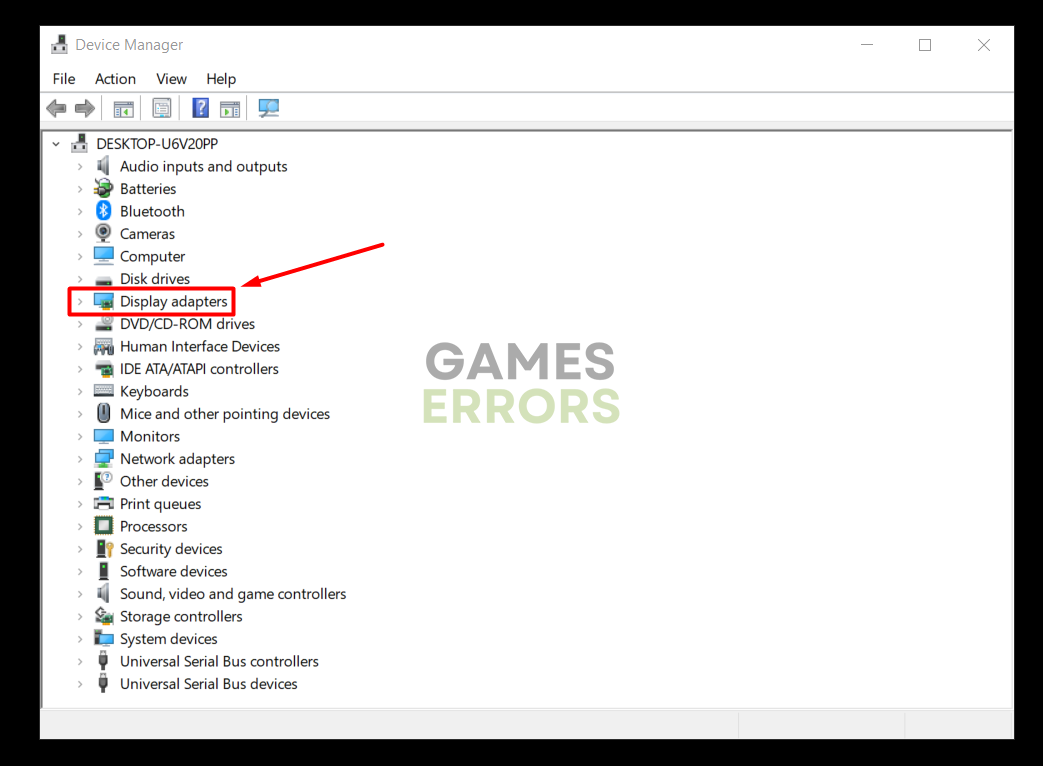
- Click on the Windows icon, type Device Manager, and open it.

- Double-click on the Display Adapters section.

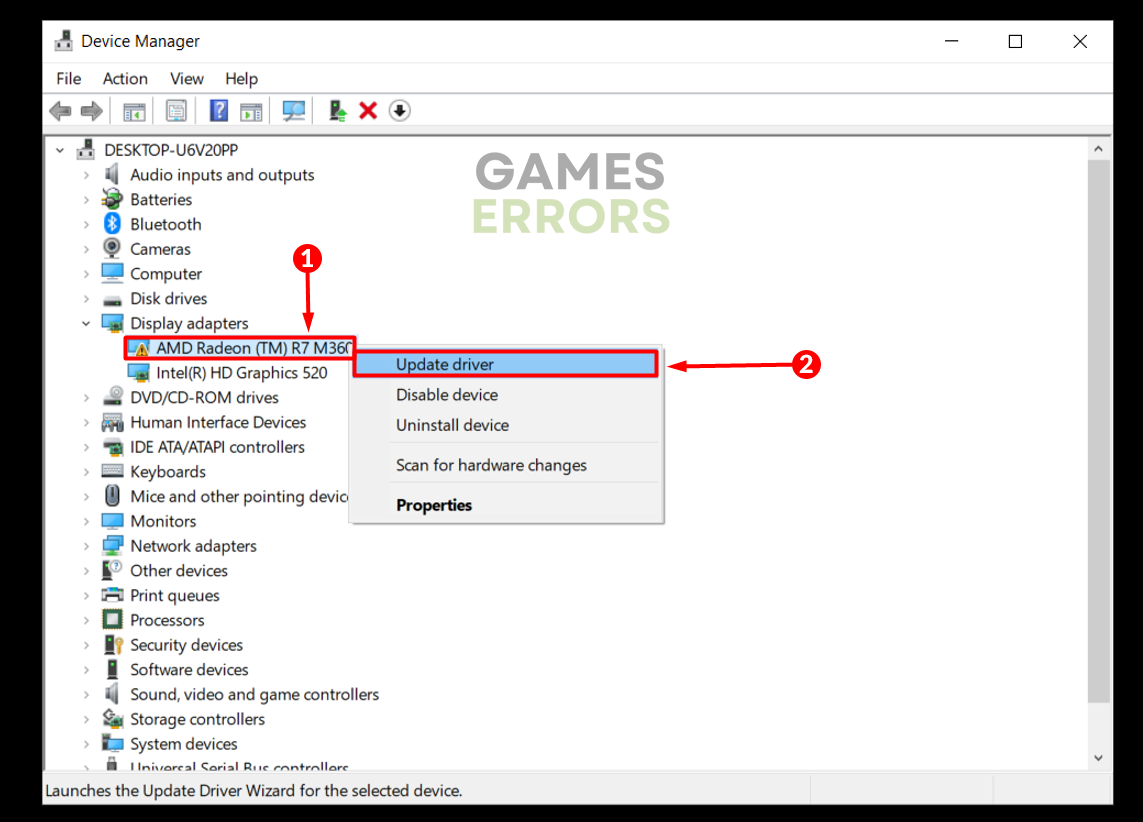
- Right-click on your GPU and select the Update driver option.

- Select the Search automatically for drivers option.
- Install the GPU driver update.
- Restart your PC.
Stop worrying about outdated drivers causing stability issues on your PC! Start using PC HelpSoft to delegate complete driver management responsibility to this swift and reliable tool.
2. Delete cache files
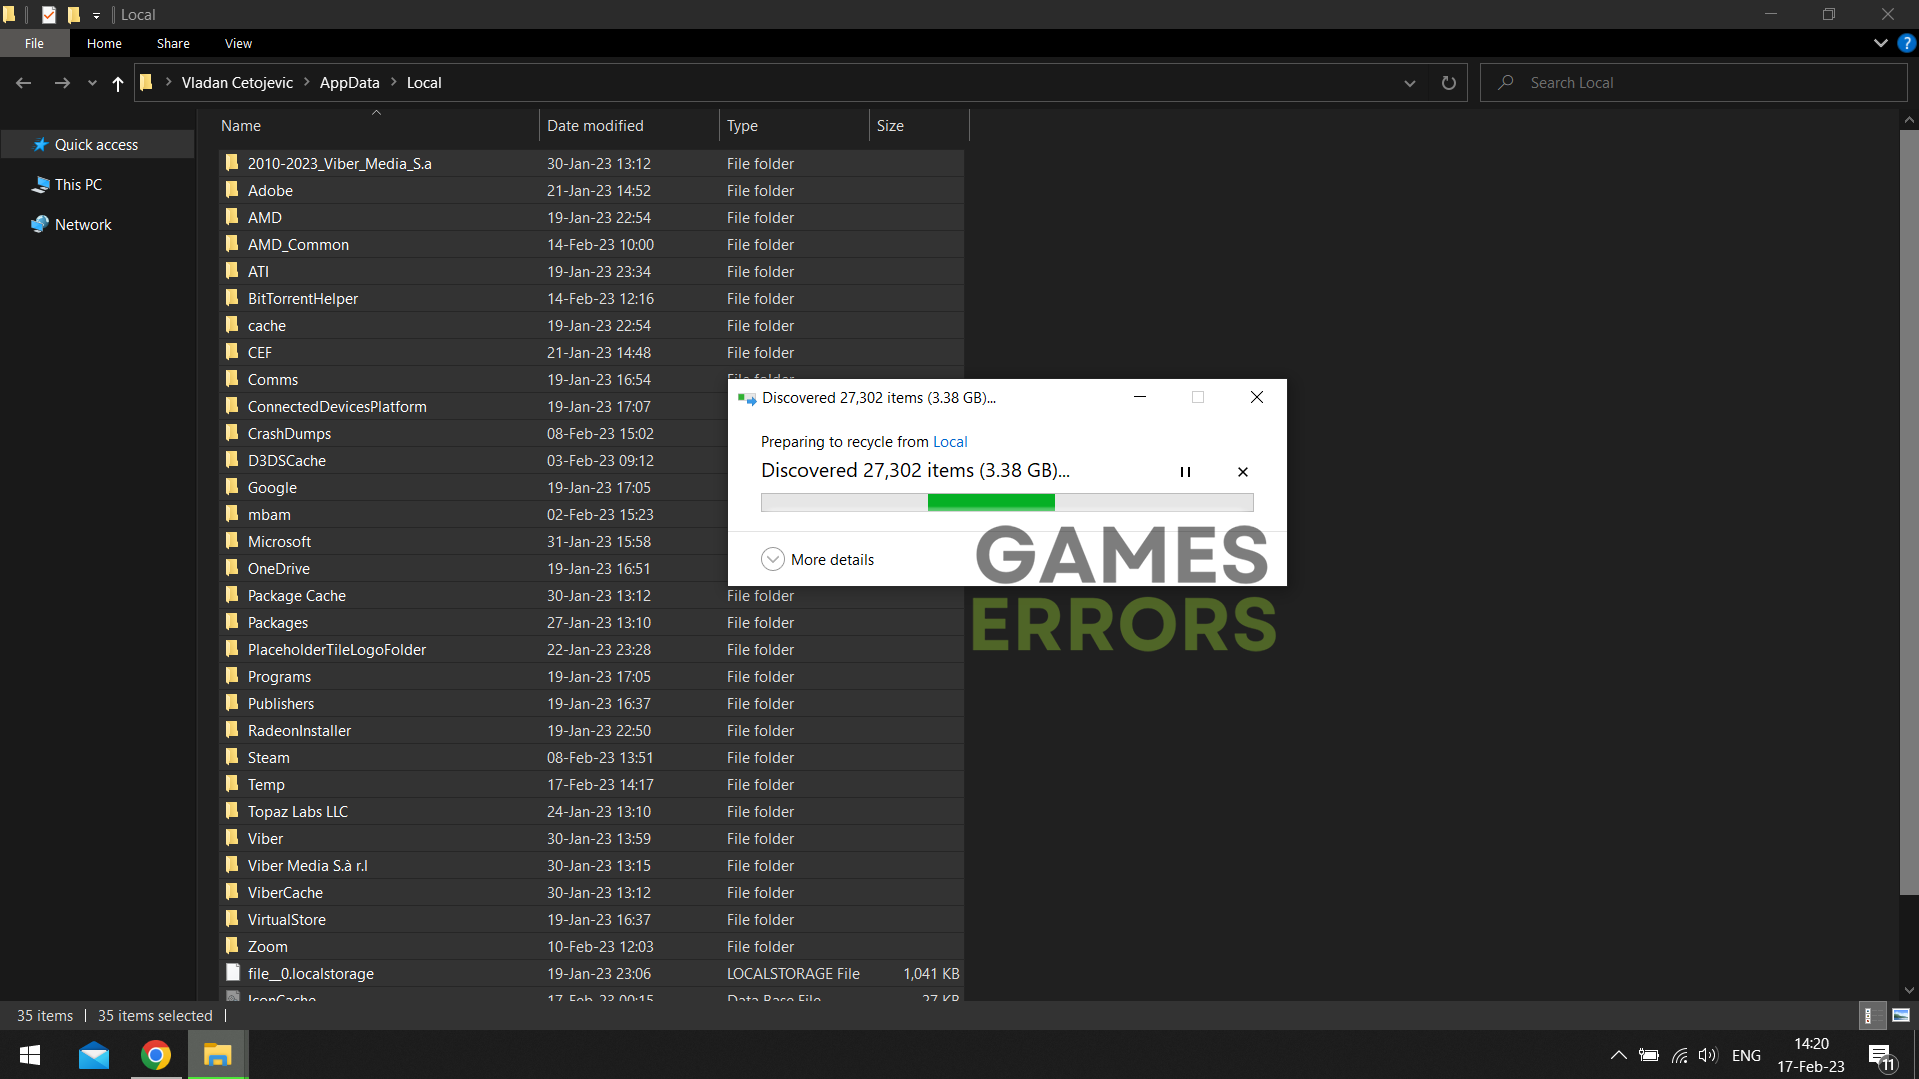
Cache files on your PC are where apps and games save data so they can launch and run smoother. However, if these files aren’t stored properly or get corrupted, they will create issues. Manually delete cache files from the Local folder on your PC.
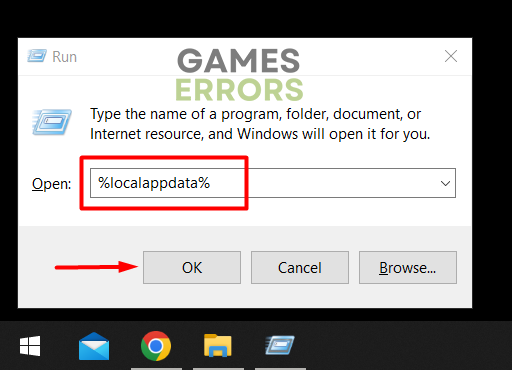
- Use the Windows Key + R shortcut to open the Run dialog, type %localappdata%, and hit OK.

- Use the CTRL + A shortcut to select all files in the folder.
- Press the Delete key on your keyboard to delete all the files in the folder.
➡ If prompted to confirm, click on Yes.
➡ If some files can’t be deleted, click on Skip.
3. Increase Windows virtual memory
Virtual memory is part of your storage where the game engine stores temporary information unsuitable for RAM. It is a way to optimize the performance but can cause crashes if the automatically set value gets overloaded.
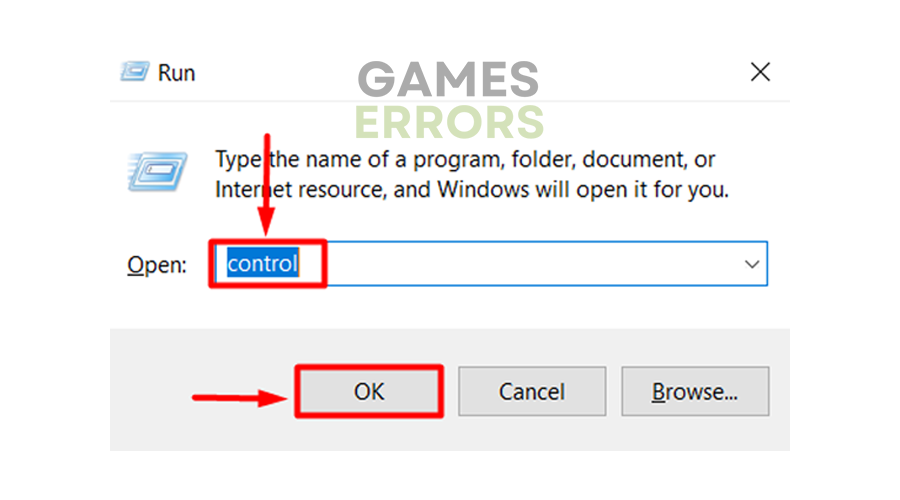
- Use the Windows Key + R shortcut to open the Run dialog, type control, and hit OK.

- Click on the dropdown next to View by and select Large icons.

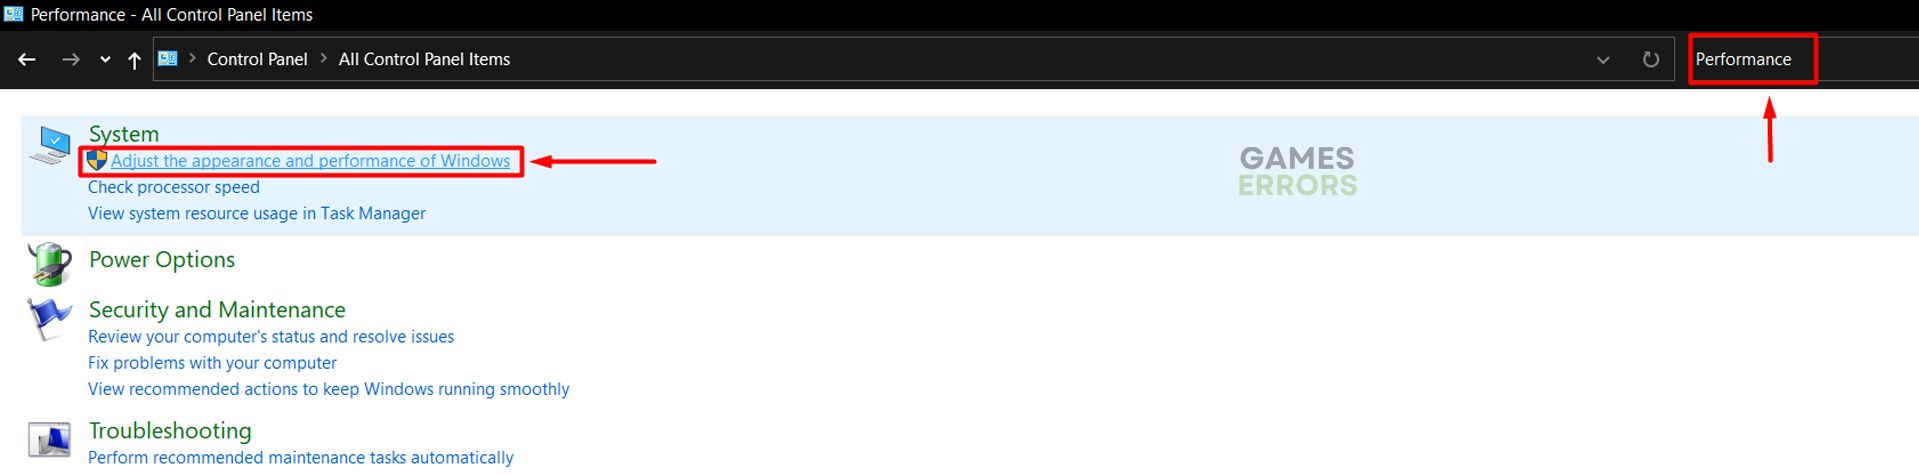
- Click on the search, type Performance, and click on Adjust the appearance and performance of Windows.

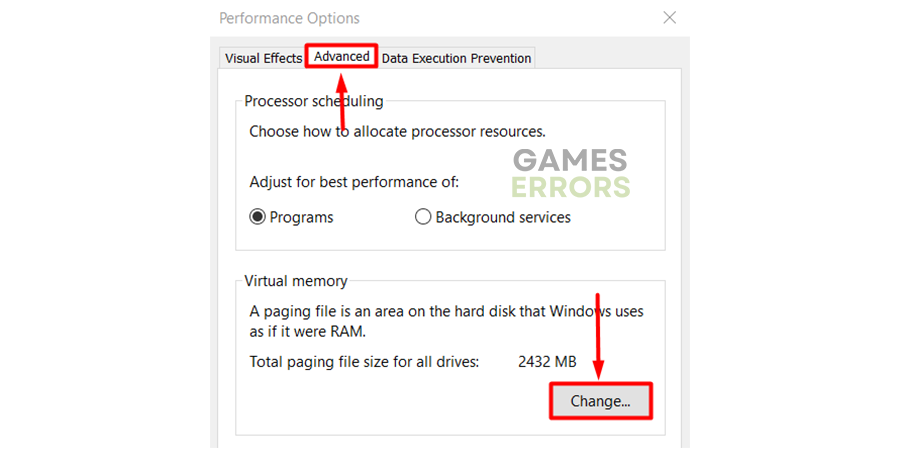
- Navigate to the Advance tab and hit the Change button under the Virtual Memory section.
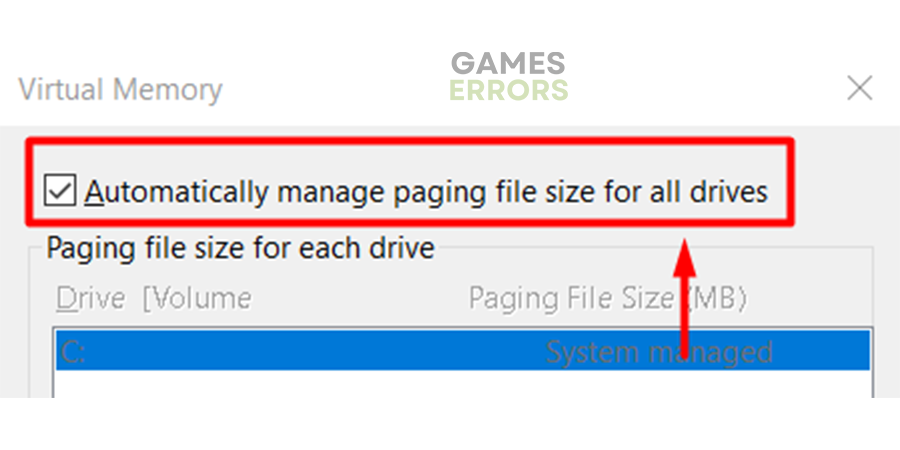
- Disable Automatically manage paging file size for all drives.
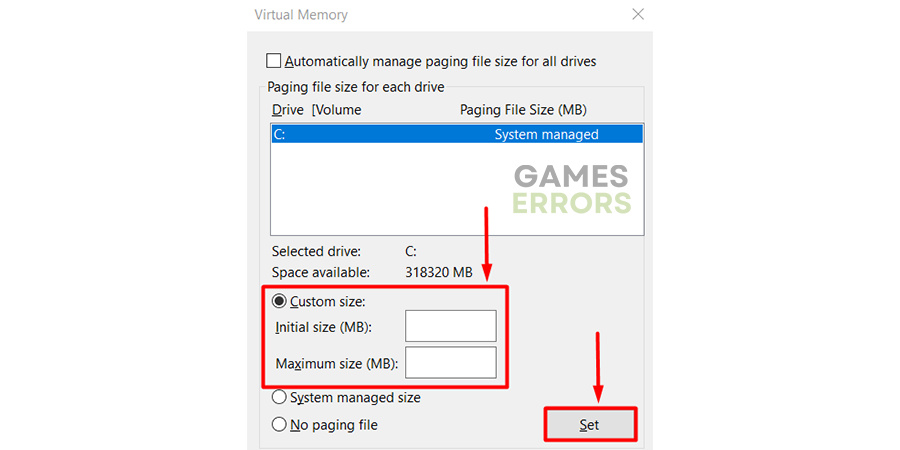
- Select the Custom size button, enter values 2x of your RAM in MB, and hit the Set button.
- Click OK and restart your PC.
Extra steps
If Project F is still crashing, even though you have done everything, we advised so far, try to:
- 💻 Perform a Clean Boot: This way, you will prevent compatibility issues caused by startup services interfering with the game client, potentially leading to crashes.
- ⬆ Update Windows: Click the Windows icon, type Check for updates, and open these System Settings. Check if there are pending updates, and if so, install them.
- 🔁 Reinstall Project F: The last resort is to uninstall the game and delete all game files and folders. Restart your PC, and perform a clean Project F installation.
Related articles:
Conclusion
In conclusion, you can prevent Project F crashing by updating your GPU driver, deleting cache files, and increasing Windows virtual memory. Don’t forget to verify game files, use DirectX 12, and close all background apps before launching the game.
Additionally, performing a Clean Boot when experiencing issues with game crashes is always recommended. Update your Windows, and as a last resort, reinstall Project F. Good luck troubleshooting this issue, and if you still experience problems with Project F, let us know so we can assist you further.

Improve this guide
User forum
0 messages