
Project F Won’t Launch: How to Force It
Does it feel like an eternity while waiting for the game to launch? Don't worry. We have a joker on our sleeve! 🃏

Gamers complain that Project F won’t launch on their PC, so we decided to get to the bottom of this issue. Investigating the problems launching this tactical FPS, we discovered many potential causes. Ultimately, we compiled a list of the most suitable solutions to apply when Project F doesn’t launch.
If the game does launch, but you struggle with performance, learn how to improve FPS in Project F.
Why won’t Project F launch?
Project F won’t launch due to temporary issues on your PC, corrupted game files, unsuitable DirectX version, problems with the Windows Firewall, an outdated GPU driver, missing Visual C++ dependencies, compatibility issues, problems with the antivirus, or obsolete Windows components.
How to fix Project F won’t launch?
Get started by applying some easy checks and fixes:
- Restart your PC: The most apparent solutions are sometimes the best! If you keep your PC running for days, there is a chance temporary issues are blocking Project F from launching.
- Verify game files: This way, you can find and repair corrupted files without reinstalling the game!
- Update DirectX: We have a complete guide for updating DirectX to the latest version.
Here are the step-by-step solutions to apply when Project F doesn’t launch.
1. Allow Project F through the Firewall
Time needed: 5 minutes
Windows Firewall is the core security feature of your operating system and should always be kept enabled. However, if you experience issues launching Project F, there is a chance Firewall is blocking it. To resolve this, add Project F as a Firewall exception.
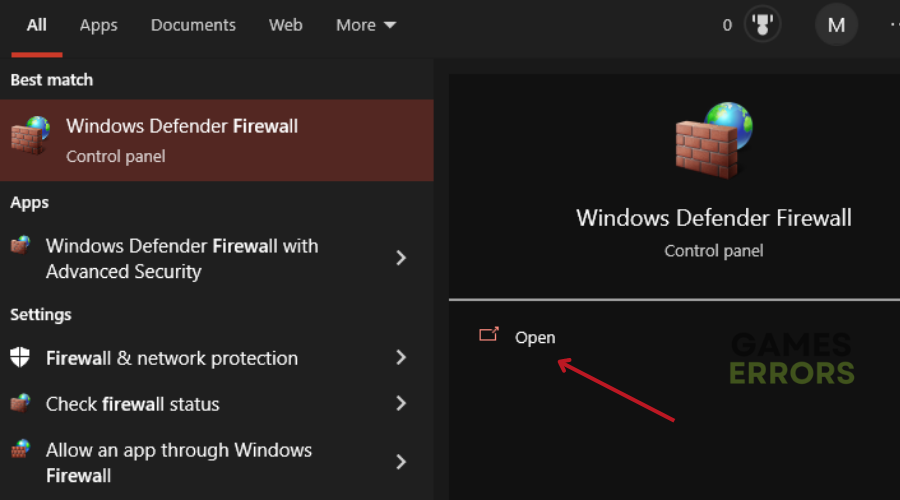
- Click on the Windows icon, type Windows Defender Firewall, and open it.

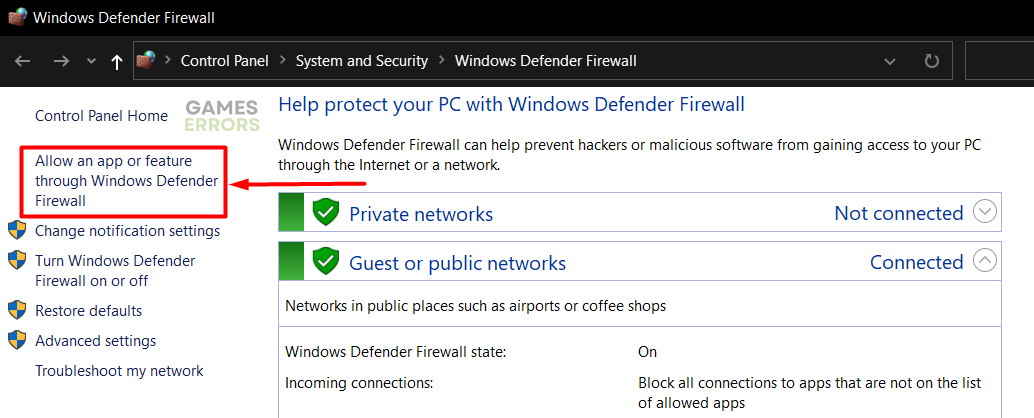
- Click on Allow an app or feature through Windows Defender Firewall.

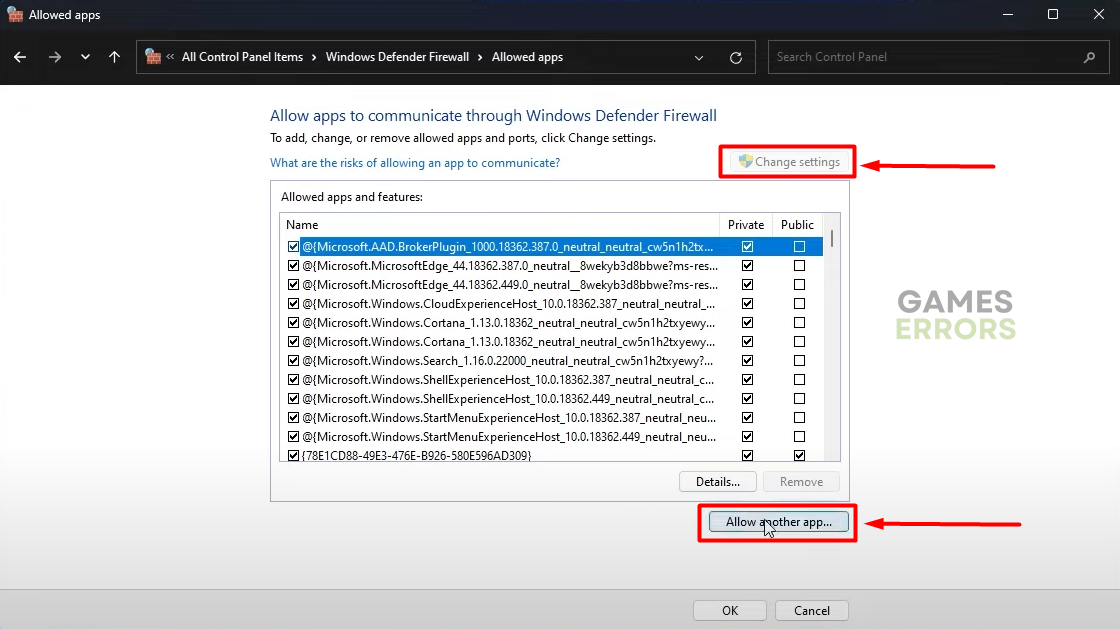
- Click on Change Settings and Allow Another App.

- Select Browse and navigate to the Project F installation folder.
- Click on the Project F executable file (.exe) and select Open.
- Check the checkbox in columns Private and Public in the Project F row and hit OK.
- Restart your PC.
2. Update the GPU driver
If Project F can’t complete the graphical processing needed for it to launch, there is a chance it won’t launch. To resolve this, you can update your GPU driver and ensure your graphics card is fully optimized for gaming.
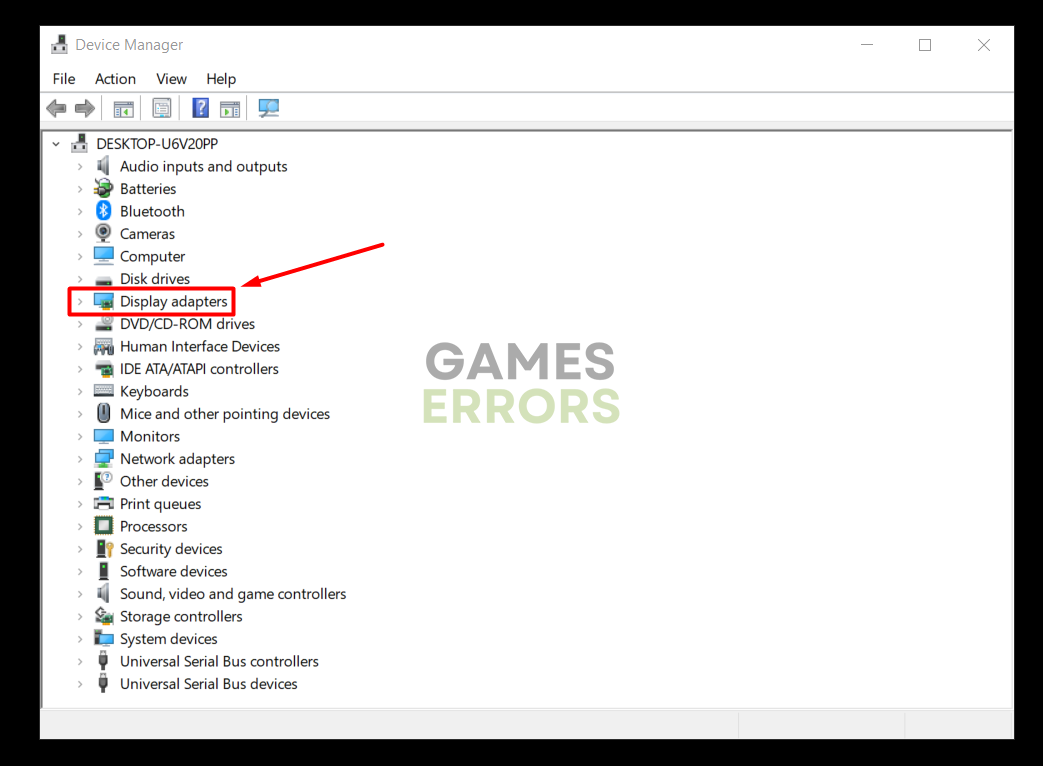
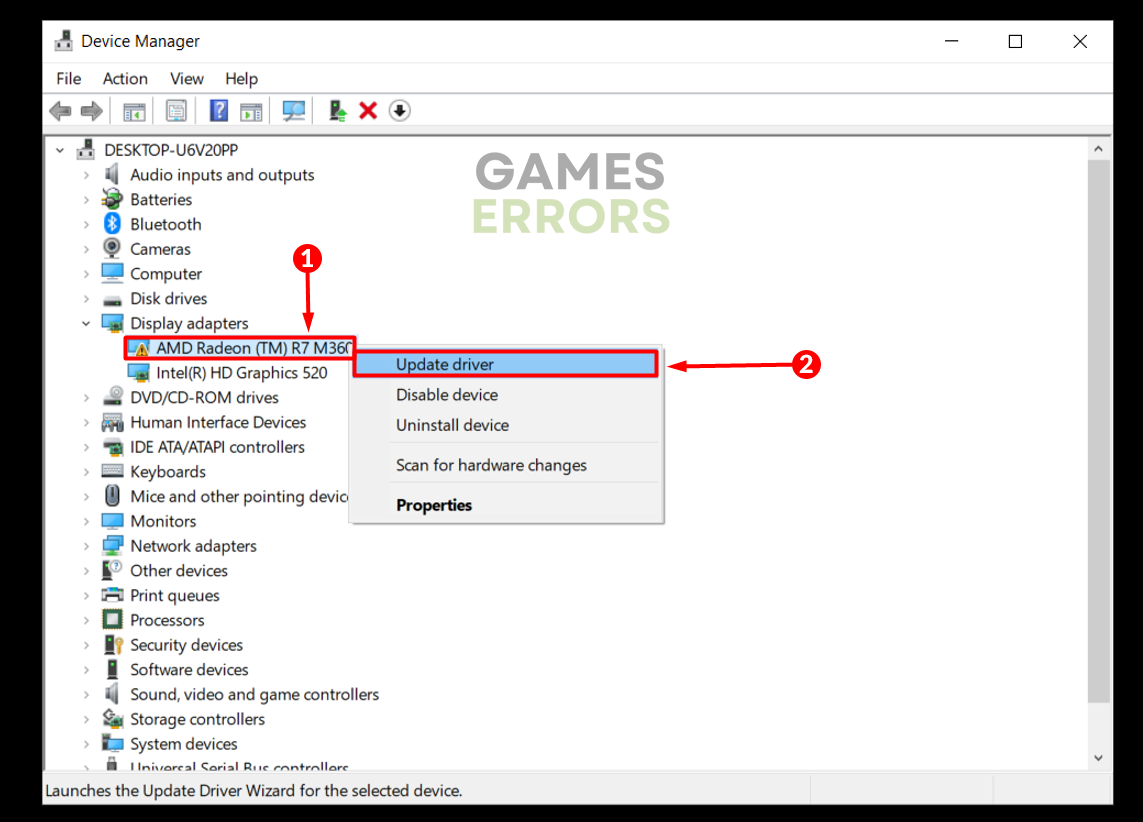
- Click on the Windows icon, type Device Manager, and open it.

- Double-click on the Display Adapters section.

- Right-click on your GPU and select the Update driver option.

- Select the Search automatically for drivers option.
- Install the GPU driver update.
- Restart your PC.
If you are annoyed about taking care of the driver updates and constantly doing it manually, check out PC HelpSoft. This tool takes over the complete driver management process and automatically updates your GPU driver, so you don’t have to!
3. Install Visual C++ dependencies
Games for Windows require Visual C++ dependencies to launch and run smoothly. These are usually installed with the game, but you must manually install the latest Visual C++ dependencies if they weren’t installed or are outdated.
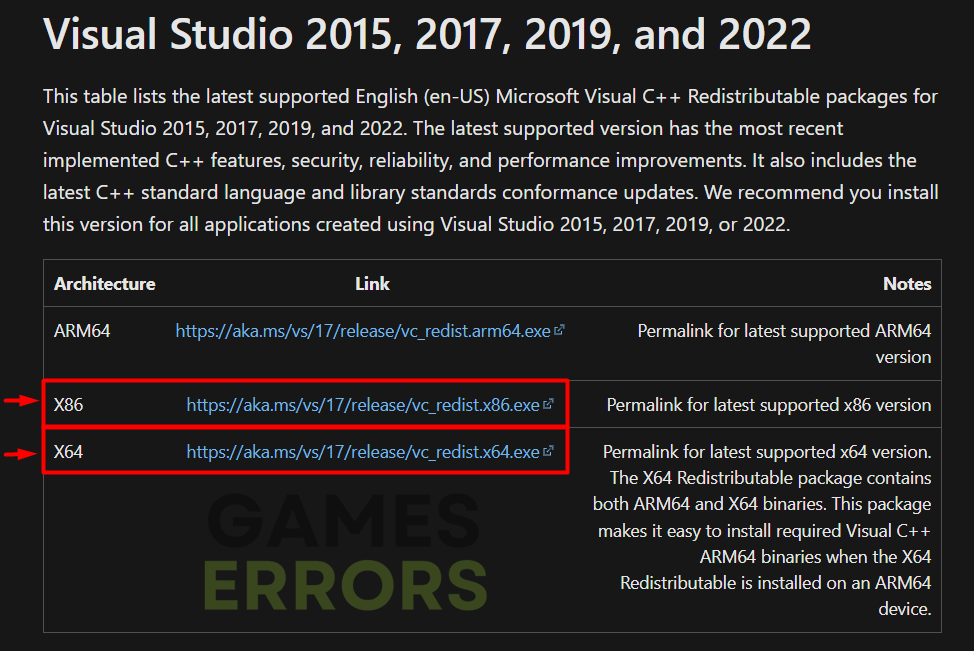
- Open the official page for the Visual C++ Redist Packages download.
- Click on the Link and download vc_redist suitable for your operating system architecture.
➡ X86 is for 32-bit systems.
➡ X64 is for 64-bit systems.
- Run the installation package and follow the steps.
- Restart your PC.
Extra steps
If Project F still doesn’t launch, try to:
- 📀 Launch Project F in compatibility mode: Follow our guide for launching games and programs in compatibility mode.
- 🛡 Temporarily disable antivirus: If the game launches, you must whitelist it in the antivirus settings. After doing so, re-enable the antivirus protection.
- ⬆ Update Windows: Click the Windows icon, type Check for updates, and open these settings. If any updates are pending, download and install them, then restart your PC.
- 🔁 Reinstall Project F: If nothing else resolves your issue, the last option is to reinstall Project F.
Related articles:
Conclusion
The bottom line is that you can fix the causes of the Project F won’t launch problem by allowing the game through the Firewall, updating your GPU driver, and installing Visual C++ dependencies. It’s worth mentioning that you should regularly restart your PC, verify game files, and use DirectX 12.
Don’t forget to launch the game in compatibility mode and check if the antivirus prevents the game from launching. Regularly update Windows and reinstall Project F if nothing else resolves the issue. Good luck, and comment on which solution did the trick for you!

Improve this guide
User forum
0 messages