
Warframe High CPU Usage: How to Fix It
Read our detailed troubleshooting guide if you are experiencing high CPU usage while playing Warframe 🚀

Due to the graphics-intensive nature of the game, fans of Warframe have taken to various forums to report high levels of CPU usage.
Many players report that their framerate becomes extremely unstable with version 22.2.2, but everything is fine when they downgrade back to 21.20.2.
If you are currently experiencing this, keep reading to find out why this is happening and how to fix Warframe High CPU Usage in no time.
💥 Why Does Warframe Have High CPU Usage?
Warframe high CPU usage indicates that your CPU is under severe stress and being pushed beyond its capacity.
Some common reasons why your CPU usage may be so high include:
- Many applications and processes are running in the background.
- Viruses or Malware attack
- The drivers aren’t updated
- Warframe is not compatible with your PC
- Dirty Fans and Cooling Components
- Improper hardware configuration that triggers CPU usage issues.
How to Fix Warframe High CPU Usage?
Firstly, ensure your PC meets the minimum system requirements to run Warframe, restart your PC, and check if a new update is available for Warframe.
Table of contents:
- Update graphics driver
- Close background apps that use a lot of CPU
- Scan your PC for malware
- Disable All Power Preserving Modes
- Force the Game to Process Graphics Using the Dedicated GPU
- Disable power saving mode
1. Update Graphics Driver
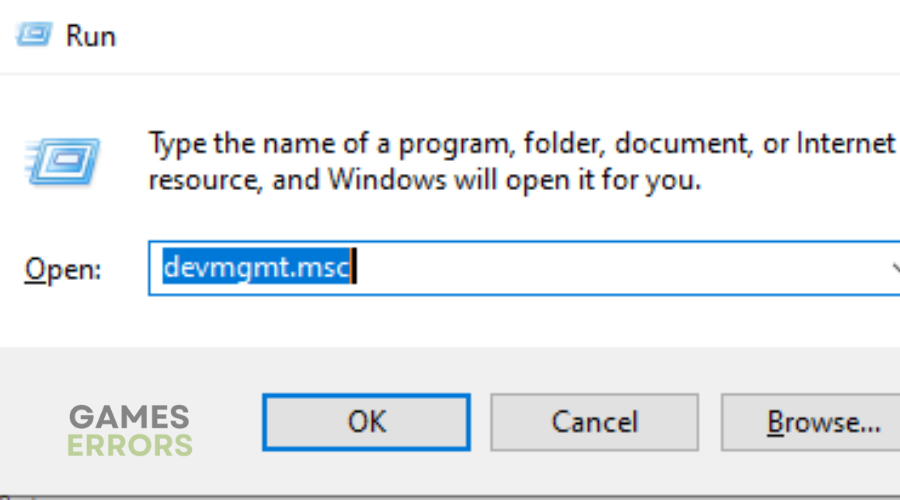
- Press Windows key + R to open the Run box.
- Type devmgmt.msc and click OK to open Device Manager.

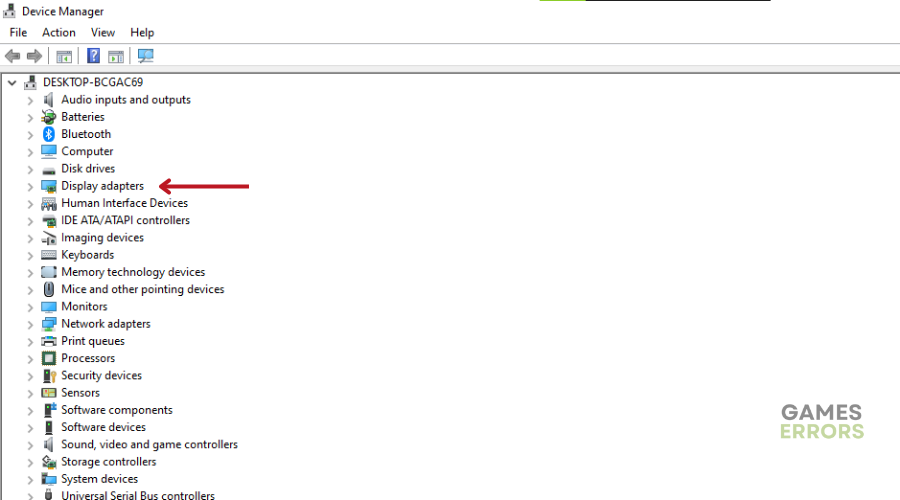
- In the Device Manager window, expand the Display adapters section.
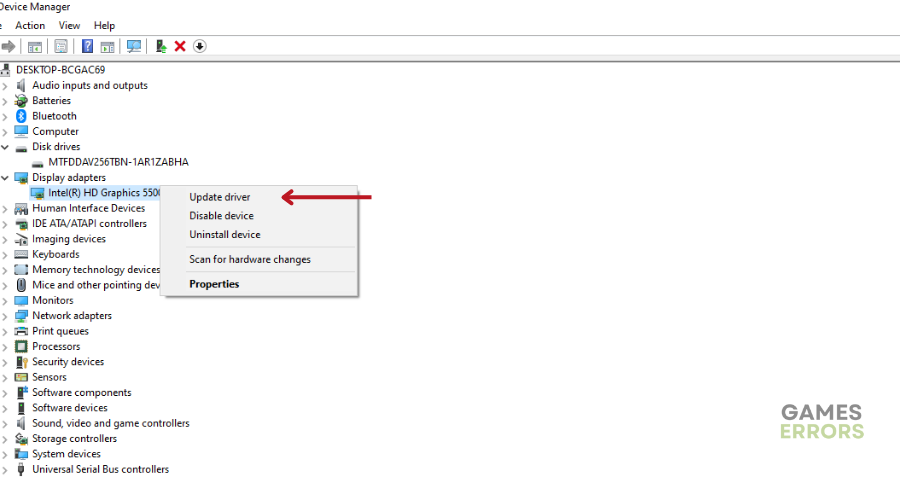
- Right-click on the display driver you want to update and choose Update Driver.
- Select Search automatically for drivers.
- Windows will scan for available driver updates and download them.
- Restart your PC to apply the changes.
The steps above require you to manually update your PC drivers via the device manager, which can be time-consuming. That is why we recommend using a third-party tool like PC HelpSoft that automatically finds and installs the best driver for your PC.
2. Close background apps that use a lot of CPU
Time needed: 4 minutes
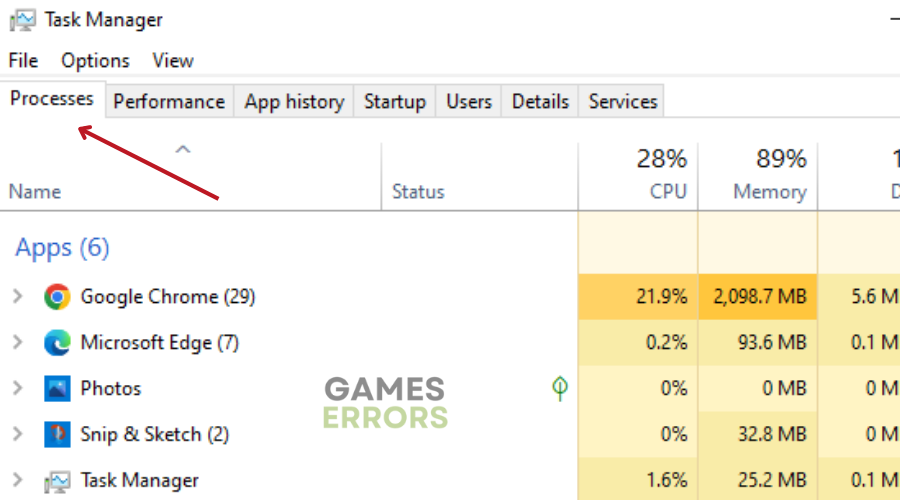
- Press Ctrl + Shift + Esc to open the Task Manager.
- Click on the Processes tab.
- Click on the CPU column to sort the processes by their amount of CPU usage.
- Locate in the list which apps use up a lot of CPU, but are not necessary for playing the game.
- Select one of the apps and right-click on it, then choose End task from the options
- Perform the same steps for all other apps eating up your CPU that are not needed for you while you play video games.
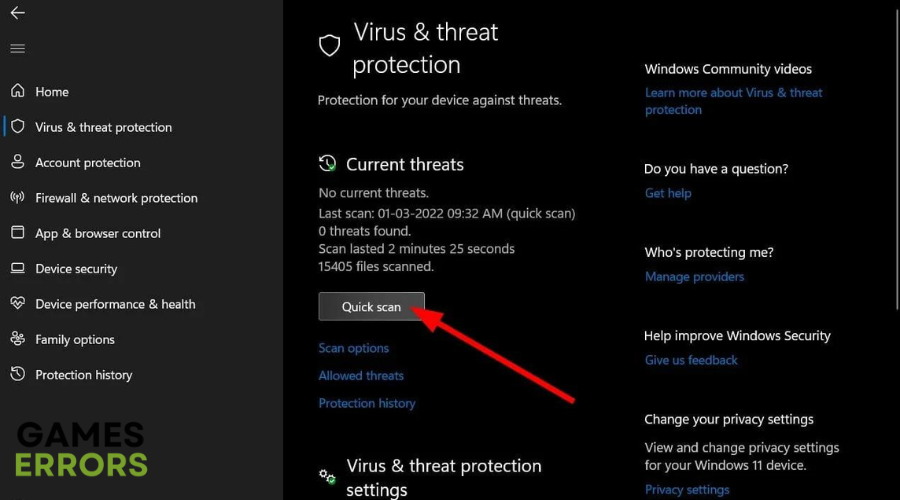
3. Scan your PC for malware
- Open the Start menu by pressing the Windows key.
- Search for Windows Security and open it.
- Click on “Virus & threat protection.”
- Hit the Quick Scan button.
- Windows Security will scan your PC and ask you to take necessary actions to remove any virus or malware.
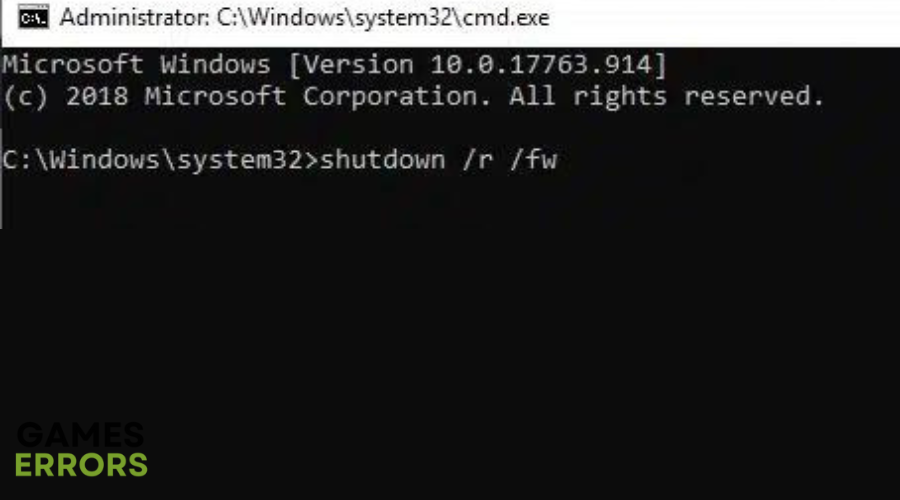
4. Disable All Power Preserving Modes
- Type “cmd” in the Windows search bar and right-click on the Command Prompt option that appears.
- Click on the “Run as administrator” option to open the Command Prompt.
- In the Command Prompt, type “shutdown /r /fw” and press Enter.
- Your computer will now restart and then boot into the UEFI Firmware Settings.
- In the UEFI Firmware Settings, turn off any options that are related to power saving, and then restart your computer normally.
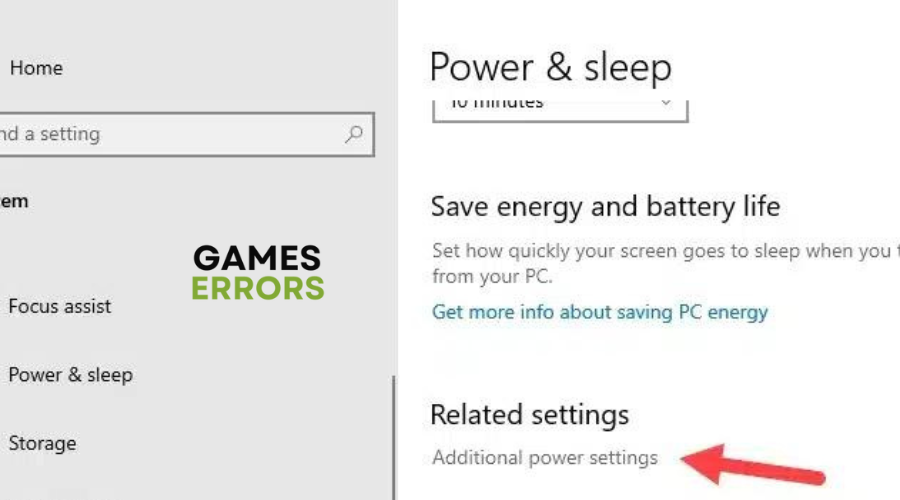
- After Windows starts up completely, type “Power & sleep settings” in the Windows search bar and select the appropriate option.
- Click on “Additional power settings” below the Related settings section.
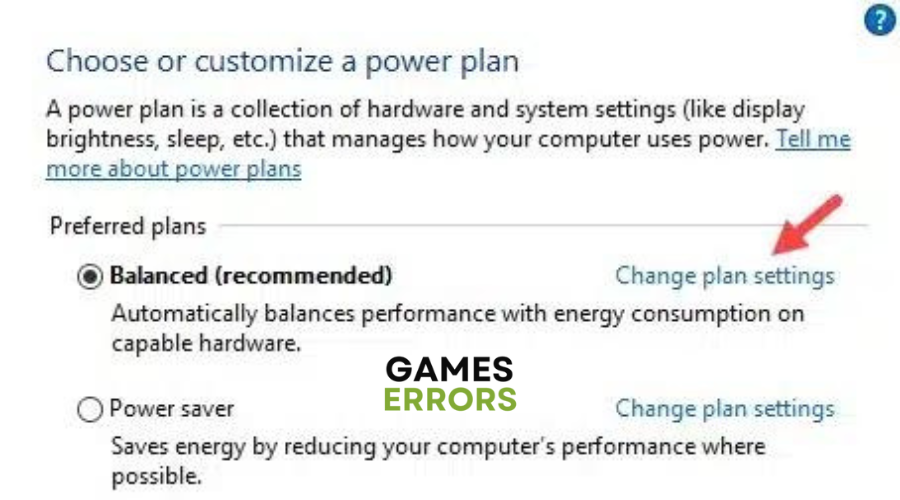
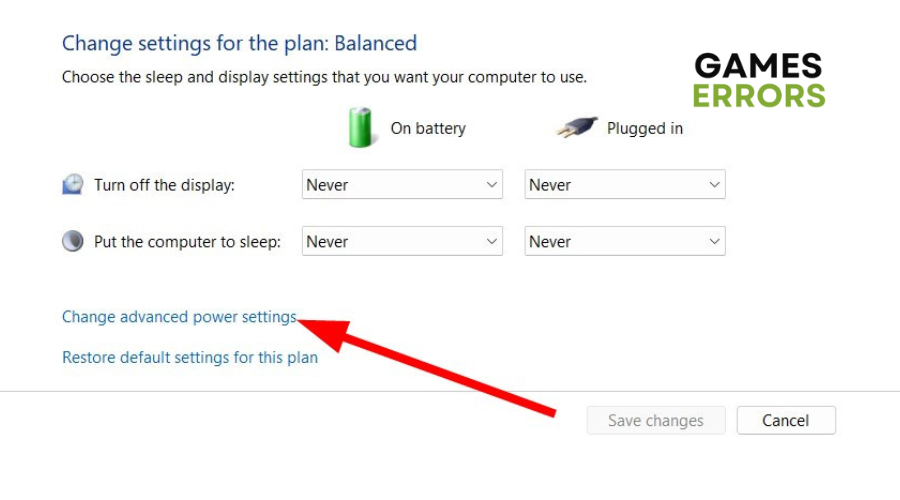
- Click on “Change plan settings” beside the Balanced (recommended) section.
- Select the “Change advanced power settings” option.
- Finally, select the “High performance” option from the drop-down menu, and then click on OK.
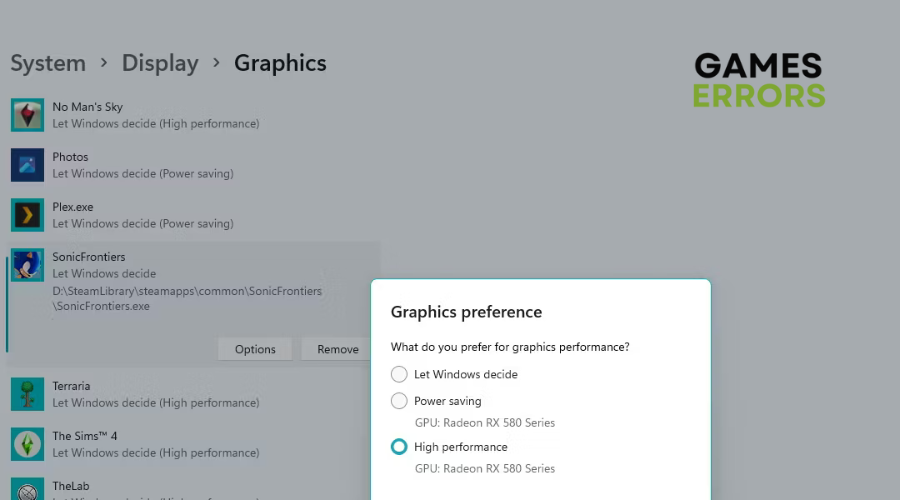
5. Force the Game to Process Graphics Using the Dedicated GPU
- Type “Graphics Settings” in Windows Search and open the graphics settings.
- Click Browse and select the Warframe’s executable (EXE) file.
- Click Options and select High Performance.
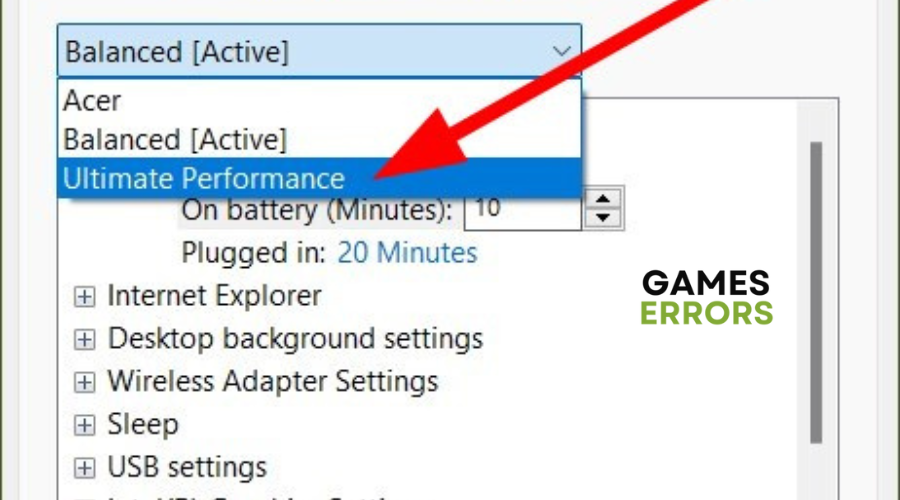
6. Disable power saving mode
- Open the Start menu by pressing the Windows button.
- Type “Edit power plan” and open it.
- Click on “Change advanced power settings.”
- Select “Ultimate performance” from the drop-down menu.
Related Articles:
- Warframe Missing Executable: How To Fix It
- Warframe Crashing – Guide To Fix This Problem Quickly
- Warframe Low FPS Drops: Easy Guide to Improve Performance
- Warframe Won’t Launch: How to Fix It
- Warframe Stuck on Loading Screen [SOLVED]
Conclusion
In conclusion, many players have faced Warframe high CPU usage, which can negatively impact their gaming experience. By updating your graphics driver, closing background apps consuming excessive CPU, scanning your PC for malware, and disabling power-saving modes, you can also optimize CPU usage. Try one of the solutions above and embark on epic adventures in Warframe in no time.

Improve this guide
User forum
0 messages