
CS:GO VAC Was Unable to Verify Your Game Session [5 Fixes]
If matchmaking fails by showing the VAC error on Counter-Strike: Global Offensive, don't get mad. Be calm and try the ultimate solutions from this article 😎
Are you constantly getting the CS:GO VAC was unable to verify your game session error while launching or trying to play a match? Don’t worry. If you can’t start playing because of this error, we got you covered.
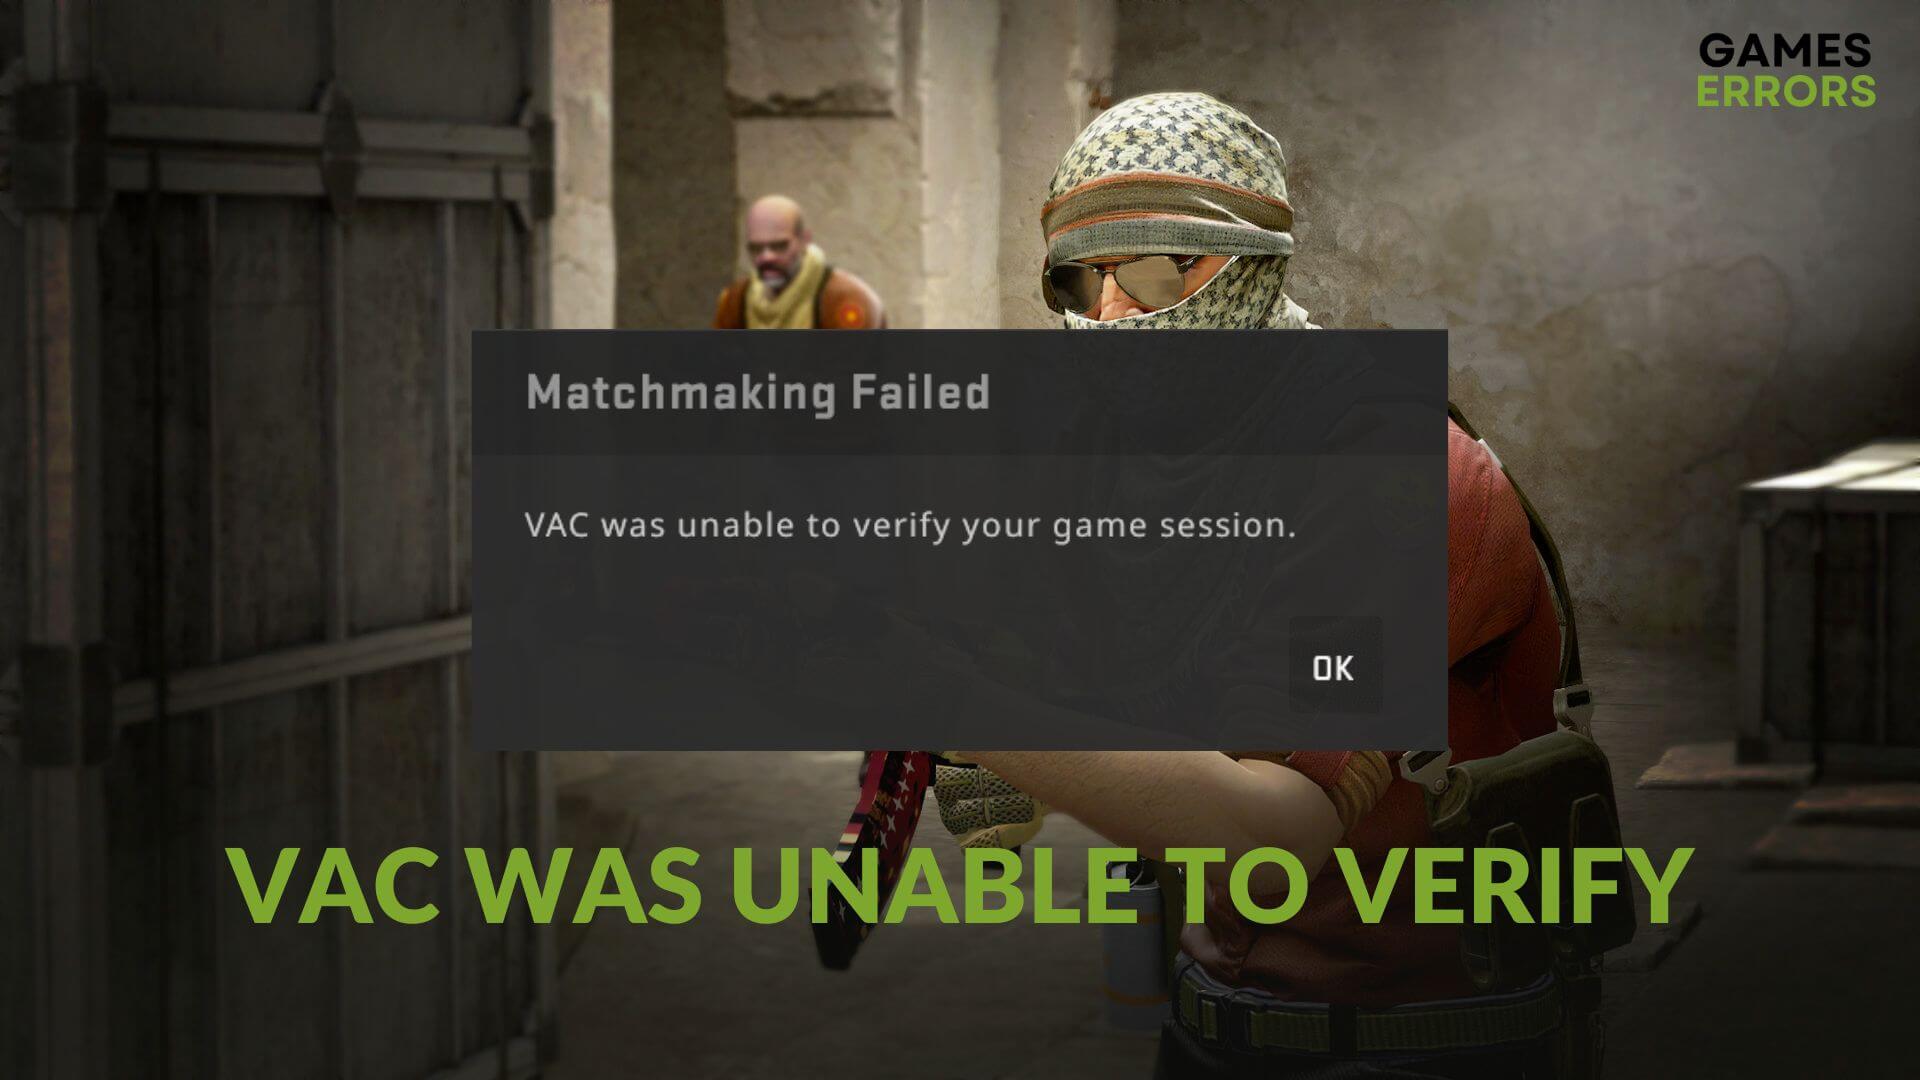
When this error appears, you may get the following message:
Matchmaking Failed
VAC was unable to verify your game session.
Why is VAC not able to verify your session?
If VAC (Valve Anti-Cheat) fails to verify your game session in Counter Strike: Global Offensive, it may be because of the reasons:
- Connection problems: As it’s a multiplayer game, the internet connection can trigger this problem while trying to matchmake. Additionally you can verify the CS server status.
- Problematic game files: VAC may not be able to verify your game session if any of the game files become missing or corrupted.
- Third-party apps: Some programs installed on your PC, including your antivirus and Firewall, can create conflict and cause VAC errors on CS: GO.
Some other reasons may exist. But, the above-mentioned are the most common ones.
What to do when CS:GO says VAC was unable to verify your game session?
When CS:GO says “vac was unable to verify your game session”, before you try anything else, we suggest you complete these recommended steps:
- Restart your PC and power-cycle your internet router.
- Ensure that the Steam is up to date: If you previously disabled the auto update on Steam, or if you encountered a problem with it, make sure that your Steam is up to date.
- Re-login into your Steam account. Sometimes even Steam has a few functionality issues, and because of them, you might encounter problems like the VAC error on Counter-Strike: Global Offensive. However, by doing this pre-check, you might solve the problem quickly without needing to try elaborate solutions.
After you are done with the pre-checks, if you are still wondering how to fix the VAC error, try the following methods:
- Verify that you are not VAC-banned
- Update the related drivers
- Whitelist the game in Firewall
- Uninstall cheating tools and other problematic software
- Re-install CS: Go
1. Verify that you are not VAC-banned
If you forgot your Steam account on another device or if you are using third-party programs and cheats, you might be permanently restricted from playing CS GO on the VAC-secured servers, meaning that you are VAC banned. As a result, you might get the CS:GO unable to verify error. Follow the instructions below to make sure that you are not blocked:
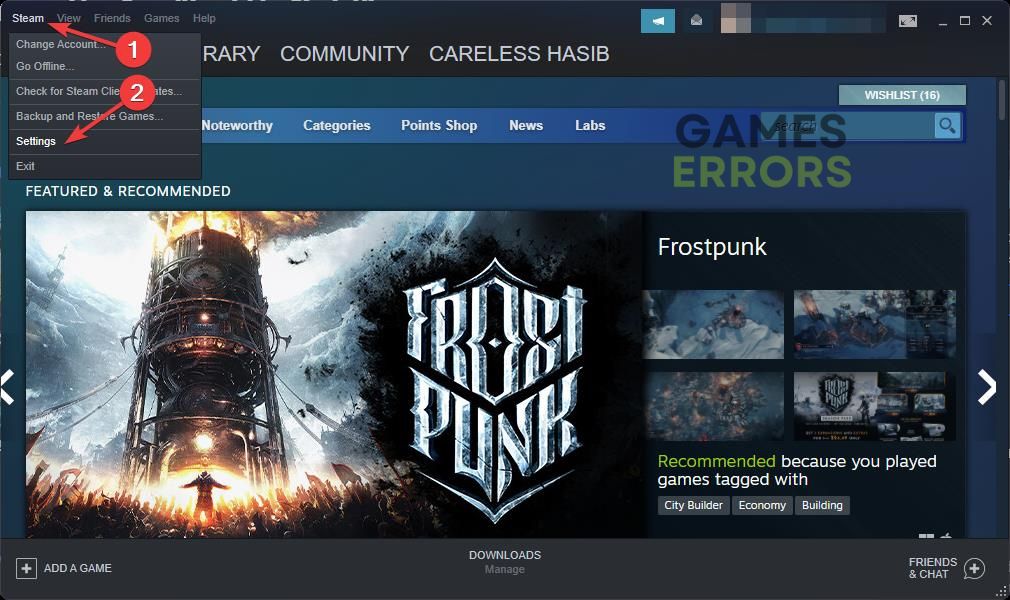
- Launch Steam.
- Go to its Settings.

- Go to the Account tab.
- Now, see the VAC Status.

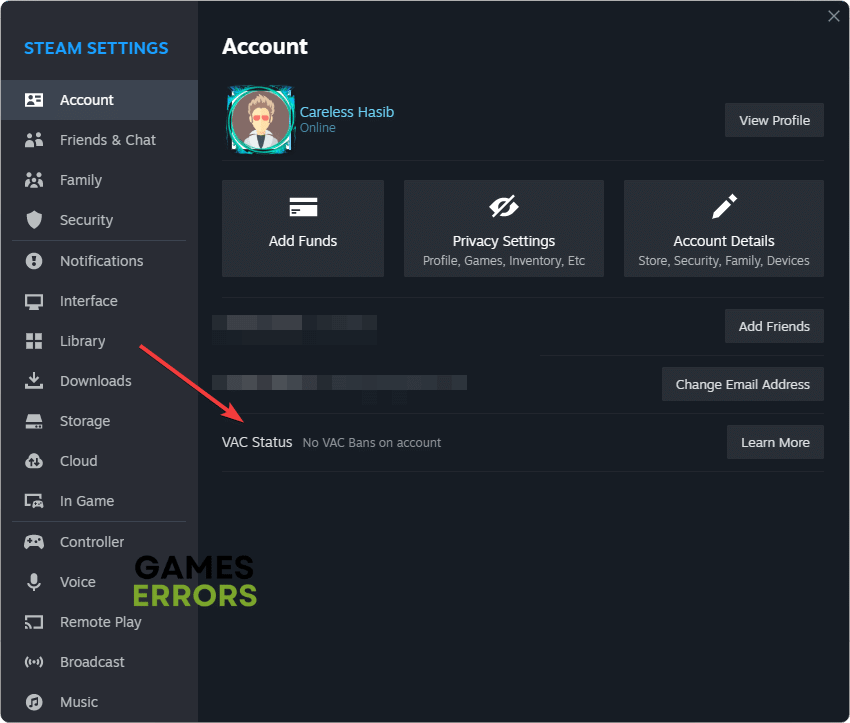
If everything is OK, you will see NO VAC Bans on account. If not, you will need to use a different Steam account or contact the support team.
2. Update the related drivers
For some users, updating the network driver may solve the VAC was unable to verify error on Counter-Strike: Global Offensive. To do it, follow these steps:
- Press Win + R to open Run.
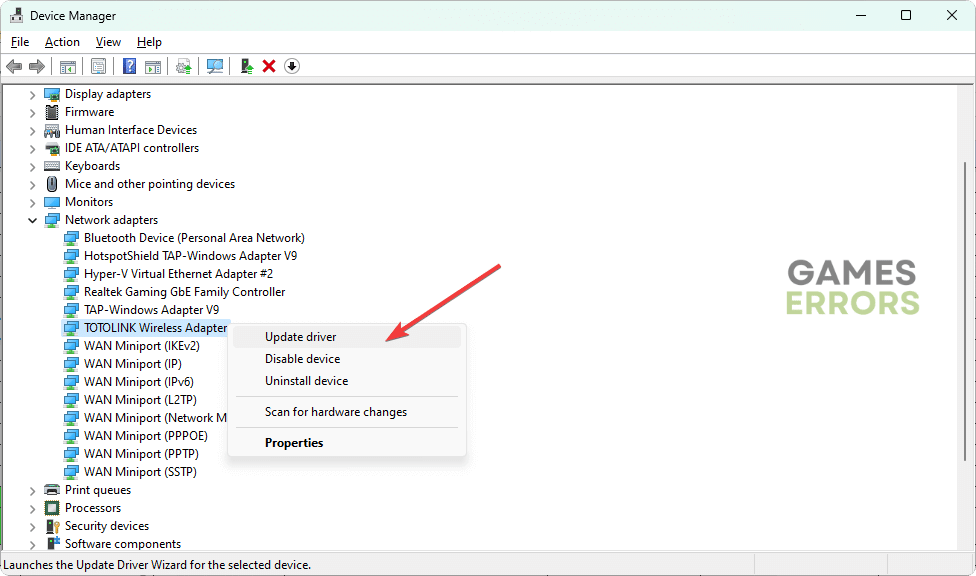
- Type the following command and press Enter to open the Device Manager:
devmgmt.msc - Expand the Network adapters category by double-clicking on it.
- Right-click on the network driver you are using and then click on Update driver.

- Click on Search automatically for drivers.
- Finish the process by completing additional onscreen steps.
- Similarly, update other drivers.
- Restart your PC.
Updating the network or any other drivers manually is time-consuming. So, we suggest you use PC HelpSoft. It can update all of the PC drivers with just a single click. Else, you will have a better experience with this tool compared to the Device Manager.
3. Whitelist the game in Firewall
The Windows Firewall might be blocking some of the needed Steam or CS:GO processes, and the result is encountering the VAC was unable to verify error in Counter Strike: Global Offensive. To solve the problem follow the steps bellow, to allow CS through the Firewall.
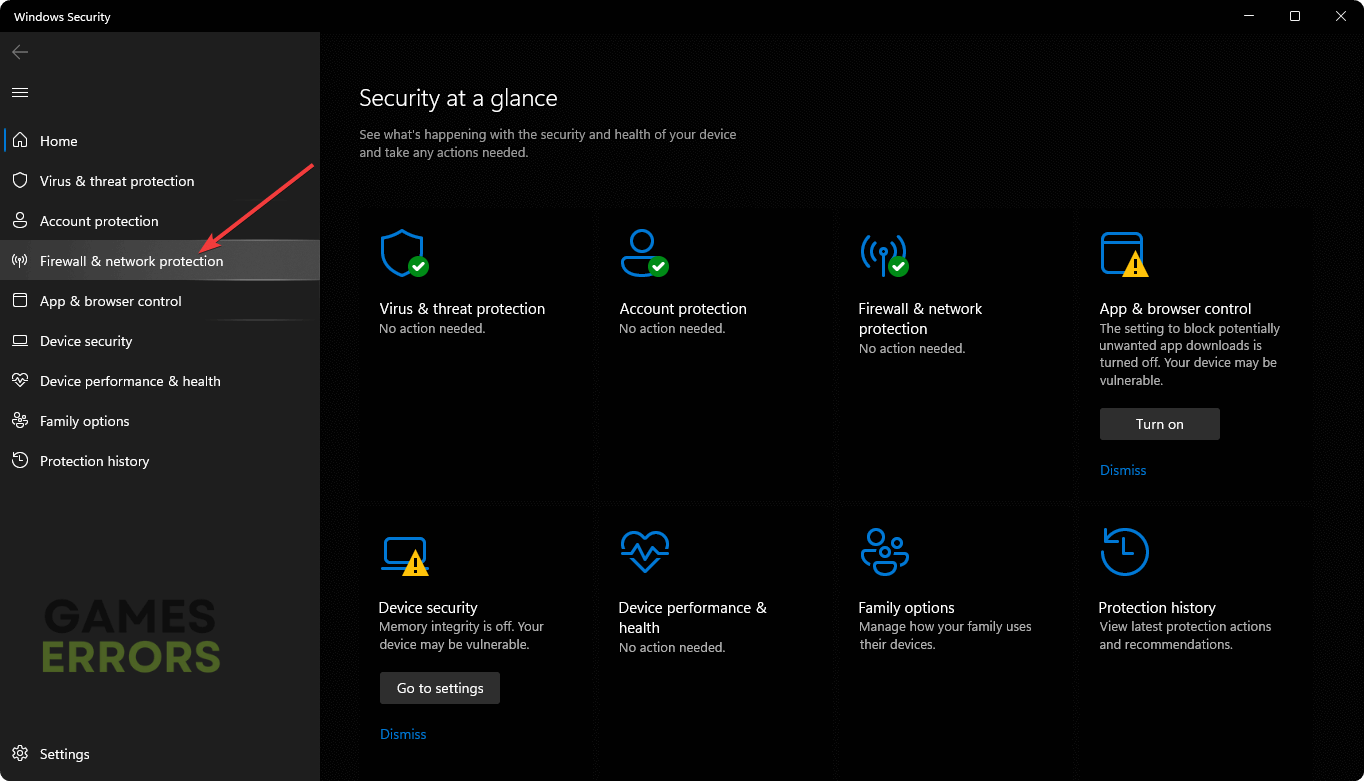
- Open the Start Menu, type Windows Security, and press Enter.
- Go to Firewall & network protection.

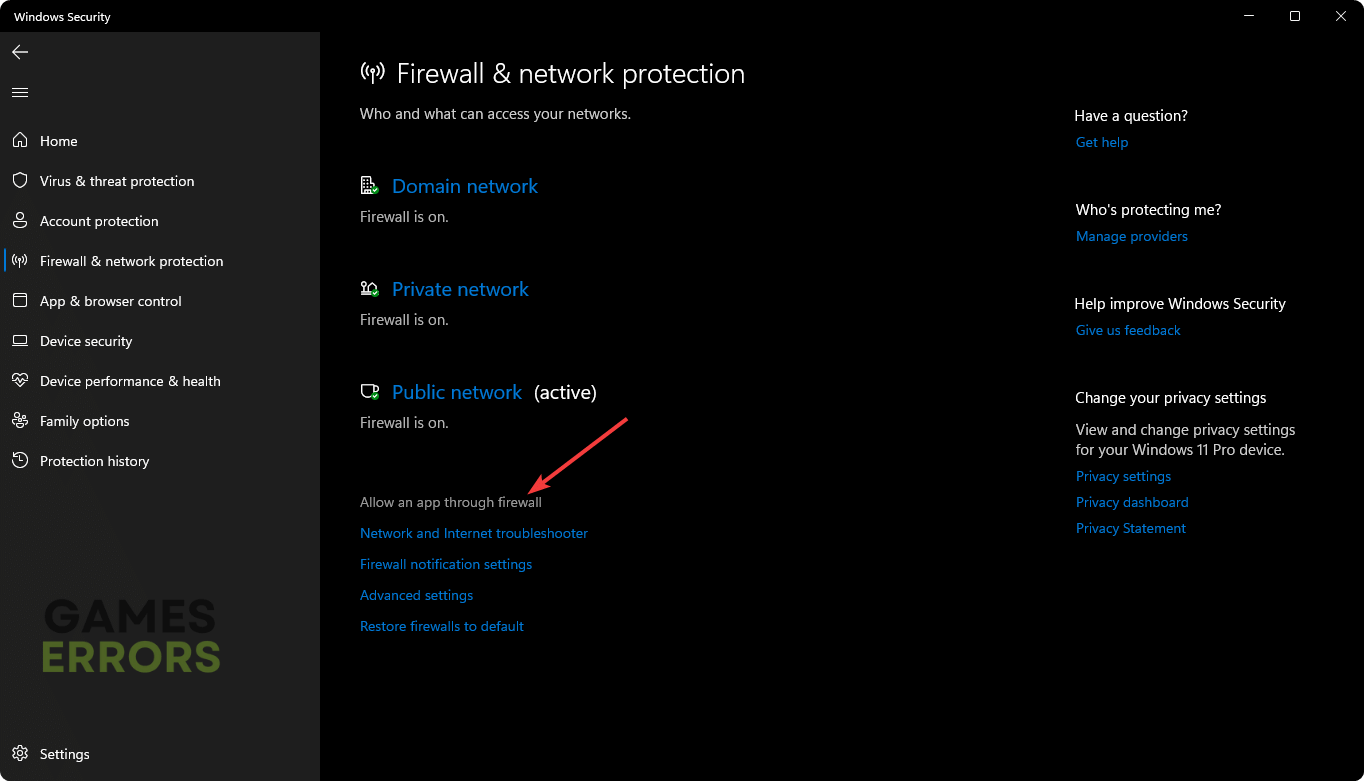
- Click on Allow an app through firewall.
- Then, click on Change settings.
- Tick Private and Public for Counter-Strike: Global Offensive and Steam.
- Click on OK.
If you have any third-party antivirus and firewall installed on your PC, you must whitelist Steam and this game there, too, to fix this issue.
4. Uninstall cheating tools and other problematic software
Sometimes some apps might create conflicts with the Steam app or others, and because of them, you might end up encountering errors like CS:GO VAC was unable to verify your game session. While closing them from the task manager can be a temporary fix, uninstalling them is the best solution.
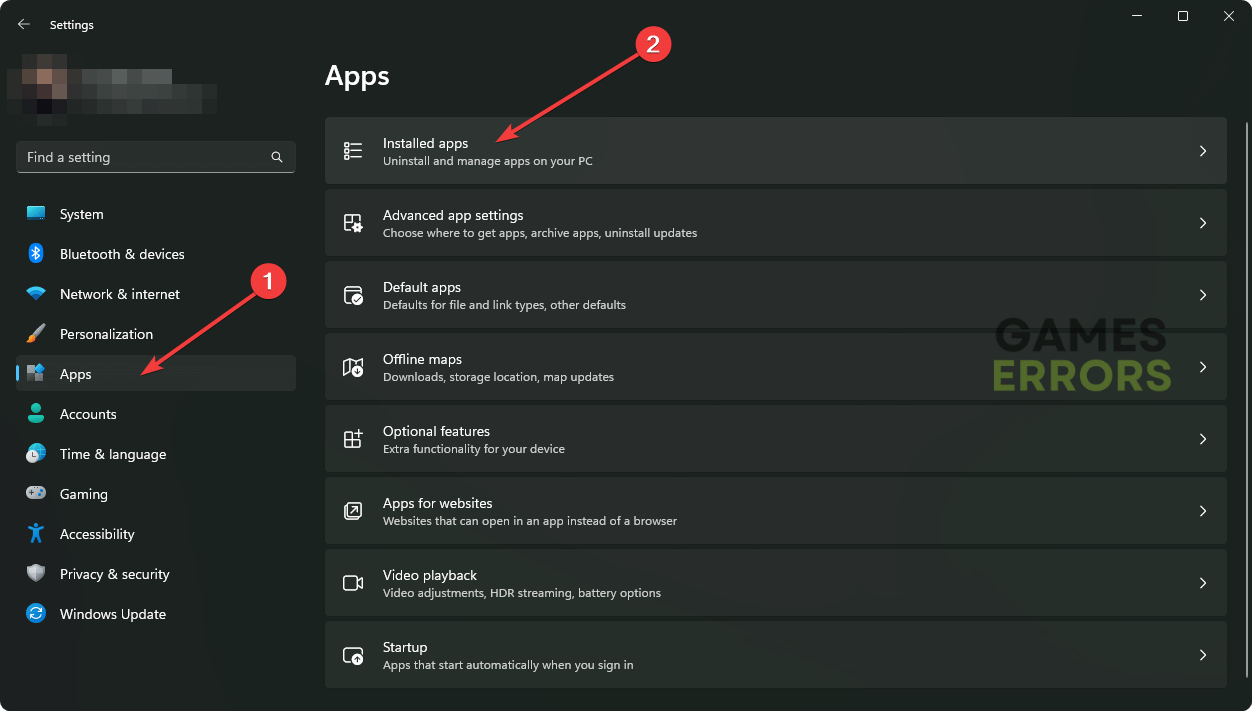
- Open the Windows Settings by pressing Win + I on the keyboard.
- Go to the Apps and click on Installed apps.

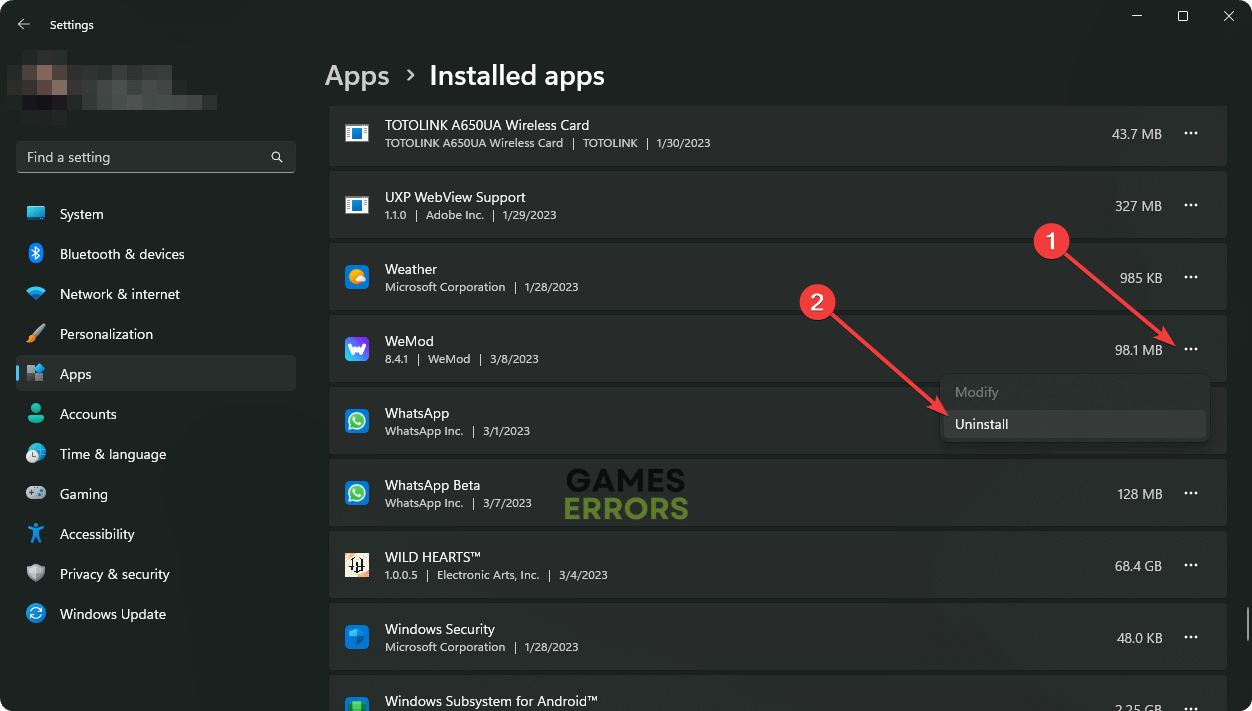
- Locate any suspicious apps, including hacking or cheating tools.
- Then, click on the three horizontal dots next to it and click on Uninstall.
- Follow any onscreen steps to finish the process.
- Remove all other suspicious apps in the same way.
- Restart Windows.
5. Re-install CS:GO to fix VAC was unable to verify the game session error
To get rid of the CS: GO VAC was unable to verify error, re-installing this multiplayer first-person shooter game can be your ultimate solution.
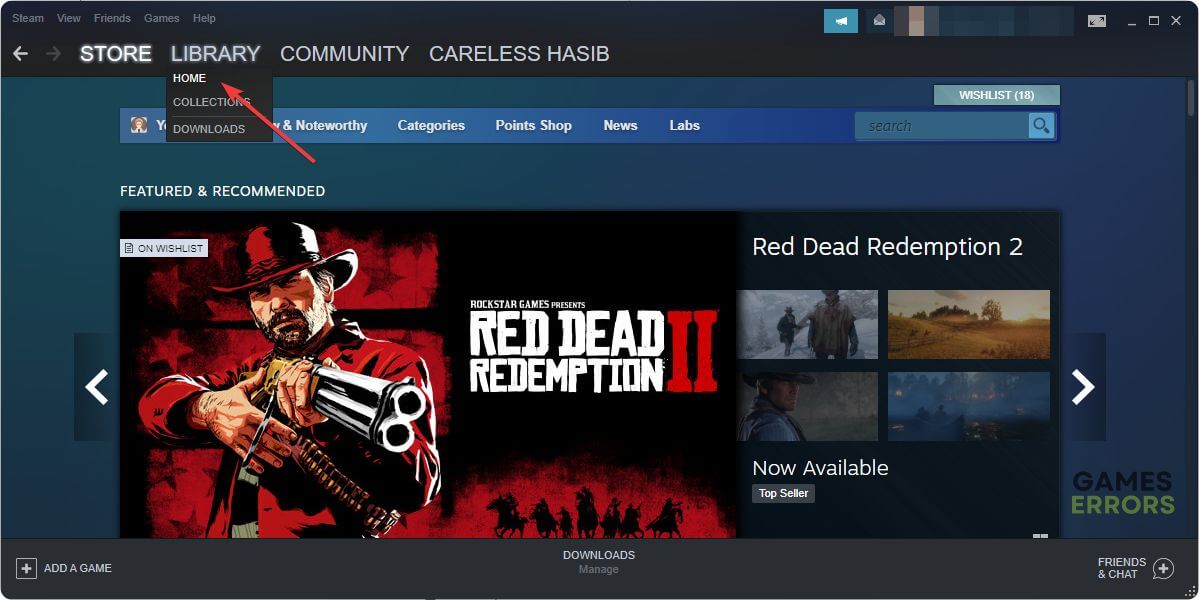
- First, launch the Steam desktop app.

- Go to the game library.

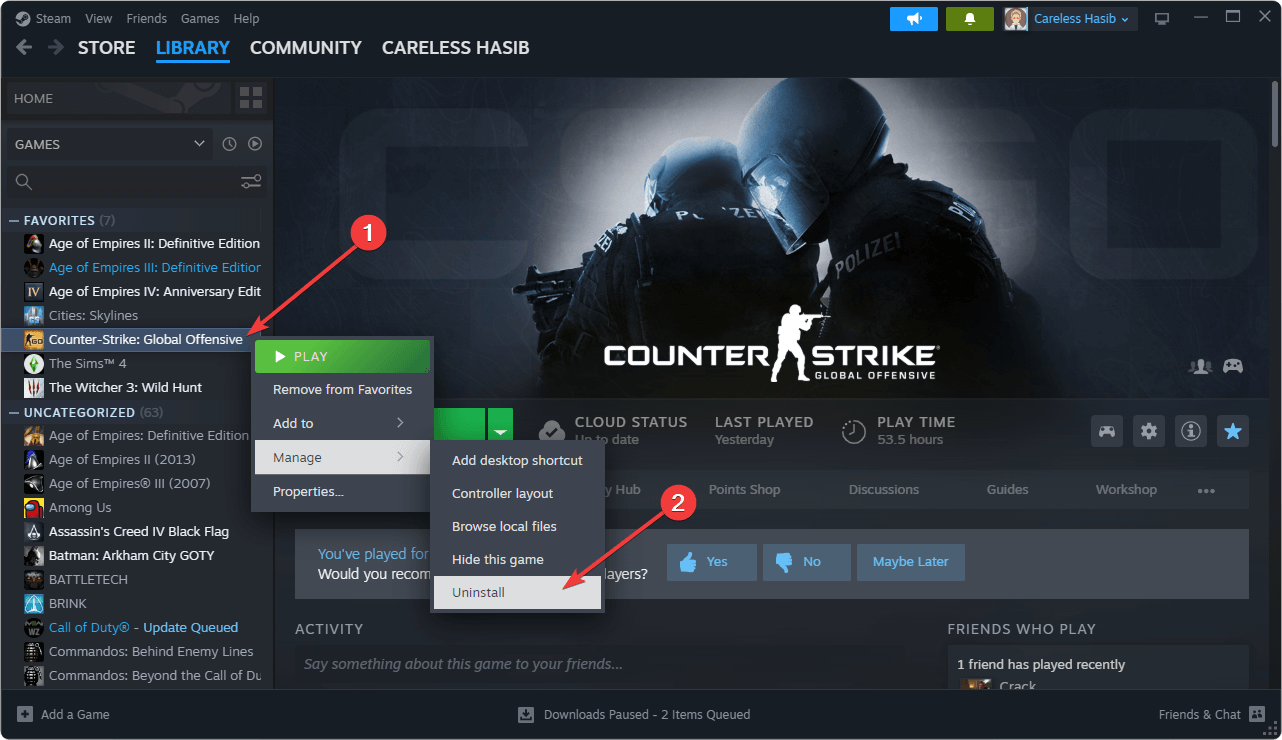
- Right-click on the Counter-Strike: Global Offensive, hover the cursor on Manage, and then click on Uninstall.

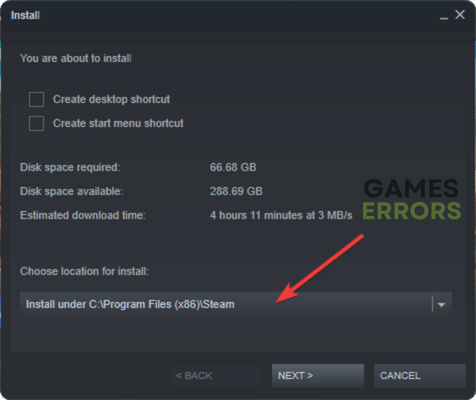
- Now, click on the Install button.
- Choose the installation location and click on Next.

- Relaunch the game.
Additional fixes for CS GO Vac was unable to verify game session error:
If you still encounter this error, try these rapid fixes for the VAC error on Counter Strike: Global Offensive:
- Ensure that you are not using any proxy or VPN and that you have a stable internet connection.
- Repair the game files.
Related CS:GO articles:
- Cases Guide: What to Expect
- Packet Loss: How to Fix It Easily
- Not Launching: How to Fix [Easy Peasy Guide]
- High Ping Fix: How To Lower It [Ultimate Guide]
- How to Get New Skins in CSGO: Best Ways to Get Them Free
Hopefully, the above methods will fix CS: GO VAC was unable to verify error on your PC. For some players, the problem may still exist. If you are one of them, try to re-install Steam along with the game. Also, update Windows to the latest version. Performing Clean Boot also can be a helpful solution. If any questions arise in your mind, feel free to ask us in the comment box.

Improve this guide
User forum
0 messages