
Warhaven Crashing, Low FPS, Not Launching [Fixed]
Instead of enjoying this fantastic medieval-fantasy warfare, you must deal with technical issues. Let's figure out steps to ensure a smooth gaming experience! 🚀

Enjoying a free-to-play PVP experience with your teammates certainly sounds fun until the Warhaven not working problem appears. We investigated the matter and came across some of the most common problems that cause issues and obstacles for gamers. Ultimately, we compiled this list of the most suitable fixes to solve all the potential problems in Warhaven.
Why is Warhaven not working?
Warhaven not working problems can be related to poor system specifications, unnecessary background apps, issues with Windows permission, poor internet connection, missing Visual C++ dependencies, an outdated GPU driver, lack of RAM or Windows virtual memory, Firewall or antivirus blocking the game, or pilled-up cache files.
Additional causes for Warhaven issues include corrupted game files, disabled Game Mode, missing or outdated DirectX and NET Framework, high system temperatures, or unnecessary startup services causing compatibility problems.
How to fix Warhaven not working?
Get started by applying these checks and fixes:
- Check Warhaven system requirements: Your PC must meet at least the minimum requirements for the game, and if it doesn’t, upgrade the components that lack computing power.
- Close background apps: This way, you will stop background apps from using resources.
- Launch Warhaven as an administrator: Here is the guide for launching games as an admin.
- Check your internet connection: If the game doesn’t launch, the internet connection might be faulty since Warhaven is a multiplayer game. Try using an alternative network instead.
Proceed with the step-by-step solutions listed below.
- Install Visual C++ dependencies
- Update the GPU driver
- Increase Windows Virtual Memory
- Allow Warhaven through the Firewall
- Delete cache files
1. Install Visual C++ dependencies
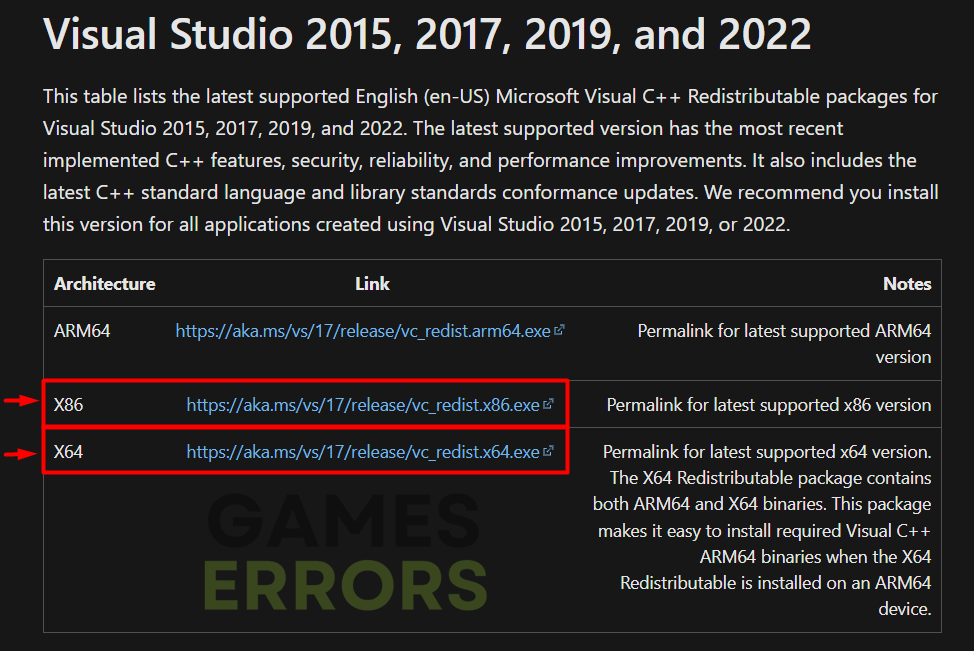
Visual C++ dependencies are crucial for games to launch and run smoothly on Windows. These are usually installed with the game or through the game distribution platform. However, if the installation was skipped, you must head to the Microsoft website to download and install them manually.
- Open the official page for the Visual C++ Redist Packages download.
- Click on the Link and download vc_redist, which suits your operating system architecture.
➡ X86 is for 32-bit systems.
➡ X64 is for 64-bit systems.
- Run the installation package and follow the steps.
- Restart your PC.
2. Update the GPU driver
Time needed: 5 minutes
The GPU driver manages your graphics card and provides software support when in front of demanding computing, like in Warhaven. To help you out, graphics card manufacturers constantly work on resolving bugs and adding optimizations. These arrive on your PC as GPU driver updates, so you better check for them!
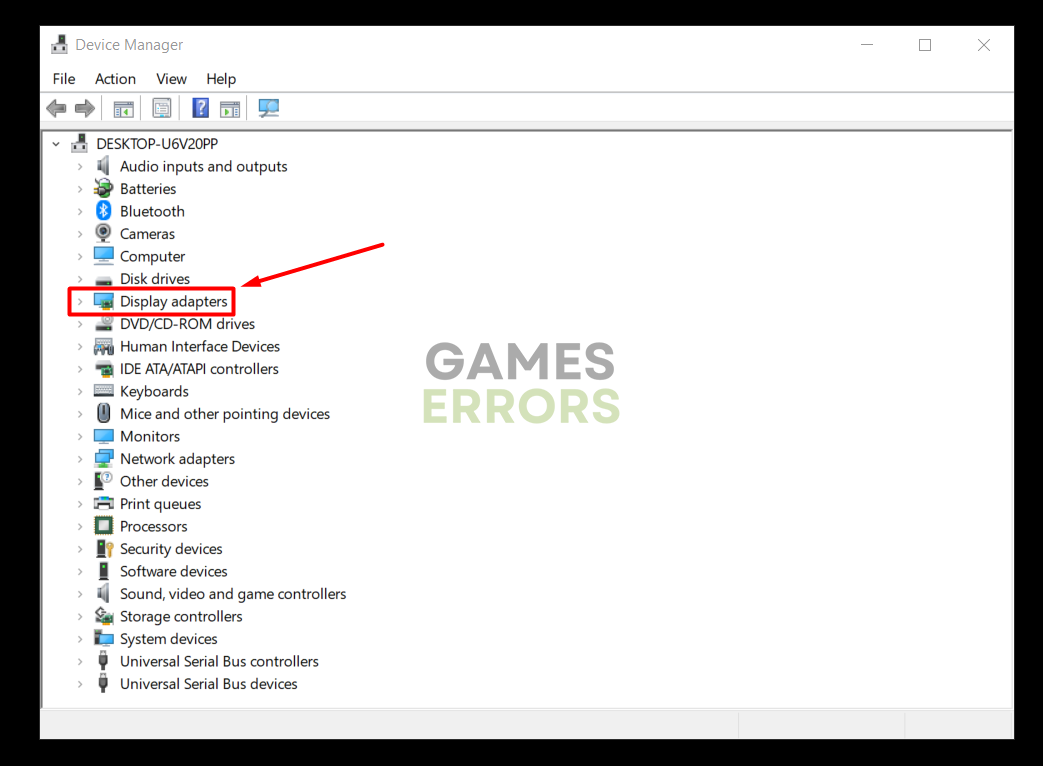
- Click on the Windows icon, type Device Manager, and open it.

- Double-click on the Display Adapters section.

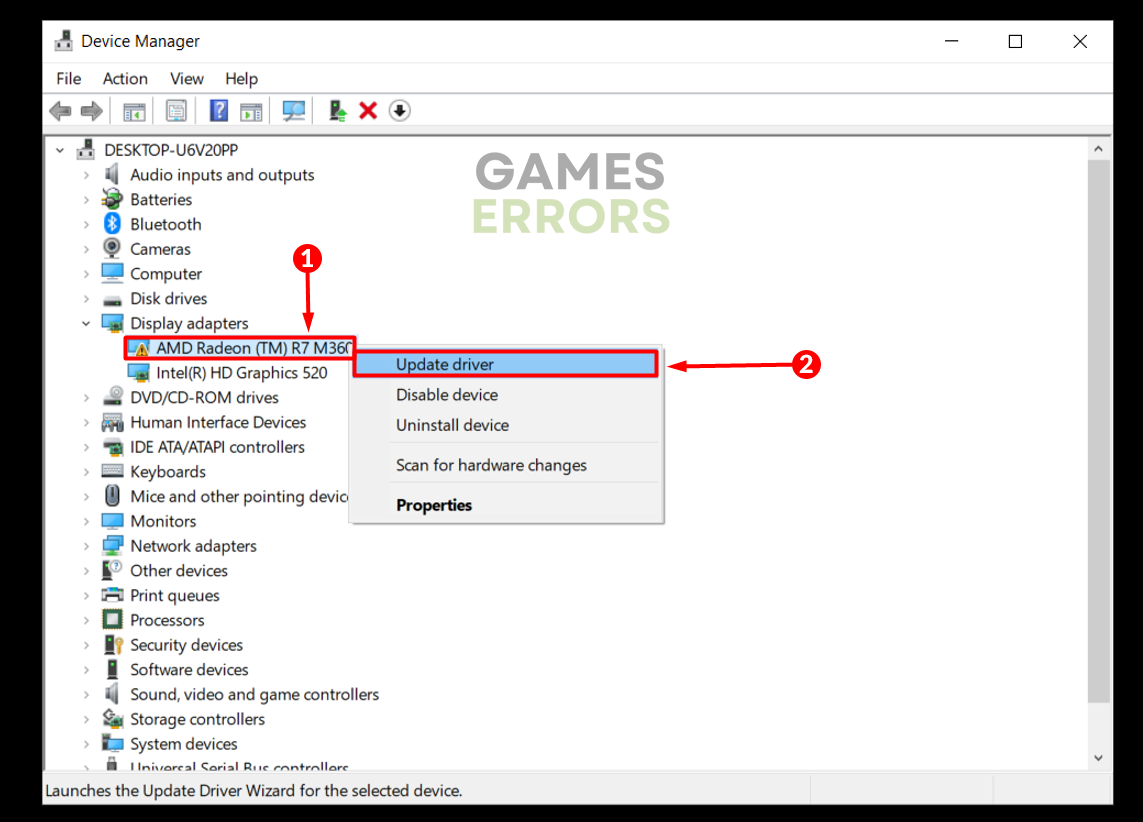
- Right-click on your GPU and select the Update driver option.

- Select the Search automatically for drivers option.
- Install the GPU driver update.
- Restart your PC.
If you are tired of performing driver updates manually, look at PC HelpSoft. This fantastic driver updating tool claims complete control over the driver management process, allowing you to enjoy an interruption-free gaming experience!
3. Increase Windows Virtual Memory
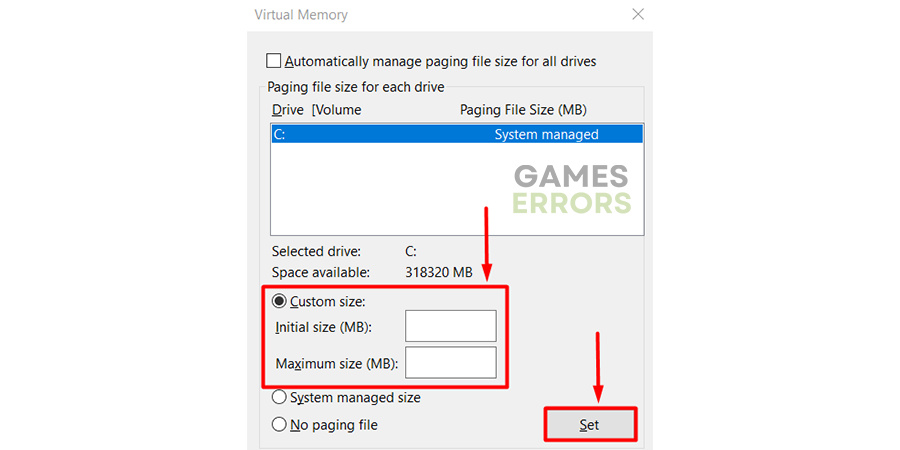
Warhaven requires 16GB of RAM to run and function smoothly. However, it is known that games sometimes require even more RAM than noted in the system specification sheet. This is why Windows automatically allocates a portion of your disk to support memory when needed. We advise you to manually set this disk portion to at least 2x your RAM size.
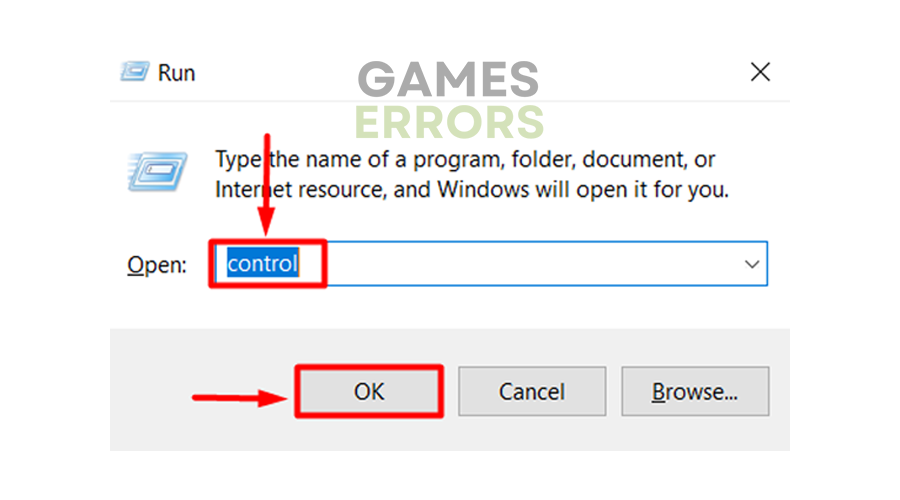
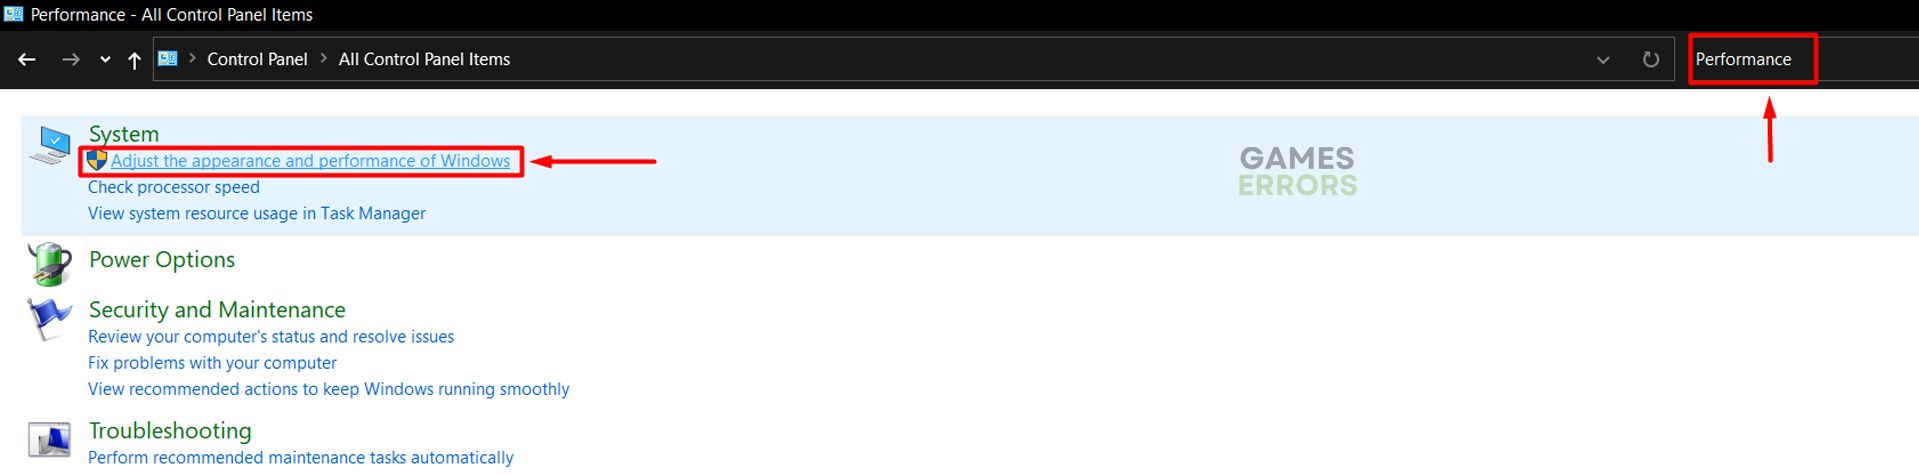
- Use the Windows Key + R shortcut to open the Run dialog, type control, and hit OK.

- Click on the dropdown next to View by and select Large icons.

- Click on the search, type Performance, and click on Adjust the appearance and performance of Windows.

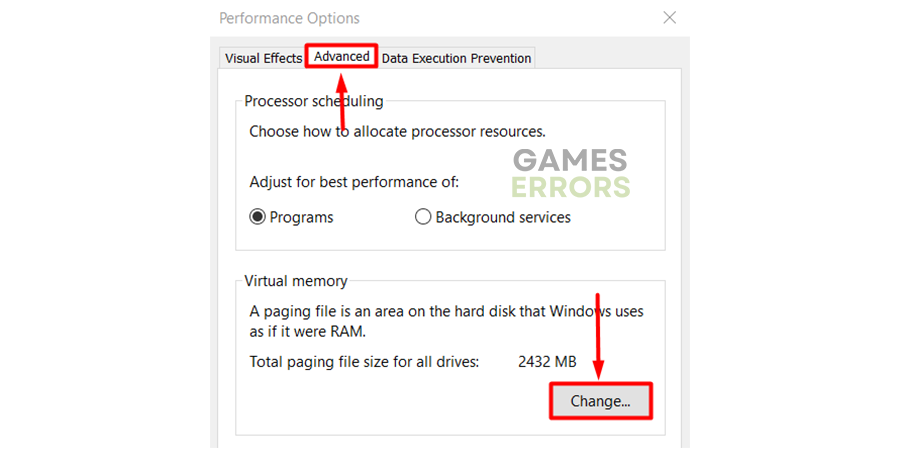
- Navigate to the Advanced tab and hit the Change button under the Virtual Memory section.
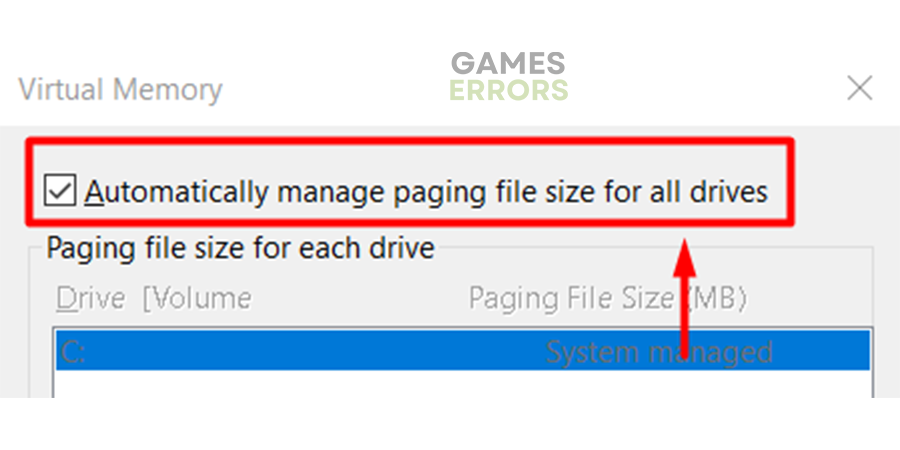
- Disable Automatically manage paging file size for all drives.
- Select the Custom size button, enter values 2x of your RAM in MB, and hit the Set button.
- Click OK and restart your PC.
4. Allow Warhaven through the Firewall
Windows Firewall is the core security feature of your operating system and should never be disabled. However, no security software is perfect, so it can sometimes recognize games like Warhaven as a threat, effectively stopping them from launching. Avoid this by adding Warhaven to the list of Firewall exceptions.
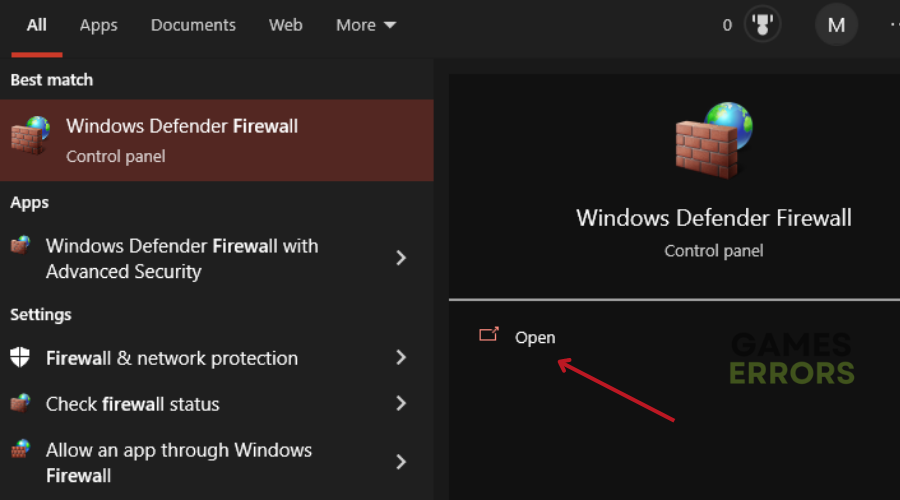
- Click on the Windows icon, type Windows Defender Firewall, and open it.
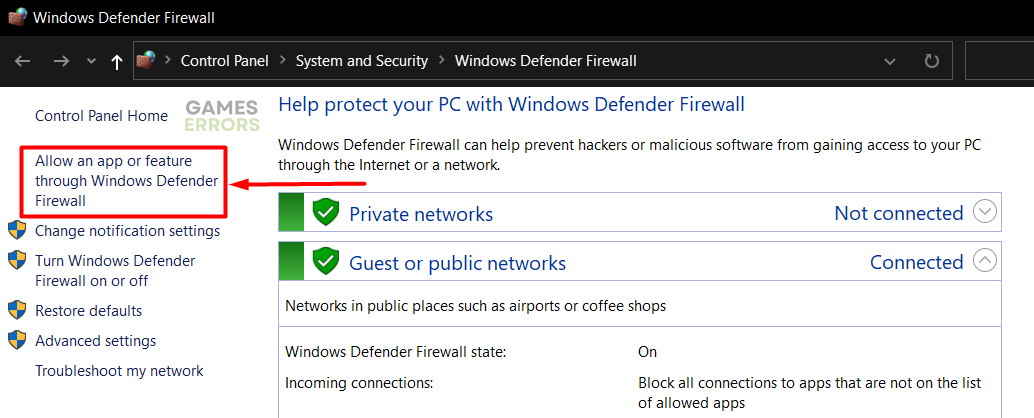
- Click on Allow an app or feature through Windows Defender Firewall.

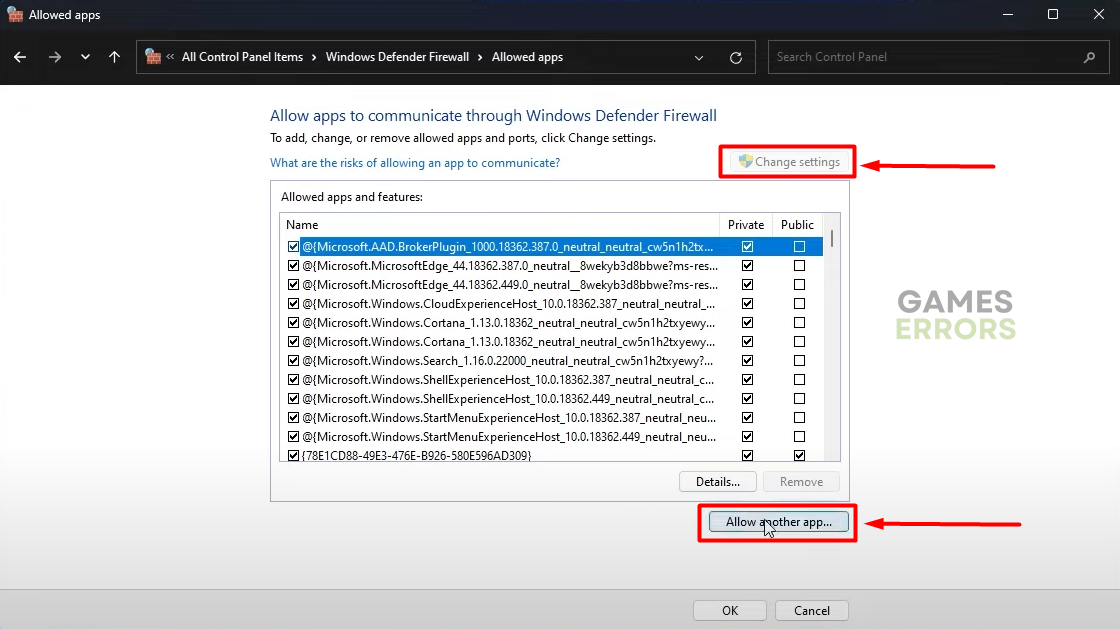
- Click on Change Settings and Allow Another App.

- Select Browse and navigate to the Warhaven installation folder.
- Click on the Warhaven executable file (.exe) and select Open.
- Check the checkbox in columns Private and Public in the Warhaven row and hit OK.
- Restart your PC.
5. Delete cache files
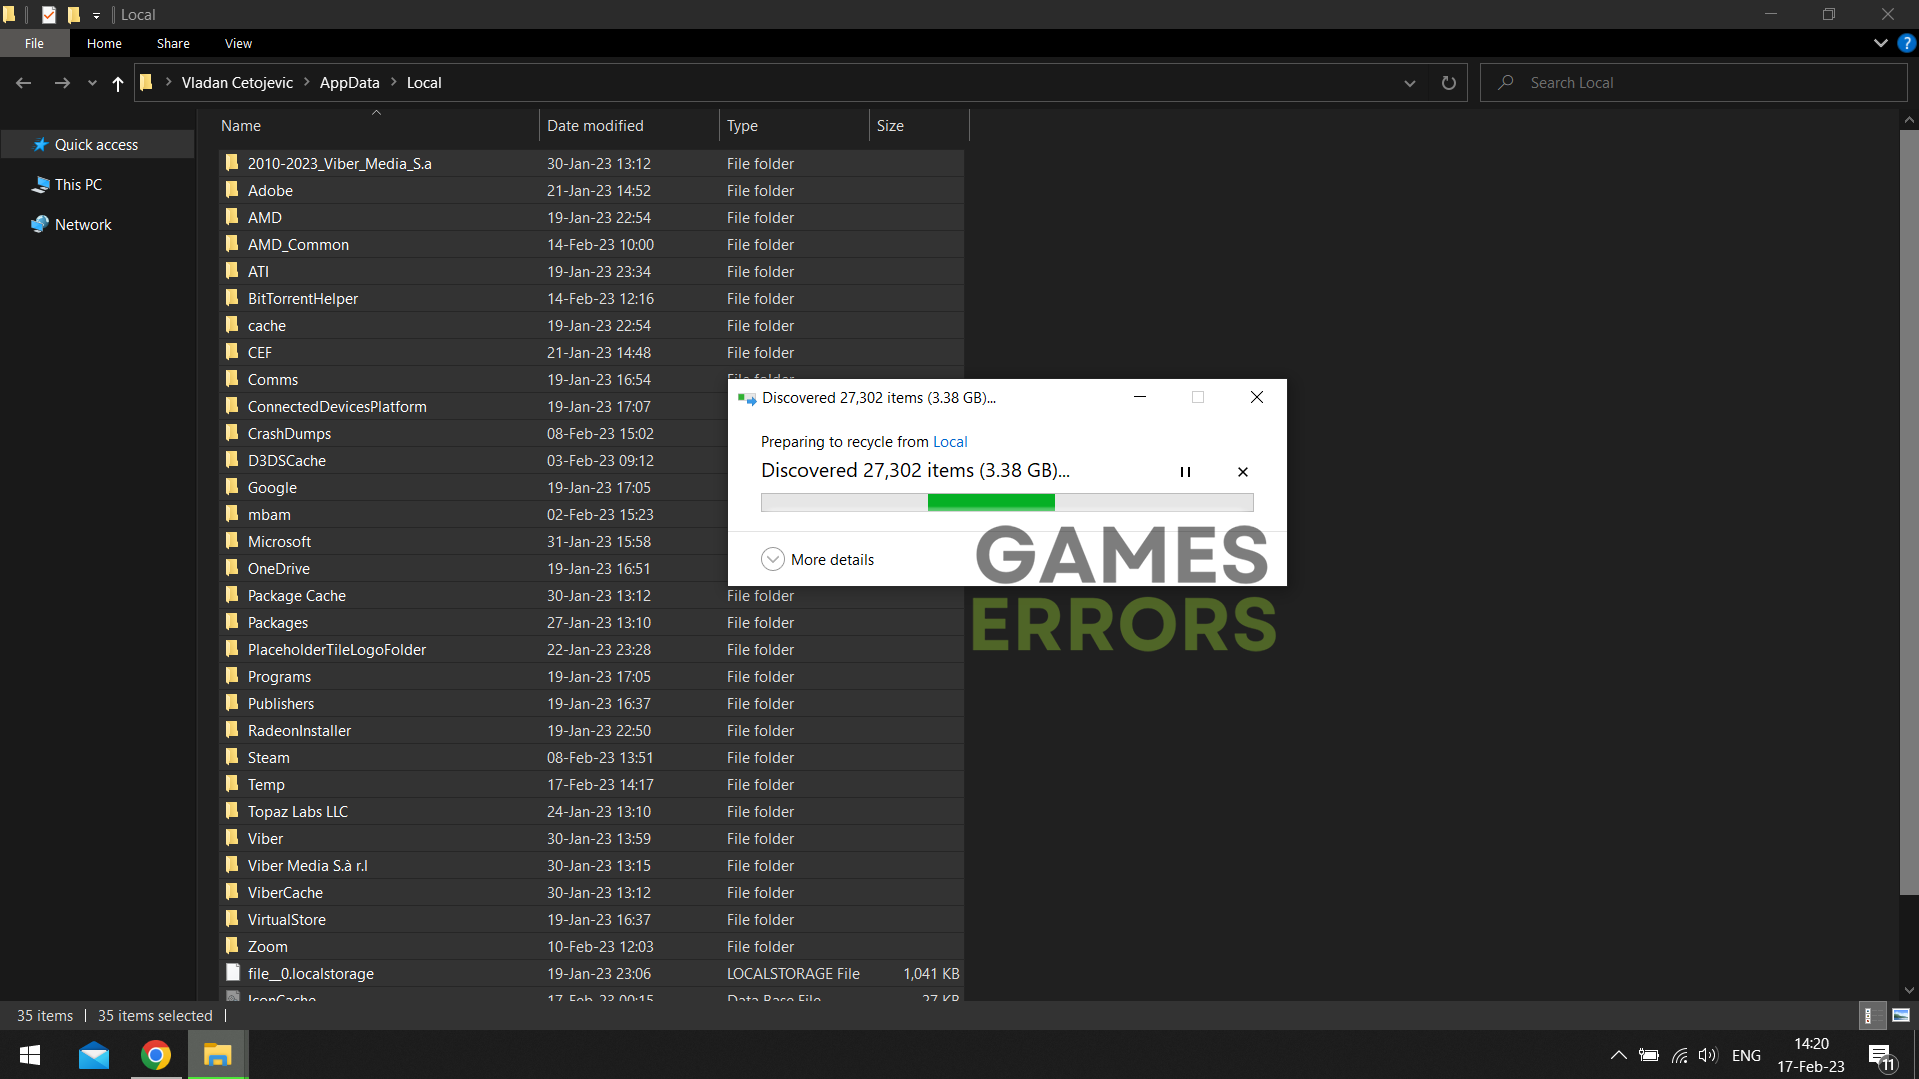
Warhaven, Steam, and every other app on your PC store cache files so they can launch and run smoother. The problem begins when these files get corrupted for one reason or another. We can resolve this issue by navigating to the Local folder and deleting all cache files from your PC.
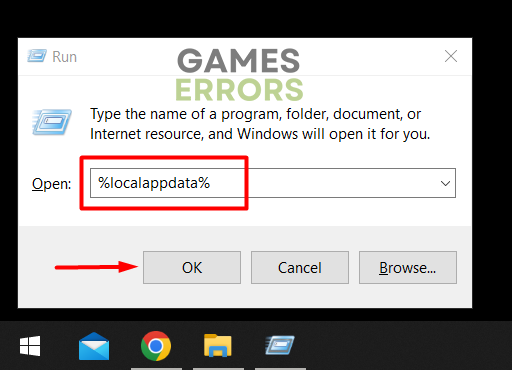
- Use the Windows Key + R shortcut to open the Run dialog, type %localappdata%, and hit OK.

- Use the CTRL + A shortcut to select all files in the folder.
- Press the Delete key on your keyboard to delete all the files in the folder.
➡ If prompted to confirm, click on Yes.
➡ If some files can’t be deleted, click on Skip.
Extra steps
Here are some additional steps you can take if you still experience issues with Warhaven not working:
- 📁 Verify the integrity of game files: This is a much faster alternative to reinstalling the game.
- 🎮 Enable Game Mode: Click on the Windows icon, type Game Mode, and open it. Ensure this feature is enabled, as it optimizes your system for gaming when you launch Warhaven.
- 💿 Install the latest DirectX: For Warhaven, it is recommended to have DirectX 12.
- 🥶 Keep it cool: A common cause for Warhaven crashes and poor performance is high system temperatures. Ensure adequate ventilation and change thermal paste regularly.
- ⬆ Update NET Framework: Follow our guide for updating this essential framework.
- 🛡 Temporarily disable antivirus: This can be a great way to force-launch Warhaven. If it works out, whitelist the game in the antivirus settings. Don’t forget to re-enable the protection afterward.
- 💽 Perform a Clean Boot: This way, you will avoid compatibility issues caused by startup services.
- 🔁 Reinstall Warhaven: If nothing else works out, uninstall the game and restart your PC. Perform a clean game installation through the game distribution platform on which you have Warhaven.
Related articles:
- Games Crashing After Installing New GPU: Here’s How To Fix It
- How To Fix Games Crashing Due To Low Memory – Expert Guide
- Games Crashing When Streaming On Discord: 5 Easy Tips To Fix
- How To Rollback A GPU Driver To Fix Various Game Problems
- How To Improve PC Performance For Gaming [Ultimate Guide]
Conclusion
In conclusion, there are several steps to take when experiencing the Warhaven not working problem. Begin by checking the system requirements and your home network. Proceed by closing background apps and launching the game as an administrator.
Some of the best solutions to fix problems in Warhaven include updating the GPU driver, installing Visual C++ dependencies, and increasing Windows virtual memory. Allowing the game through the Firewall will ensure it doesn’t get recognized as a threat, and deleting cache files might help you launch Warhaven.
Don’t forget to verify the integrity of game files to check and replace corrupted ones. Enable Game Mode to get your system optimized for gaming. Update NET Framework and DirectX, so your system can run Warhaven. Perform a Clean Boot and check if your antivirus causes launching issues. If your system runs at low temperatures, the last resort is to reinstall the game.

Improve this guide
User forum
0 messages