
Destiny 2 Crashing: Why is Always Crashing & How To Fix It
Here's everything you need to know about Destiny 2 crashing and how to fix it 🎯
Are you currently experiencing Destiny 2 Crashing? You’re not alone. Many players have shared their frustrations on forums about crashing issues during gameplay.
Crashes can happen either at launch or during gameplay due to server connection problems or technical issues on your computer.
While not everyone faces this issue, those who do are seeking solutions. That is why we have done our homework to figure out why you are experiencing Destiny 2 Crashing and curated a list of solutions that could help you continue playing crash-free.
Why Is Destiny 2 Crashing?
There are several reasons why you are experiencing Destiny 2 Crashing. Some of the most common ones include:
- Server Connection Issues: Slow or unstable internet can lead to crashes.
- PC Technical Problems: Your computer might have issues causing crashes.
- Minimum Requirements Not Met: If your PC doesn’t meet the game’s requirements, crashes can occur.
- Game Bugs: Destiny 2, like any game, can have bugs causing crashes.
- Recent Updates or Patches: Sometimes updates can introduce crashes until fixed.
How To Fix Destiny 2 Crashing?
Firstly, ensure your PC meets the minimum system requirements to run Destiny 2. Also, complete the following pre-checks.
- Restart your PC
- Ensure your internet is stable and not causing disruptions.
- Close unnecessary apps running in the background to free up resources.
- Run a scan to ensure your PC is free from harmful software.
- Ensure you have enough free storage space on your PC for Destiny 2 to run smoothly.
If Destiny 2 is still crashing, try the solutions below.👇
Table of contents:
- Increase the Game’s Priority
- Update Graphics Driver
- Move the DLL Files to a Suitable Location
- Allow Destiny 2 In Windows Firewall
- Optimize the Graphics Settings
- Repair and Reset Windows Gaming Services
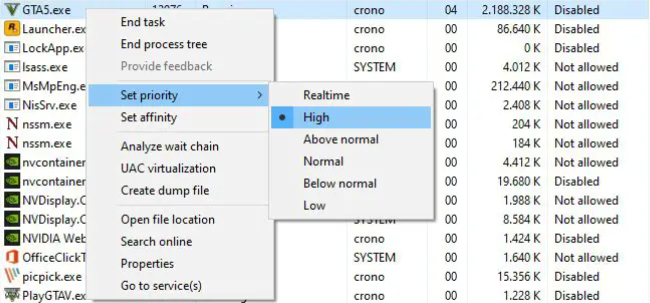
1. Increase the Game’s Priority
- Right-click on the Start icon and choose Task Manager from the menu.
- Navigate to the Details tab.
- Locate the Destiny 2 file and right-click on it.
- Select Set Priority and choose either Above Normal or High based on your needs.

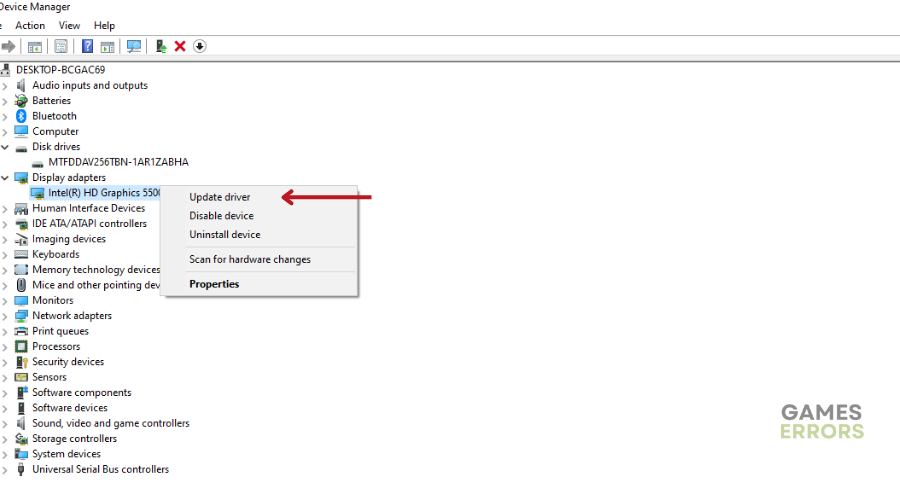
2. Update Graphics Driver
Time needed: 4 minutes
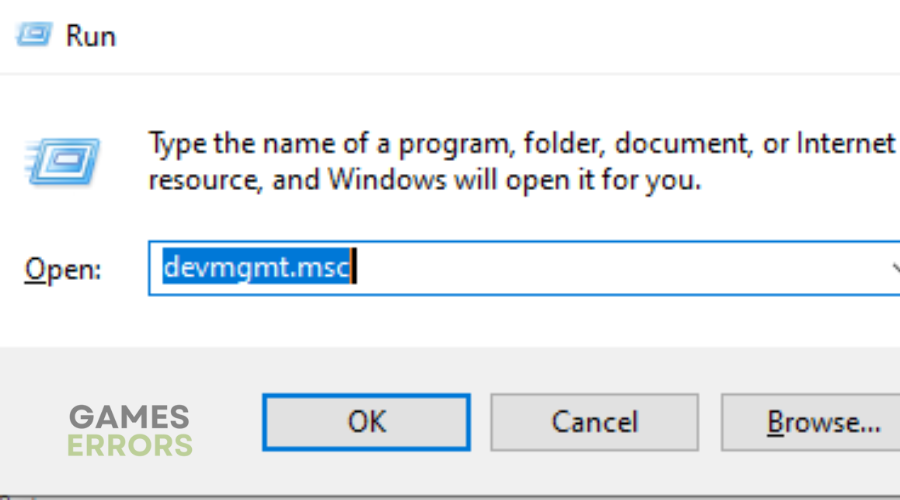
- Press the Win + R keys to open the Run window.
- Type devmgmt.msc in the Open entry and then press the Enter key or click the [OK] button

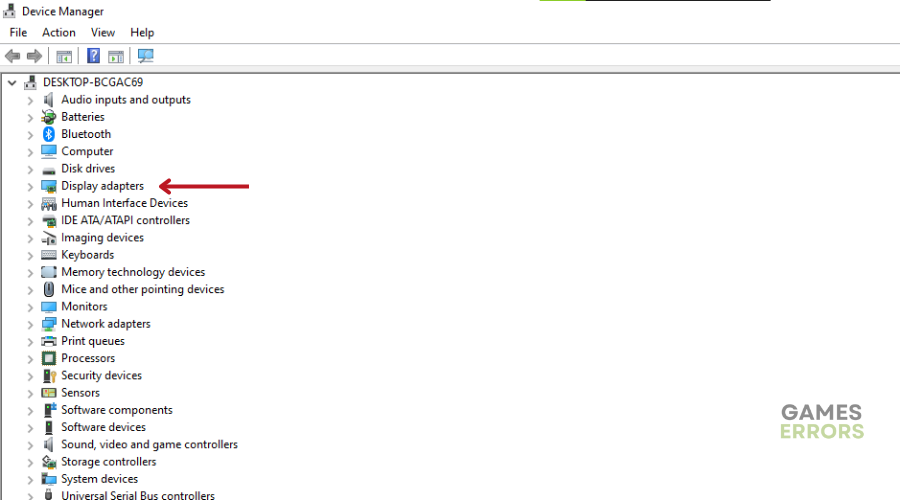
- The Device Manager dialog box will be displayed.
- Click on the arrow icon next to Display Adapter to display the available options.
- Right-click on your Graphics driver and choose Update Driver.
- Next, click on Search automatically for drivers.
- Your computer will scan for available updates and download and install them automatically.
- Restart your PC.

Fasten your updating drivers process with PC HelpSoft. This third-party tool finds and installs the best drivers from the web, saving you precious time and ensuring top-notch performance. Say goodbye to unreliable device managers and hello to a hassle-free solution.
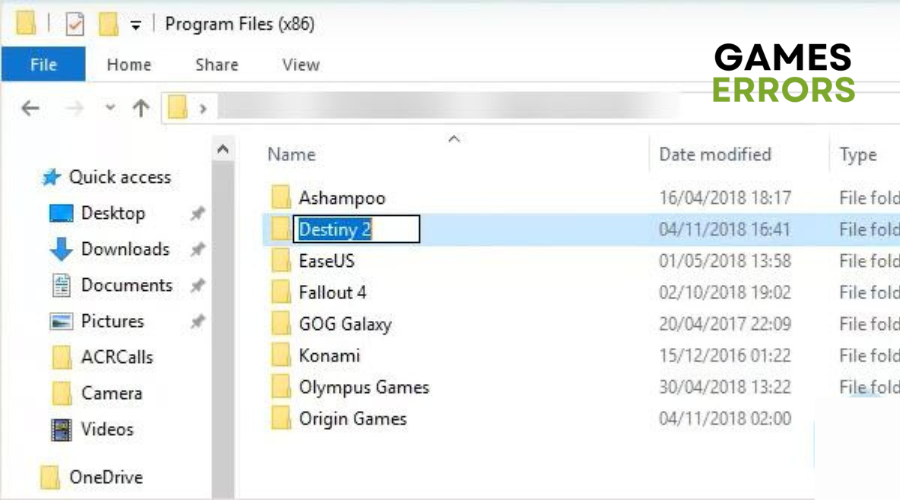
3. Move the DLL Files to a Suitable Location
- Open the Start Menu, and then click on My Computer.
- Navigate to the following location: C:\Program Files\Destiny 2\
- In that location, locate the file named GFSDK_Aftermath_lib.dll.
- Copy the DLL file and paste it into the following location: Destiny 2\bin\x64\
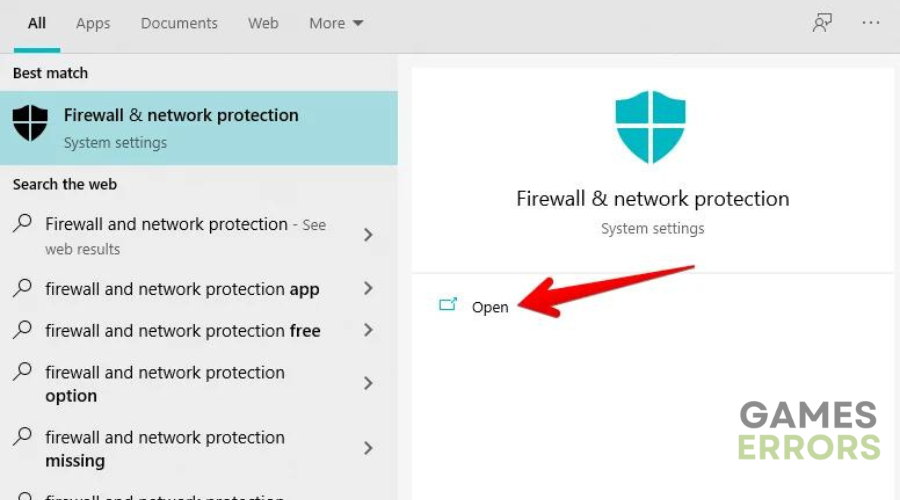
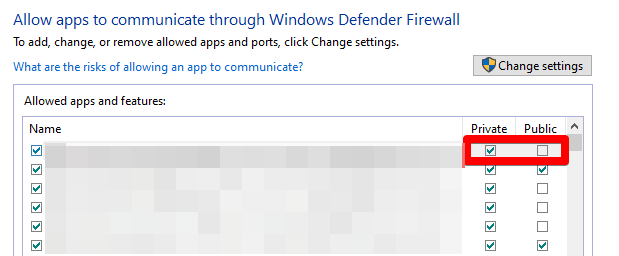
4. Allow Destiny 2 In Windows Firewall
- Open the Windows Search menu and type “Firewall and network protection.” Click “Open” to launch the application.
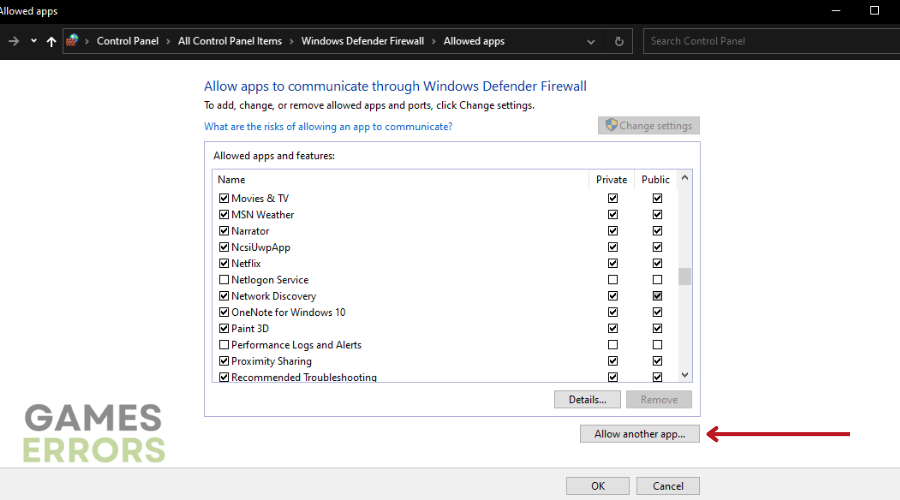
- Click on “Allow an app through firewall.”
- This opens the “Allowed apps” section. Click “Change Settings,” then “Allow another app” to launch a new window.
- In the new window, click “Browse” and locate the Destiny 2 file (usually in Local Disk (C:)), specifically the “BEService_x64.exe” file in the “Battleye” folder.
- After selecting the file, click “Add app” to include Destiny 2 in the list of apps allowed by Windows Firewall.
- Make sure to mark the “Private” and “Public” checkboxes to ensure complete access.

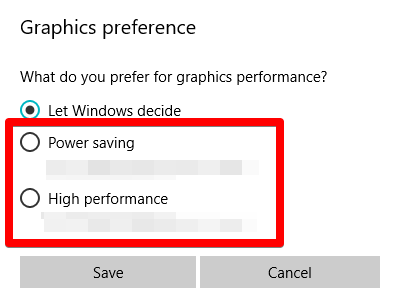
5. Optimize the Graphics Settings
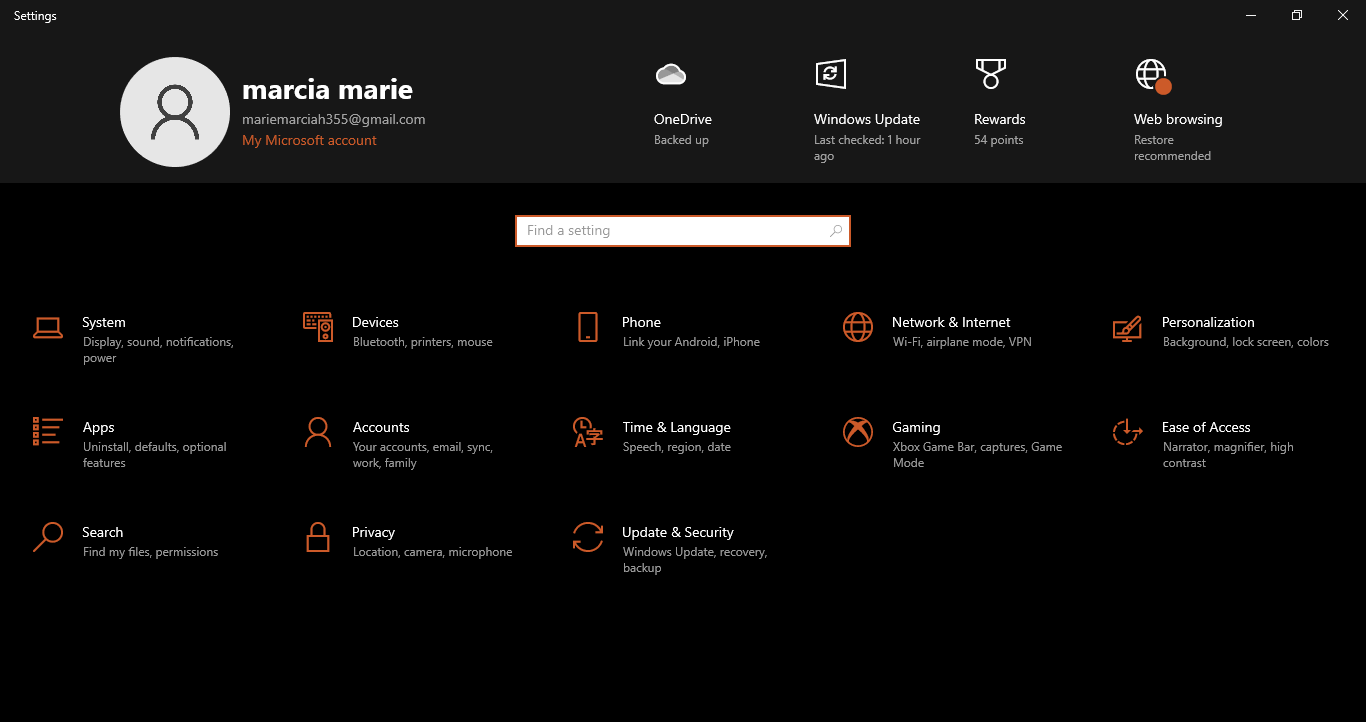
- Open your Windows 10 “Settings.”
- Click on “Gaming.”
- In the new window, click “Graphics settings” under “Related settings.”
- Click “Browse” to locate and select the Destiny 2 application from your computer’s storage.
- Click the “Options” button next to the Destiny 2 app.
- In the small window, change from “Let Windows decide” to either “Power saving” or “High
 performance.” Try “Power saving” first, then click “Save” to confirm the change.
 performance.” Try “Power saving” first, then click “Save” to confirm the change.
6. Repair and Reset Windows Gaming Services
- Open Settings.
- Choose Apps.

- Scroll down and click on Gaming Services.
- Click Advanced Options.
- Select Repair.
- Once the repair is complete, choose Reset.
💎 Extra Steps:
- Run Destiny 2 in Compatibility Mode
- Consider disabling your antivirus and check if this resolves the issue.
- Try a Windows update
Related Articles:
- Destiny 2 Error Code Cat: What Does it Mean & 4 Ways to Fix
- Destiny 2 Stuck on Loading Screen: Fix the Infinite Loading
- Destiny 2 Lightfall Stuck on Loading Screen: How to Fix
- Destiny 2 Graphics Runtime Error Broccoli: How to Fix it Easily
- Destiny 2 Error Code Weasel: Fix It in No Time
Conclusion
In conclusion, crashes can stem from various sources, including server connection problems, technical issues on your PC, unmet minimum requirements, game bugs, and recent updates or patches. To address these issues and prevent crashes, try one or a combination of the solutions we have listed above.
Also, check out our ultimate guide on how to fix game crashes for good. Happy gaming!

Improve this guide
User forum
0 messages