
Ready or Not Crashing: How I Made It Work
If Ready or Not is crashing on your device too, as it did on mine, follow the steps mentioned in this comprehensive guide to fix it.

I tried playing Ready or Not after hearing about it from my pals, but I couldn’t play it straight immediately since the game kept crashing. The first crash occurred during the loading screen, but they became more regular after that. So, utilizing my past knowledge and advice from gaming forums, I was able to resolve the issue on my PC. Start with the quick prechecks noted below to save time.
How to fix Ready or Not crashing issues?
Before jumping to the more comprehensive solutions to fix the Ready or Not crashing issue, give a chance to the workarounds below:
- Limit the FPS: Limiting the FPS in Ready or Not can stabilize your game performance and reduce crashes by preventing your hardware from being overtaxed.
- Close Background Applications: Closing background apps frees up system resources for Ready or Not, lowering the chances of the game failing due to resource limits.
- Run the Game as Administrator: Running Ready or Not as an administrator gives it the necessary permissions to access system files and settings, which can prevent crashes.
- Lower the Game Settings: Lowering the game settings in Ready or Not reduces the strain on your hardware, which can help avoid crashes due to graphical overload.
- Enable or Disable V-Sync: You can enable or disable V-Sync in Ready or Not to match the game’s frame rate with your monitor’s refresh rate, potentially reducing crashes related to graphics.
If none of the quick fixes worked, try the following:
- Update the graphics drivers
- Adjust Windows Pagefile Size
- Check Compatibility Mode
- Update DirectX Version
- Allow the Game Through Firewall
- Verify Game Files Integrity
- Run SFC (System File Checker) Scan
- Use Game Mode on Windows
- Check for Malware
- Adjust CPU Priority in Task Manager
- Update Windows
- Adjust NVIDIA/AMD Control Panel Settings
- Adjust Power Settings
- Delete Temporary Files
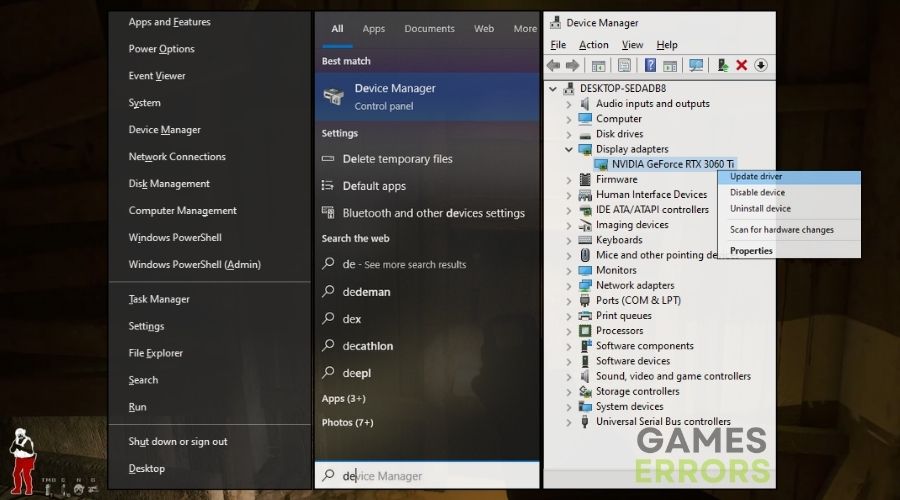
1. Update the Graphics Drivers
Updating my graphics drivers frequently resolves Ready or Not issues by assuring optimal compatibility and performance.
- Open Device Manager: Press the Windows key, type Device Manager, and click to open it.
- Find Graphics Card: Click on Display adapters to see your graphics card.
- Update Driver: Right-click on your graphics card and select Update driver.
- Search Automatically: Choose Search automatically for updated driver software.
- Install and Restart: Follow any prompts to install, then restart your computer.
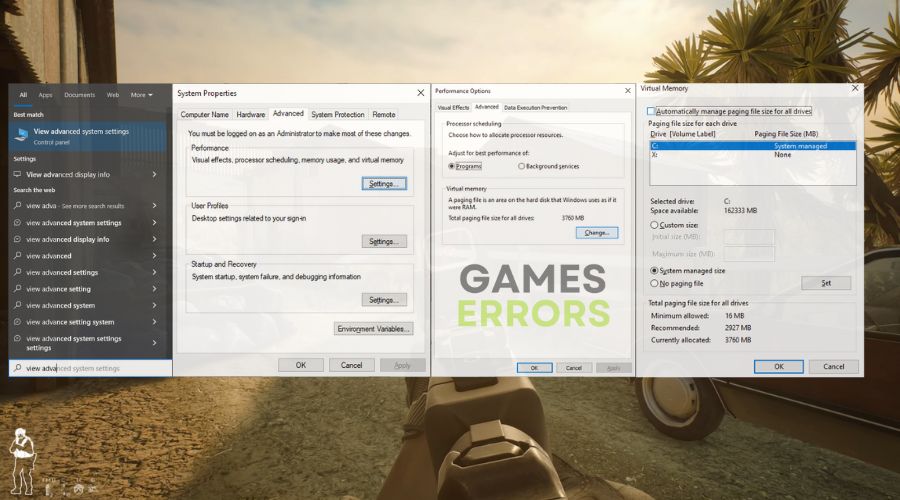
2. Adjust Windows Pagefile Size
I increase the size of the Windows pagefile to give extra virtual memory, which can keep Ready or Not from crashing due to memory difficulties.
- System Properties: Right-click This PC on your desktop and select ‘Properties’.
- Advanced System Settings: Click Advanced system settings.
- Performance Settings: Click Settings under Performance, then go to the Advanced tab.
- Change Virtual Memory: Click ‘Change’ under Virtual memory, uncheck Automatically manage paging file size, select Custom size, and enter the recommended values.
- Set and Apply: Click Set, then OK, and restart your computer.
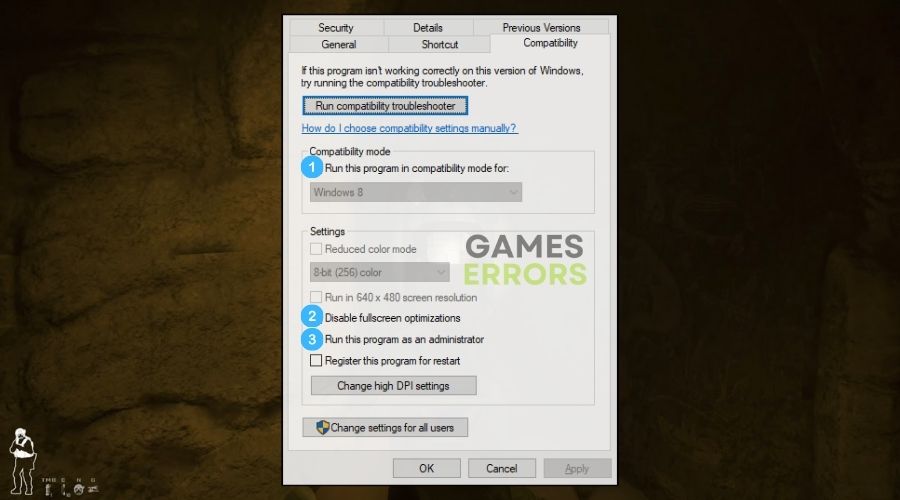
3. Check Compatibility Mode
Running Ready or Not in compatibility mode resolves crashes by aligning the game’s requirements with the capabilities of my system.
- Right-Click Game Icon: Right-click the game’s icon and select Properties.
- Compatibility Tab: Go to the Compatibility tab.
- Set Compatibility Mode: Check Run this program in compatibility mode for and select an older Windows version.
- Apply and Close: Click Apply, then OK.
4. Update DirectX Version
I upgrade DirectX to the most recent version since older DirectX might cause problems in visually intensive games such as Ready or Not.
- Visit Microsoft Website: Go to the Microsoft website in your web browser.
- Download DirectX: Search for the latest version of DirectX and download it.
- Install DirectX: Open the downloaded file and follow the instructions to install.
- Restart Computer: Restart your PC after installation.
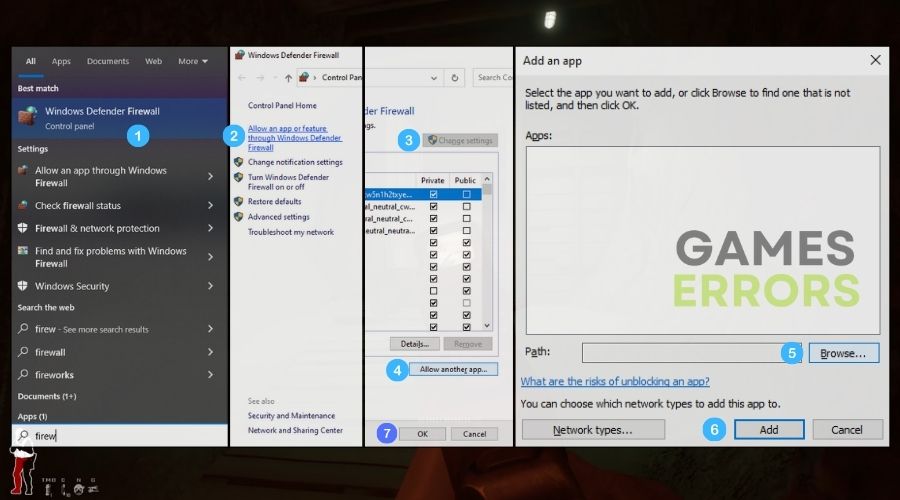
5. Allow the Game Through Firewall
Allowing Ready or Not via the firewall reduces crashes caused by the utility obstructing critical game processes.
- Open Firewall Settings: Click Start, type firewall, and open Windows Defender Firewall.
- Allow an App: Click Allow an app or feature through Windows Defender Firewall.
- Find the Game: Click Change settings, find the game, and check both boxes next to it.
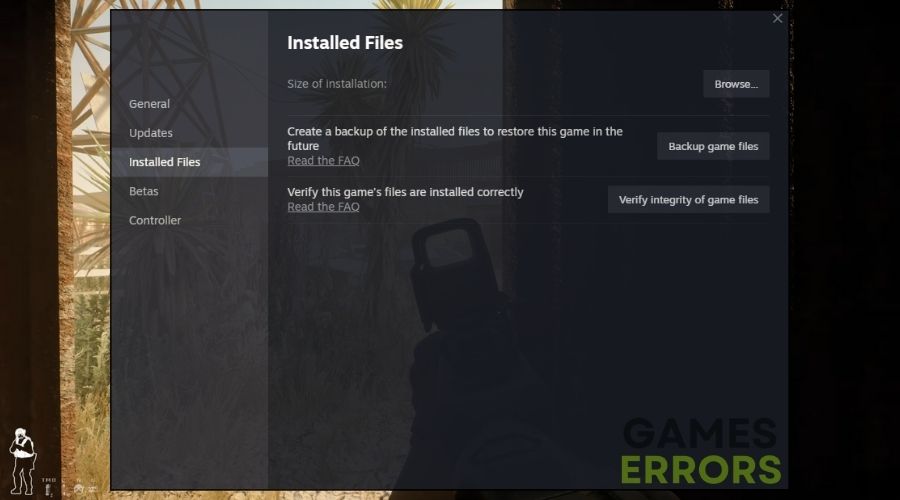
6. Verify Game Files Integrity
Verifying the integrity of game files in Ready or Not assists me in resolving problems caused by damaged or missing game data.
- Open Game Launcher: Open the platform where your game is installed (like Steam).
- Game Properties: Right-click on the game and select Properties.
- Verify Files: Click the Local Files tab, then Verify integrity of game files.
- Wait for Verification: Wait until the process completes.
7. Run SFC (System File Checker) Scan
Running a System File Checker scan fixes Ready or Not crashes by correcting faulty system files on which the game relies.
- Command Prompt: Type cmd in the search bar, right-click Command Prompt, and choose Run as administrator.
- SFC Command: Type
sfc /scannowand press Enter. - Wait for Completion: Wait until the scan finishes and then restart your computer.
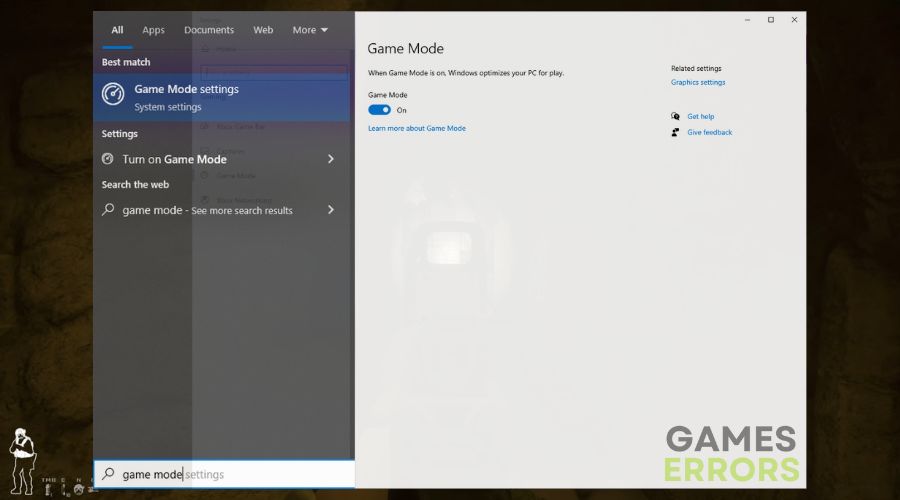
8. Use Game Mode on Windows
When playing Ready or Not, I enable Windows Game Mode to optimize system resources for gaming and reduce the probability of crashes.
- Open Settings: Click the Start menu and select the gear icon for Settings.
- Gaming: Click on Gaming.
- Game Mode: Find and select Game Mode on the left.
- Enable: Switch Game Mode to On.
9. Check for Malware
Malware scanning is a useful technique that I usually apply since it may find and remove dangerous software that is causing Ready or Not to crash.
- Open Antivirus: Start your antivirus program.
- Run Full Scan: Choose to run a full system scan.
- Wait for Results: Let the scan finish and follow any recommendations.
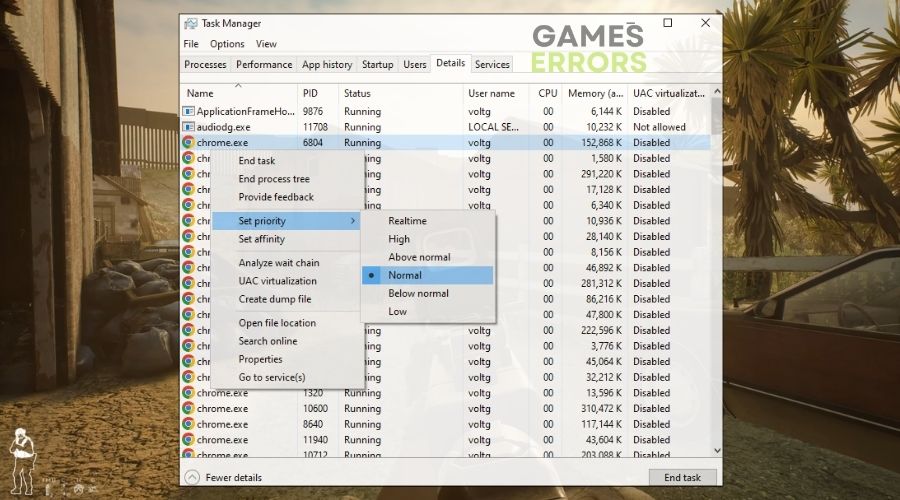
10. Adjust CPU Priority in Task Manager
Increasing the CPU priority of Ready or Not in Task Manager frequently resolves problems by assigning extra processing power to the game.
- Start Game: Open the game you’re playing.
- Open Task Manager: Press Ctrl + Shift + Esc.
- Details Tab: Go to the Details tab.
- Change Priority: Right-click the game, choose Set priority, then High.
- Close Task Manager: Close the window and continue gaming.
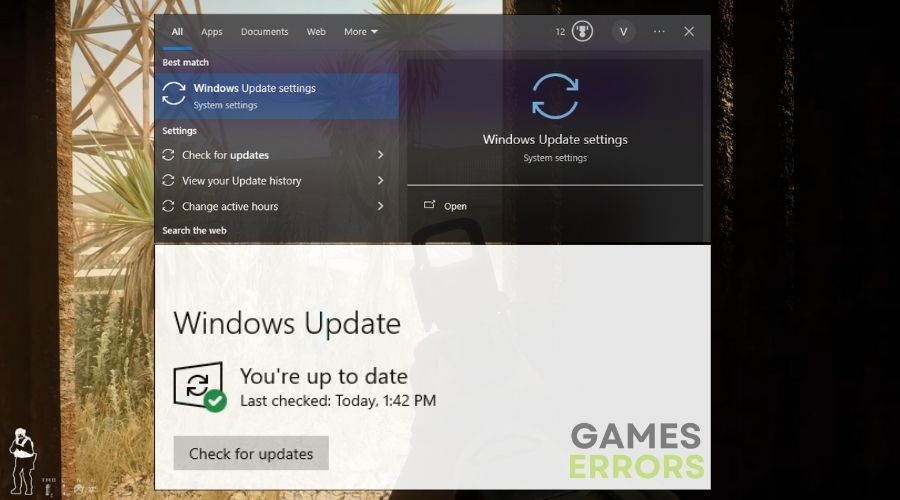
11. Update Windows
I keep Windows updated to maintain system stability and compatibility, which aids in the prevention of Ready or Not crashes.
- Open Settings: Click the Start button, then the gear icon for Settings.
- Update & Security: Click on Update & Security.
- Check for Updates: Click Check for updates and install any available updates.
- Restart Your PC: Restart your computer after the updates.
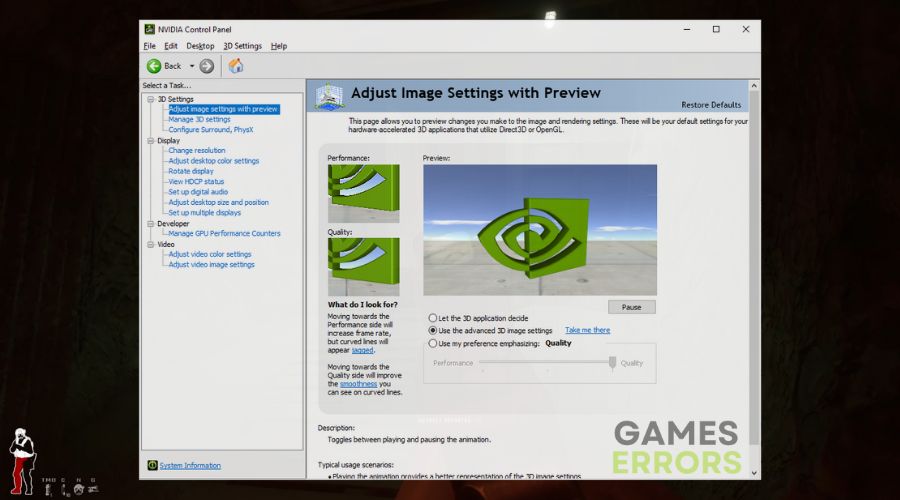
12. Adjust NVIDIA/AMD Control Panel Settings
Changing my NVIDIA or AMD Control Panel settings improves Ready or Not’s performance, perhaps lowering the chances of encountering crashes.
- Open Control Panel: Right-click on your desktop and choose NVIDIA Control Panel or AMD Radeon Settings.
- 3D Settings: Go to 3D Settings or similar.
- Adjust for Game: Change settings like Power management to Prefer maximum performance.
- Apply Changes: Click Apply or Save.
13. Adjust Power Settings
Switching to a high-performance power plan provides Ready or Not with sufficient system resources, preventing crashes due to power saving.
- Control Panel: Click Start, type Control Panel, and open it.
- Power Options: Select Power Options.
- High Performance: Choose High Performance plan.
- Confirm Selection: Make sure it’s selected.

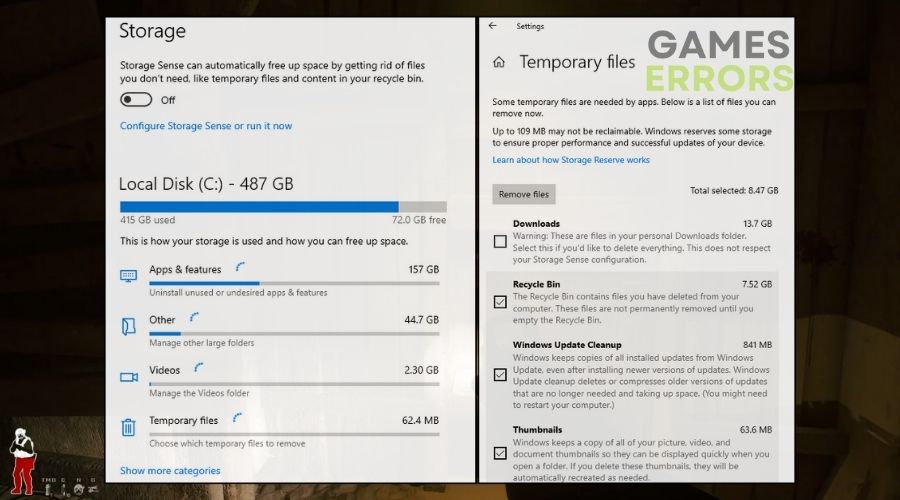
14. Delete Temporary Files
Deleting temporary files from my system helps in resolving crashes in Ready or Not by clearing out potential data conflicts.
- Disk Cleanup: Click Start, type Disk Cleanup, and open it.
- Choose Drive: Select your main drive.
- Select Files: Check Temporary files.
- Cleanup: Click OK, then Delete Files.
- Or: Use the Delete Temporary Files tool provided by Windows
Why is Ready or Not crashing?
Ready or not is crashing mostly as a result of out-of-date drivers and system processes, but the issue might also be caused by corrupted game files, hardware limitations, and malware. However, this issue might also be the consequence of poor coding and programming. Thus, if none of the solutions mentioned work, you may require an update or a hotfix.
Now that you know everything, you need to deal with the crashing issue in Ready or Not in no time. I also recommend that you mix the solutions together to have a better success rate at fixing the problem. Keep in mind that the easiest way to prevent such issues from happening is to update your drivers and Windows frequently. Additionally, if you discover any other methods, feel free to share them with me in the comments.
Additional Resources:

Improve this guide
User forum
0 messages